This post may contain affiliate links, view our disclaimer for details.
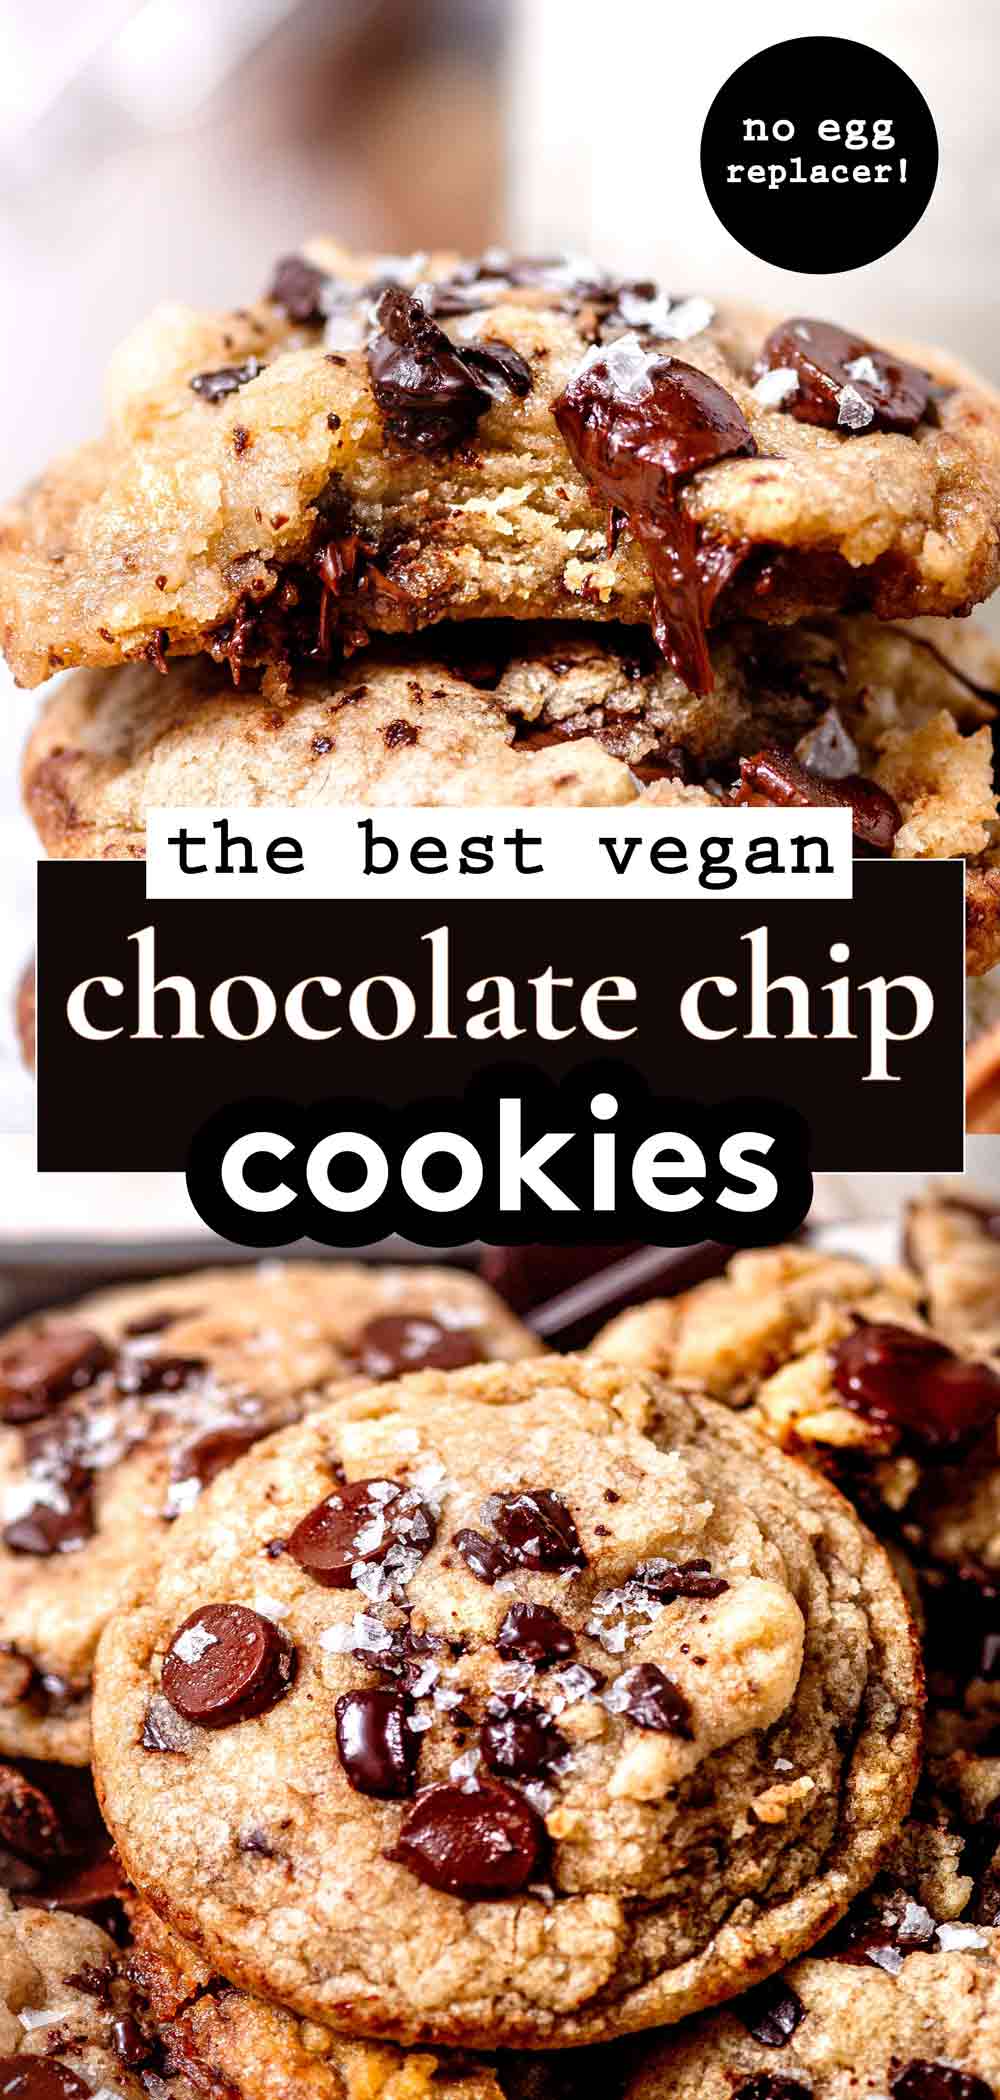
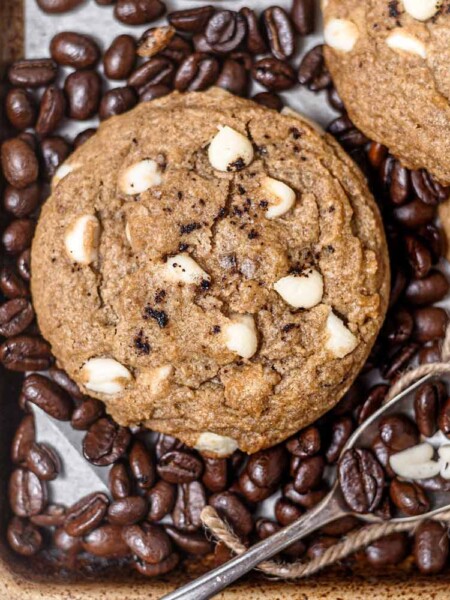
These classic eggless chocolate chip cookies have a soft, melted interior with slightly crisp edges. What’s great about this recipe is that it doesn’t use any egg replacer like flax or chia seeds, just simple pantry-friendly ingredients! Use dairy-free butter to make these eggless cookies completely vegan.

📝 Why You’ll Love This Eggless Chocolate Chip Cookie Recipe
These classic eggless chocolate chip cookies are *chef’s kiss*. The highlight? Just like my fudgy vegan brownies, these cookies don’t need any egg replacers! Here are a few reasons you’ll fall head over heels for this eggless chocolate chip cookie recipe:
Emily’s Recipe Notes:
- Flavor: Chocolatey, sweet, and buttery. Plus, they have delicious caramel undertones if you use brown sugar!
- Texture: Soft, gooey center with crispy edges, just the right amount of chew, and an overall melt-in-the-mouth experience.
- No egg replacers required: This recipe keeps it classic. You won’t find any quirky, hard-to-find ingredients here.
- Time: No need to chill the dough. You can have these cookies baked and ready to serve in under 20 minutes.
Why We Love These Eggless Chocolate Chip Cookies: This recipe is amazing because it only requires 7 ingredients (including salt!). So incredibly simple and straightforward. Any time I have a cookie craving, I definitely make these!
chocolate chip cookies without eggs
If you’re vegan or if you have egg allergies, look no further, because this is the easiest chocolate chip cookie recipe for you.
This recipe is great if it’s your first time making eggless cookies because it doesn’t use any egg replacers like flax seed, chia seed, or banana. (I do have a vegan banana chocolate chip cookie recipe that is delicious if you’re into that!)
It’s super simple and great for small batches (because you don’t need to divide an egg in half), but can easily be doubled or tripled.
What Our Readers Are Saying:
🍫 Ingredients
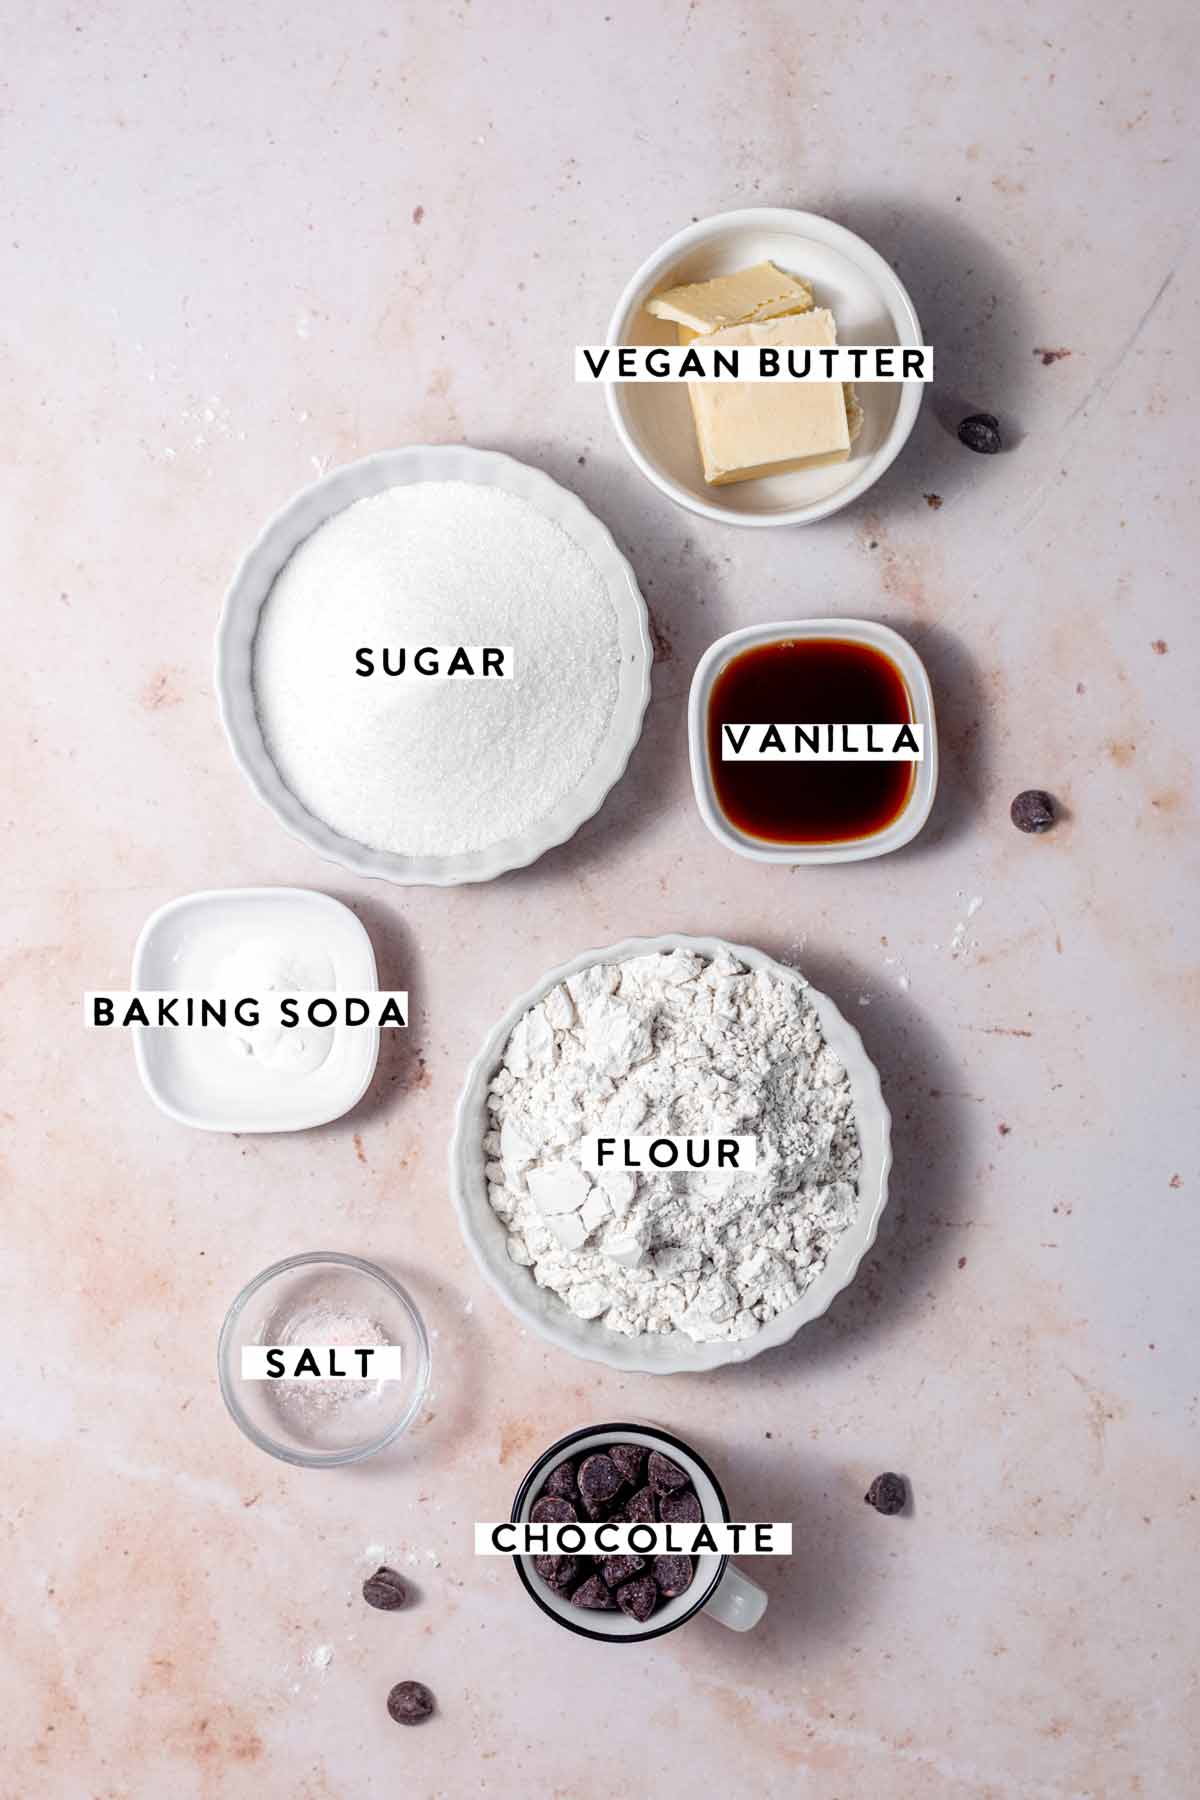
Today we’re using simple ingredients to make the best eggless chocolate chip cookies. You’ll need to gather the following to make them:
Sugars
I’m using a mix of white sugar and brown sugar. Regular white sugar lends the perfect sweetness to these cookies, creating a beautifully balanced flavor. Brown sugar adds moisture, a caramel flavor and helps the cookies spread some.
Remember not to replace all the white sugar with brown sugar, as this could cause the cookies to spread too much.
Dairy-Free Butter
I prefer using Violife Vegan Butter, Trader Joe’s Vegan Butter or Earth Balance Buttery Sticks. These butters give the cookies a rich taste and tender crumb. Be sure it’s melted before you start mixing. You can learn more about which vegan butter brands are the best for baking here!
If you’re out of dairy-free butter, you can technically use melted coconut oil. It will lack some rich flavor. Add about 1/8th teaspoon more salt if you use this. Note that the cookies may also turn out a little paler with coconut oil.
Pure Vanilla Extract or Paste
This ingredient adds an underlying depth of flavor. A high-quality extract like Madagascar Bourbon or Neilsen-Massey guarantees the best taste.
All-Purpose Flour
Regular all-purpose flour gives the cookies a sturdy yet soft crumb. I highly recommend using a digital kitchen scale to measure the flour. Or use the spoon-and-level method to measure the flour.
To do this, spoon (don’t scoop) the flour from the bag into a measuring cup and level the top. This prevents over-measuring which can lead to dry or cakey cookies!
Baking Soda & Salt
Baking soda helps the cookies brown and spread just a bit. Salt, of course, enhances all the other flavors in the cookies. Just a pinch is enough!
Semi-Sweet Chocolate
These are the star of the show! I recommend using a mixture of semi-sweet chocolate chips AND chopped chocolate. Chocolate chips have stabilizers, so they don’t usually melt super well. Adding chopped chocolate helps the cookies get those melty pools or pockets of chocolate that everyone adores.
Feel free to mix in your favorite nuts. They’ll add a nice crunch and some flavor to your cookies. Walnuts or pecans would be delicious.
Helpful Equipment
- Parchment paper: I like using white parchment because the cookies don’t brown as fast or spread as much (versus cooking them directly on the pan or using brown parchment paper).
- Baking Tray
- Measuring Cup or Scale: to accurately measure all of the ingredients
- Wire Rack: for cooling the cookies
- Cookie Scoop or Ice Cream Scoop: this is optional, but does help create equal-sized cookies
Step By Step Guide
🎥 *Video tutorial is in the recipe card below!*

In a mixing bowl, cream the melted butter, sugar and vanilla together. The mixture should be slightly lighter in color.
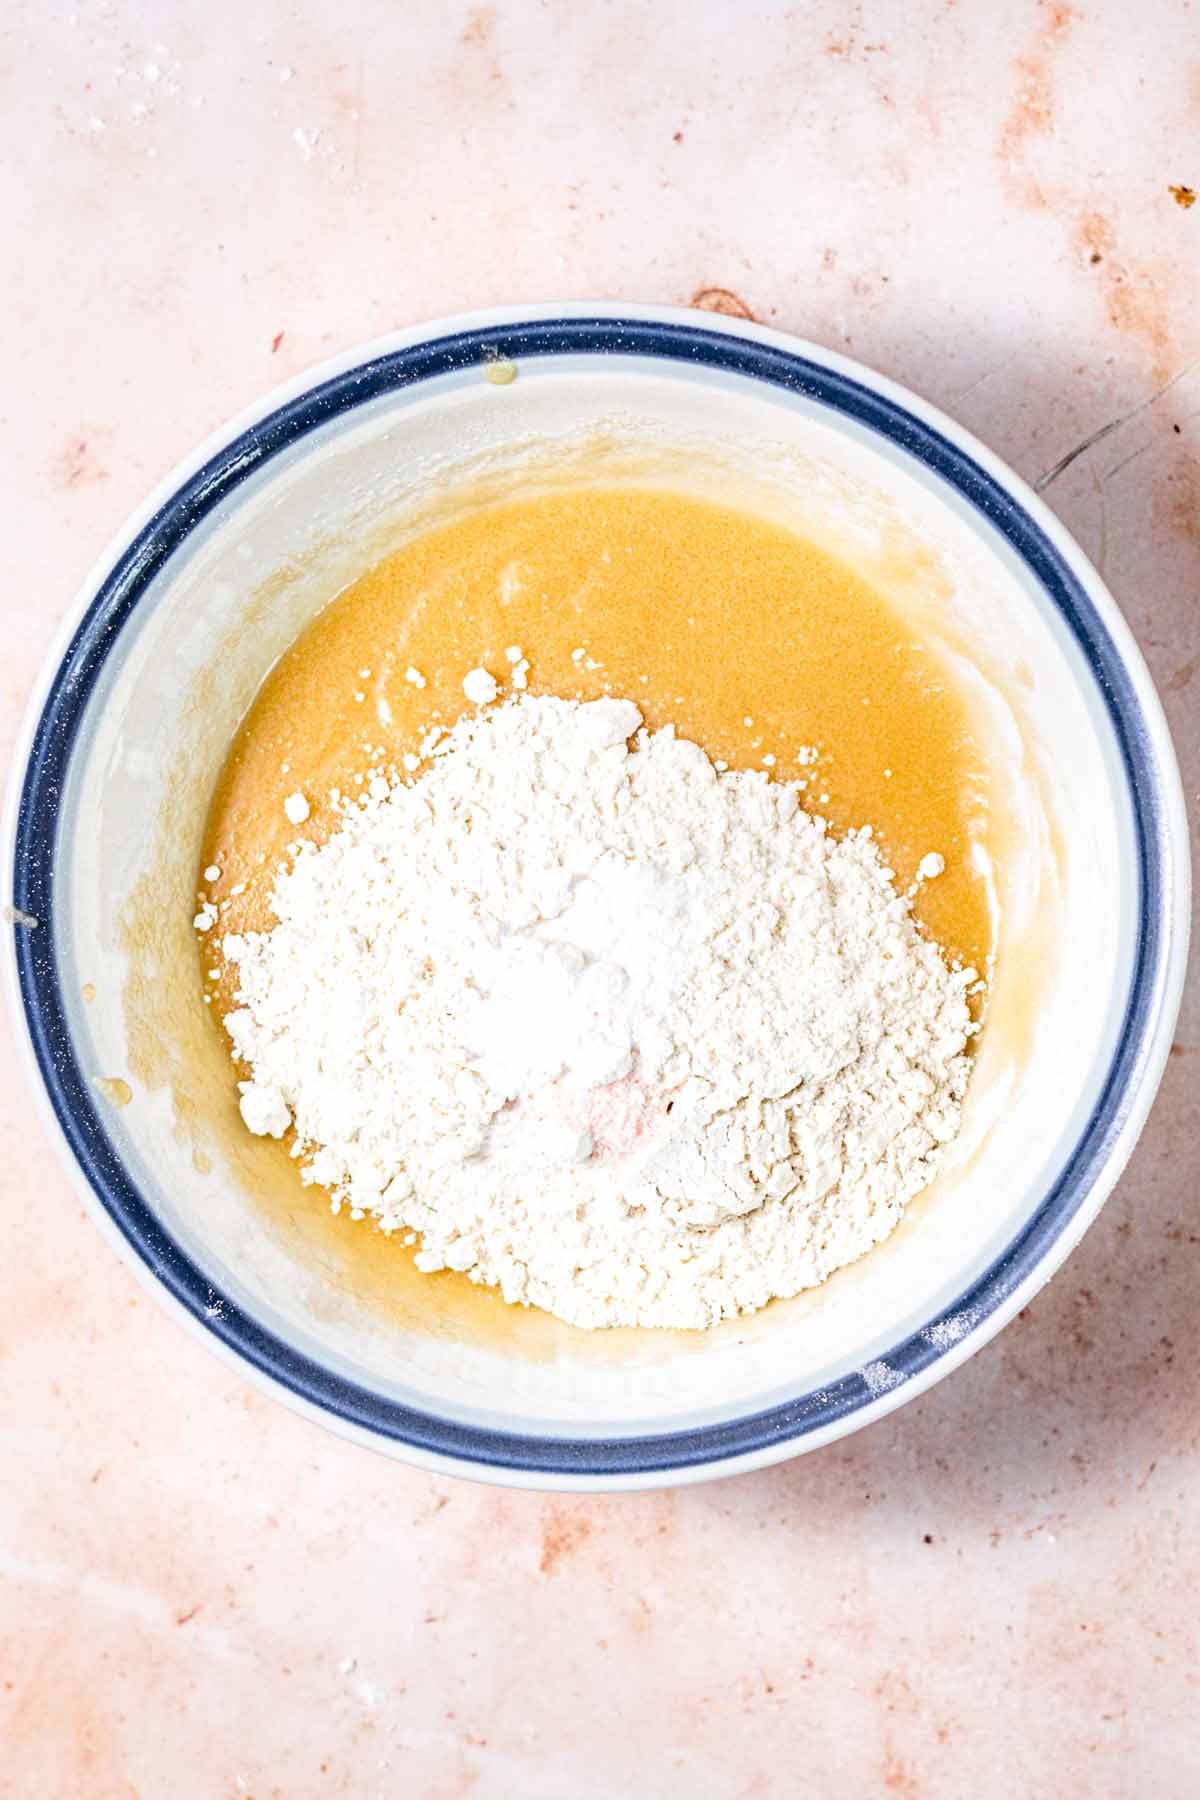
Add the dry ingredients on top and sift them together with a fork. Then mix in with the butter mixture.

Add the chocolate chips and mix to combine. The dough should be fairly moist and scoop-able. If it looks very crumbly add 1-2 tsp of water or dairy-free milk to help moisten the dough.

Scoop the cookie dough on the baking sheet, leaving 2 inches (5cm) between each dough ball.
STEP 5: Bake for 9-12 minutes. If you’d like to air fry these cookies, follow the instructions in this post.
STEP 6: Leave the baked cookies on the cookie sheet for 3-4 minutes. They’ll finish cooking while on the sheet. Transfer to a wire rack to finish cooling.

Baking Tips
- For a soft center and chewy edges: under bake don’t over bake the cookies! They’ll finish cooking while cooling on the baking sheet. I found 9-10 minutes to be the perfect time for cookie dough balls that are 2-3 tablespoons in size.
- For softer cookies with chewy centers: decrease the oven temperature to 325F and bake for 10-12 minutes. A hotter oven will caramelize the sugars and create a crispier texture and a cooler oven will result in softer cookies.
- For a caramel flavor: Sub half the granulated white sugar for light brown sugar.
- Adjust baking time according to the size of cookie: small cookies bake faster, larger cookies will need a few more minutes. Keep an eye on the cookies as they bake.
Storage
These cookies can be stored at room temperature in an airtight container for up to 3 days.
They’ll stay soft at room temperature, but after that, I recommend transferring them to a freezer proof baggie and freezing them for 2-3 months.
- To reheat the cookies: place them in the microwave for about 10 seconds on high power. This will soften the cookies and melt the chocolate again. I highly recommend this for second or third day cookies!
Helpful Tips For The BEST Eggless Cookies
- The butter should be just melted and should not be hot: we don’t want to melt the sugar or the chocolate chips.
- Leave the cookie dough in the oven until just baked: 9-10 minutes for large cookies should be just enough time. The tops of the cookies should still look somewhat doughy.
- Tap the baking tray after baking: this helps deflate the cookies and creates chewier edges.
these create the best flavor & texture!

FAQ
Bake these cookies at 350F for 9 minutes for a chewy cookie. This will caramelize the sugar, resulting in a chewier cookie.
To make this eggless chocolate chip cookie recipe, you only need 7 ingredients and you don’t need any egg replacers. The ratio between the wet and dry ingredients has been perfected for this recipe. The result is a soft, decadent, chocolatey and gooey cookie.
I don’t recommend using dark brown sugar. There is a higher molasses content in dark brown sugar which will make the cookies spread more than intended.
No, even though this cookie dough doesn’t have any eggs, it’s not safe to eat raw. Uncooked all-purpose flour can have harmful bacteria.

More Classic Eggless Cookies
Video Tutorial:
[Note: ad-blocker plugins block this video, which may be why it isn’t visible. Temporarily disable the plugins to see the video.]

Eggless Chocolate Chip Cookies- No Egg Replacer!
Rate this RecipeIngredients
- ¼ cup salted vegan butter, melted but not hot, like Violife Vegan Butter
- ¼ cup granulated cane sugar, 50g
- ¼ cup light brown sugar, 50g, or dark brown sugar
- 2 tsp pure vanilla extract
- ¼ tsp sea salt
- ¾ cup all-purpose flour, 95g, spooned from bag & leveled off (don’t pack the flour down)
- ½ tsp baking soda
- ⅓ cup semi sweet chocolate chips, or chopped chocolate chunks (dairy-free) – plus extra for topping
Optional
- 1-2 tsp milk of choice, dairy-free like almond milk (to add if the dough looks dry)
Instructions
- *Video Tutorial is Above the Recipe Card*Preheat the oven to 325°F (160°C) and prep the baking sheet with white parchment paper (see notes for more tips).
- In a mixing bowl, cream the melted butter, sugar and vanilla together.¼ cup salted vegan butter, ¼ cup granulated cane sugar, 2 tsp pure vanilla extract, ¼ cup light brown sugar
- Add the dry ingredients (flour, baking soda, salt) on top and sift them together with a fork. Then mix in with the butter mixture.¾ cup all-purpose flour, ½ tsp baking soda, ¼ tsp sea salt
- Add the chocolate chips or chopped chocolate chunks, and mix to combine.⅓ cup semi sweet chocolate chips
- The dough should be fairly moist and scoop-able. If it looks very crumbly add 1-2 tsp of water or dairy-free milk to help moisten the dough.1-2 tsp milk of choice
- Scoop the cookie dough into balls and place them on the baking sheet, leaving 2 inches (5 cm) of space between each dough ball. This recipe makes 6 very large cookies or 9-10 regular-sized cookies
- Bake at 325°F for 9-12 minutes. The cookies should look just-baked with firm edges and a gooey center. Bake closer to 9-10 minutes for small cookies and closer to 10-12 minutes for larger cookies.Optional: Tap the baking tray on the counter 2-3 times to deflate the cookies. This helps create a chewier edge.
- Leave the baked cookies on the cookie sheet for 2-3 minutes. They'll finish cooking while on the sheet. Transfer to a wire rack to finish cooling. Top with flaky sea salt and enjoy warm!
Video
Recipe notes
- Parchment paper: I like using white parchment because the cookies don’t brown as fast or spread as much (versus cooking them directly on the pan or using brown parchment paper).
- For a crispier cookies with extra chewy edges: Bake these cookies at 350F (instead of 325F) for 9-10 minutes.
- Tap the baking tray after baking: this helps deflate the cookies and creates chewier edges.
- Double or triple this recipe for a larger batch!

Did You Make This?
Leave a star rating and a comment below to let others know how it turned out for you!
Want to save this recipe for later? Pin it to Pinterest!




Could I make this recipe into a DIY cookie jar to gift to a friend who’s allergic to eggs?
I’m making DIY cookie jar favors for my baby shower and don’t want her to feel left out, not being able to take a favor home.
these cookies look absolutely delicious and the amount of ingredients look perfect to fit in a jar.
should i split the sugar between granulated and brown to help the flower be separated from
the flour mixture?
Please let me know what you think!
sorry – i meant the two sugars to help be separated from the flour.
Hi Alyssa! A cookie jar sounds like such a fun idea. If you’re able to put the sugars near the top of the jar, so that you can scoop them out to cream with the butter that would be best! Maybe the flour mixture is at the very bottom, chocolate chips in the center and sugars at the top? That way the sugars can be dumped out easily.
omg, these cookies are soo good!, I have had many failed attempts with other cookie recipes, but this one worked first try!!!!
Have recently had an egg intolerance and the recipes with egg substitutes are such a pain. These were so good and easy! Saved for future use 🙂
beautiful
I was the best cookie I’ve ever tasted. My daughter especially loved it.
so glad you all enjoyed it!