This post may contain affiliate links, view our disclaimer for details.
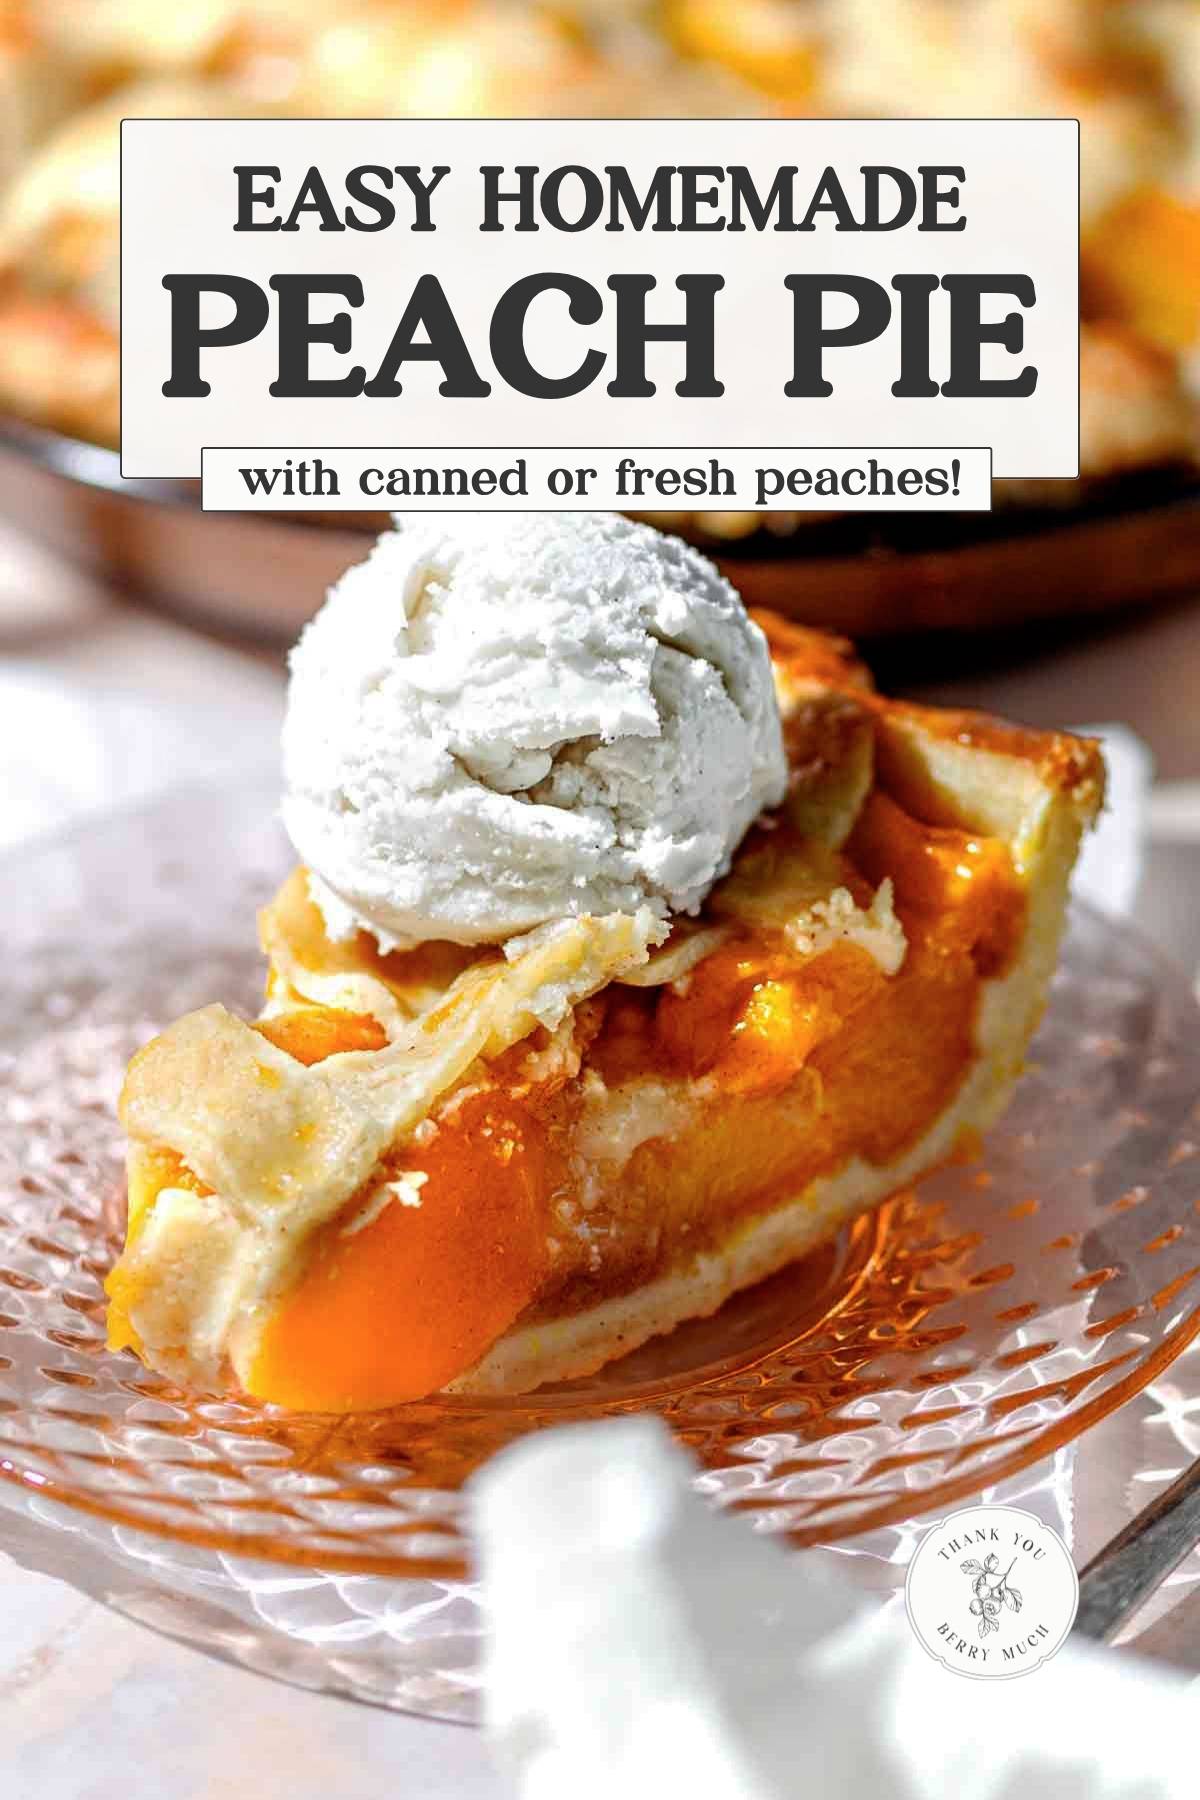
This easy peach pie with canned peaches has a flaky, golden crust and a sweet, gently spiced filling that tastes like summer. Whether you use a store-bought crust or the homemade pie dough recipe below, this old-fashioned dessert tastes just like something Grandma would bake.
Why you’ll love this peach pie With Canned Peaches
I’m a huge fan of all things peach flavored. I recently made these super delicious stovetop peaches (that you could even use as a homemade peach filling for this recipe), as well as my classic peach cobbler.
I love baking recipes like these with fresh peaches, but they’re only ripe in mid-to-late summer. So what better way to enjoy peach season all year long than with this peach pie that’s made with canned peaches! Here are a few reasons we love this pie and you will too:
Emily’s Recipe Notes:
- Peach Pie All Year Long: This recipe allows you to have pie in the summer and in the winter!
- The Best Peach Flavor: The filling includes spices like cinnamon and is sweetened with brown sugar. Peach preserves on the crust also enhance the peachy flavor!
- Super Easy Peach Pie: Quick and easy- no peeling peaches needed.
- Use Canned or Fresh Peaches: You can also use fresh, in season peaches!
🍑 Ingredients
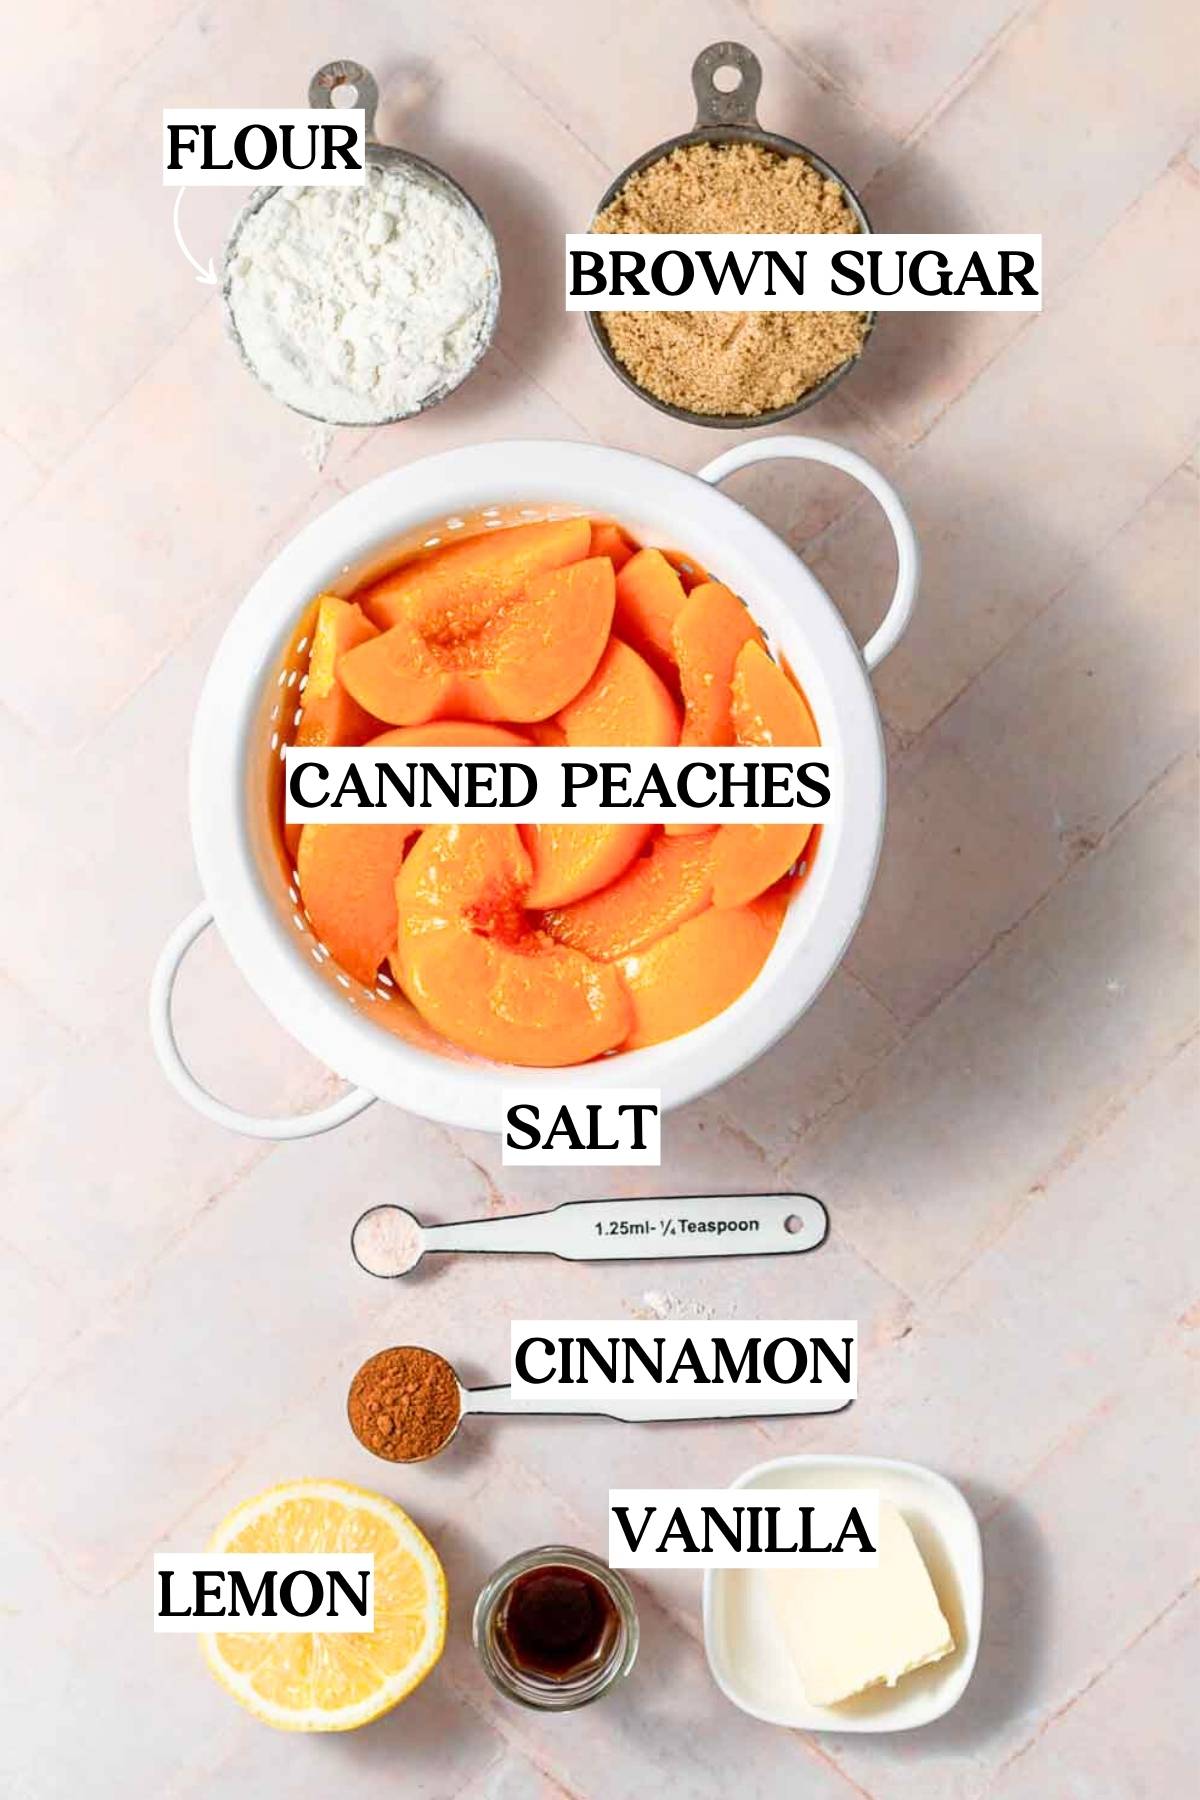
What I love about this pie recipe is that it’s incredibly easy to make dairy-free and vegan friendly. So, if you have family members or guests who have allergies or dietary restrictions, no-one has to miss out. It’s a Southern classic, just like my vegan pecan pie. Below are a few of the simple ingredients we’ll need to make it:
Storebought or Homemade Pie Crust
To make this recipe super easy, you can use your favorite pre-made pie crust. But if you prefer to make your own, this Homemade Pie Crust recipe will walk you through how to make one that’s perfectly flaky, and dairy-free!
Canned Peaches
Of course, you can’t have peach pie with out the fruity filling. Most canned peaches are packed in a sticky corn syrup.
For this recipe, I recommend trying to find cans of peaches that are packed in a ‘light’ syrup or in fruit juice. The less sugar content there is, the better the filling will set up. Most grocery stores should have a variety of options to pick from.
You can also sub in fresh ripe peaches for the filling instead of canned ones. You’ll need about 8-9 medium-sized fresh peaches, which when sliced is about 4-5 cups.
All Purpose Flour
A bit of flour helps thicken up the filling. You can also use cornstarch as a thickening agent. Use about 1/3 cup of cornstarch.
Light Brown Sugar
A bit of brown sugar sweetens the filling and helps give the peaches a nice caramel-like flavor. The sugar creates a sticky, syrup when baked!
Peach or Apricot Preserves
Instead of a traditional egg wash, we’re going to be brushing the crust with a bit of peach preserves. These help caramelize the crust and they add extra flavor. This is a trick I learned from my mom and it turns out great in all sorts of fruit pies.
For more egg wash substitutes see this post.
Step-by-step instructions
*Video Tutorial is in the Recipe Card below!*
How to Make Peach Pie with Canned Peaches!
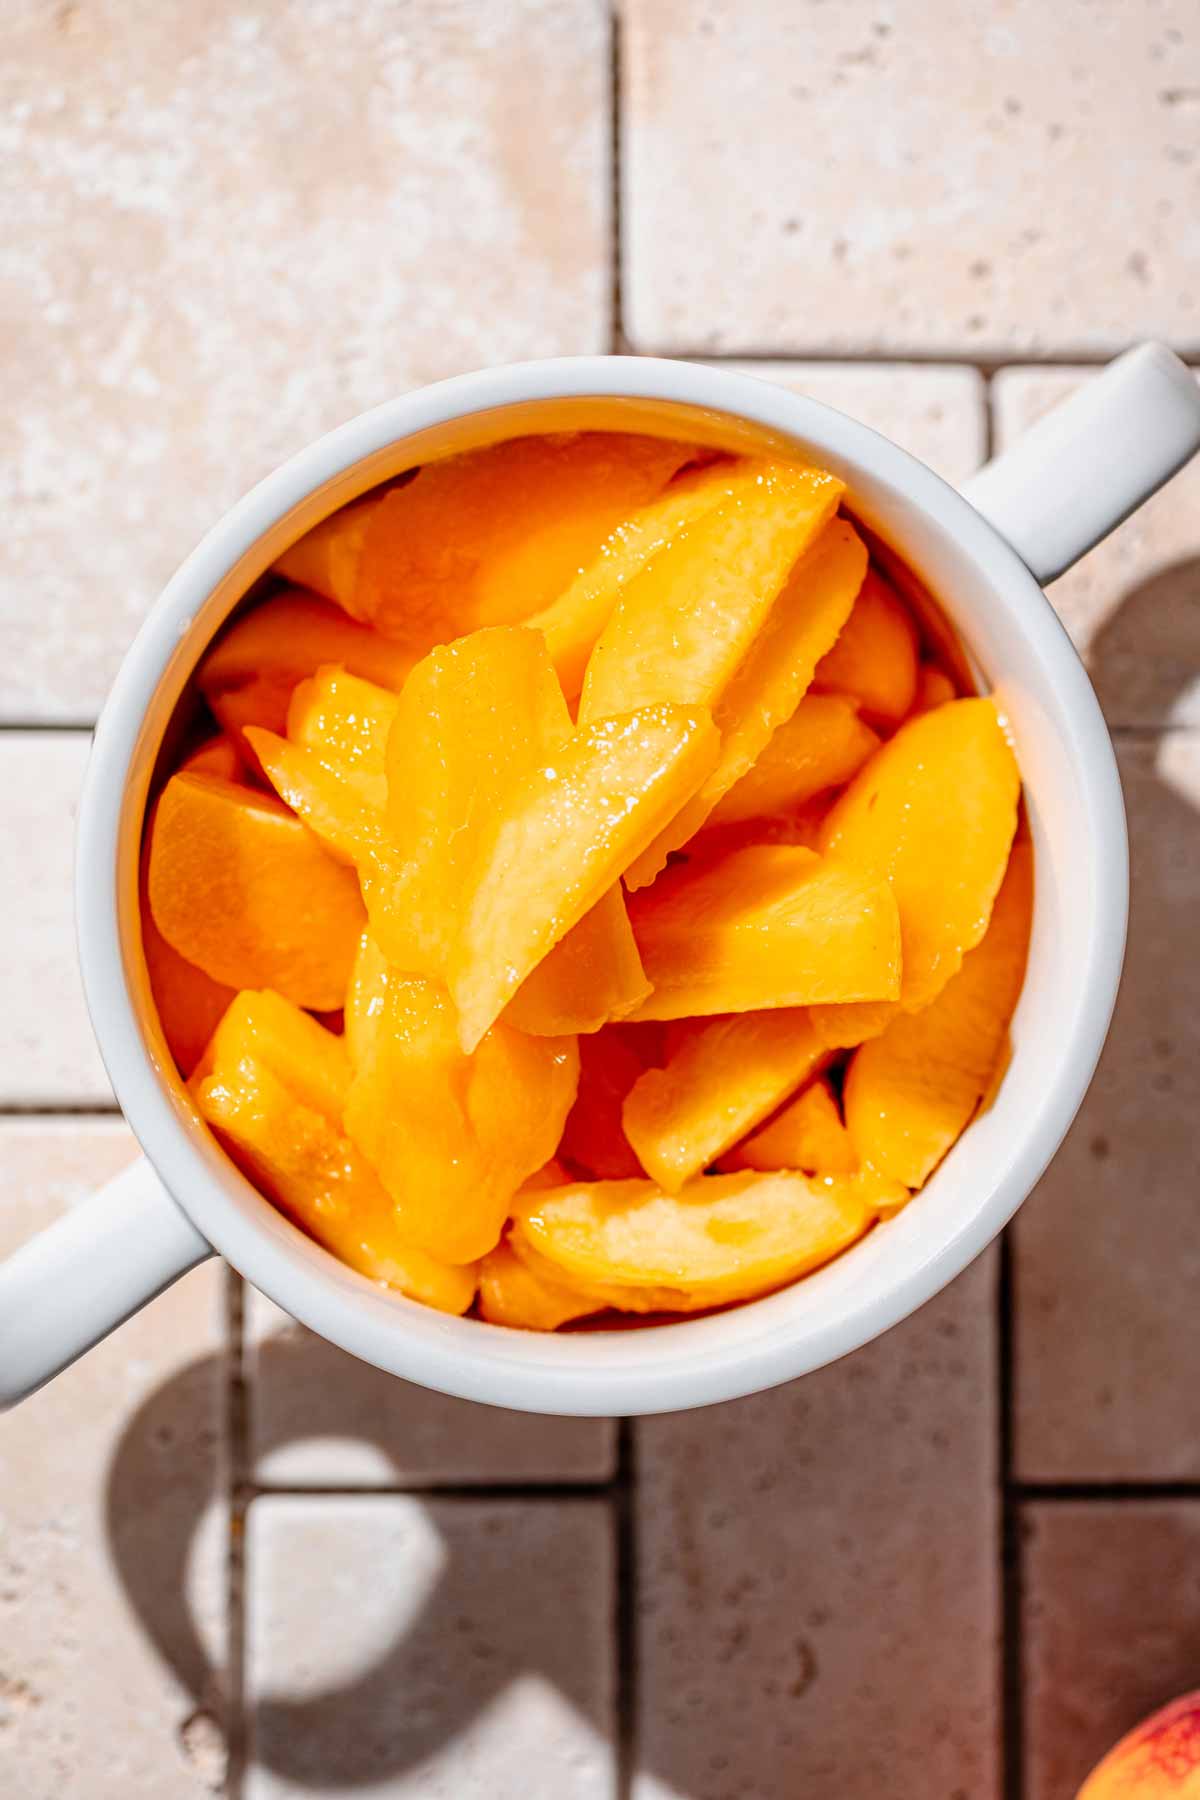
Strain the canned peaches and pat them dry with a paper towel to remove the excess moisture. If you don’t drain the peaches well enough, it could result in a runny pie filling.
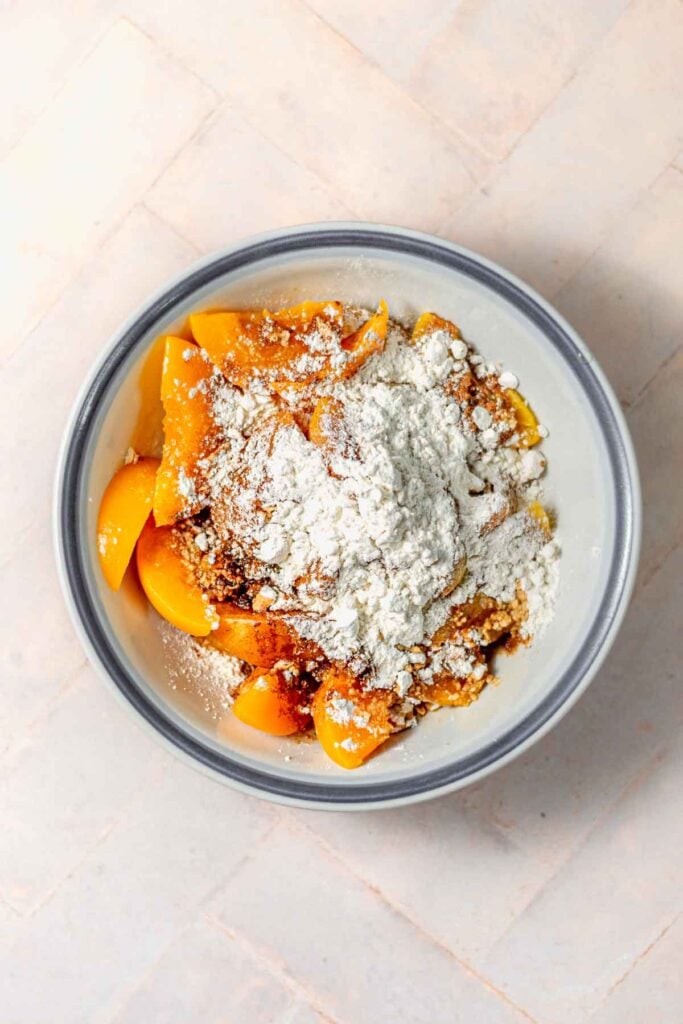
In a large bowl, prep the filling by adding the peach slices, lemon juice, brown sugar, melted butter, flour, salt, and spices.

Stir to combine. Make sure all the slices are coated with the mixture.
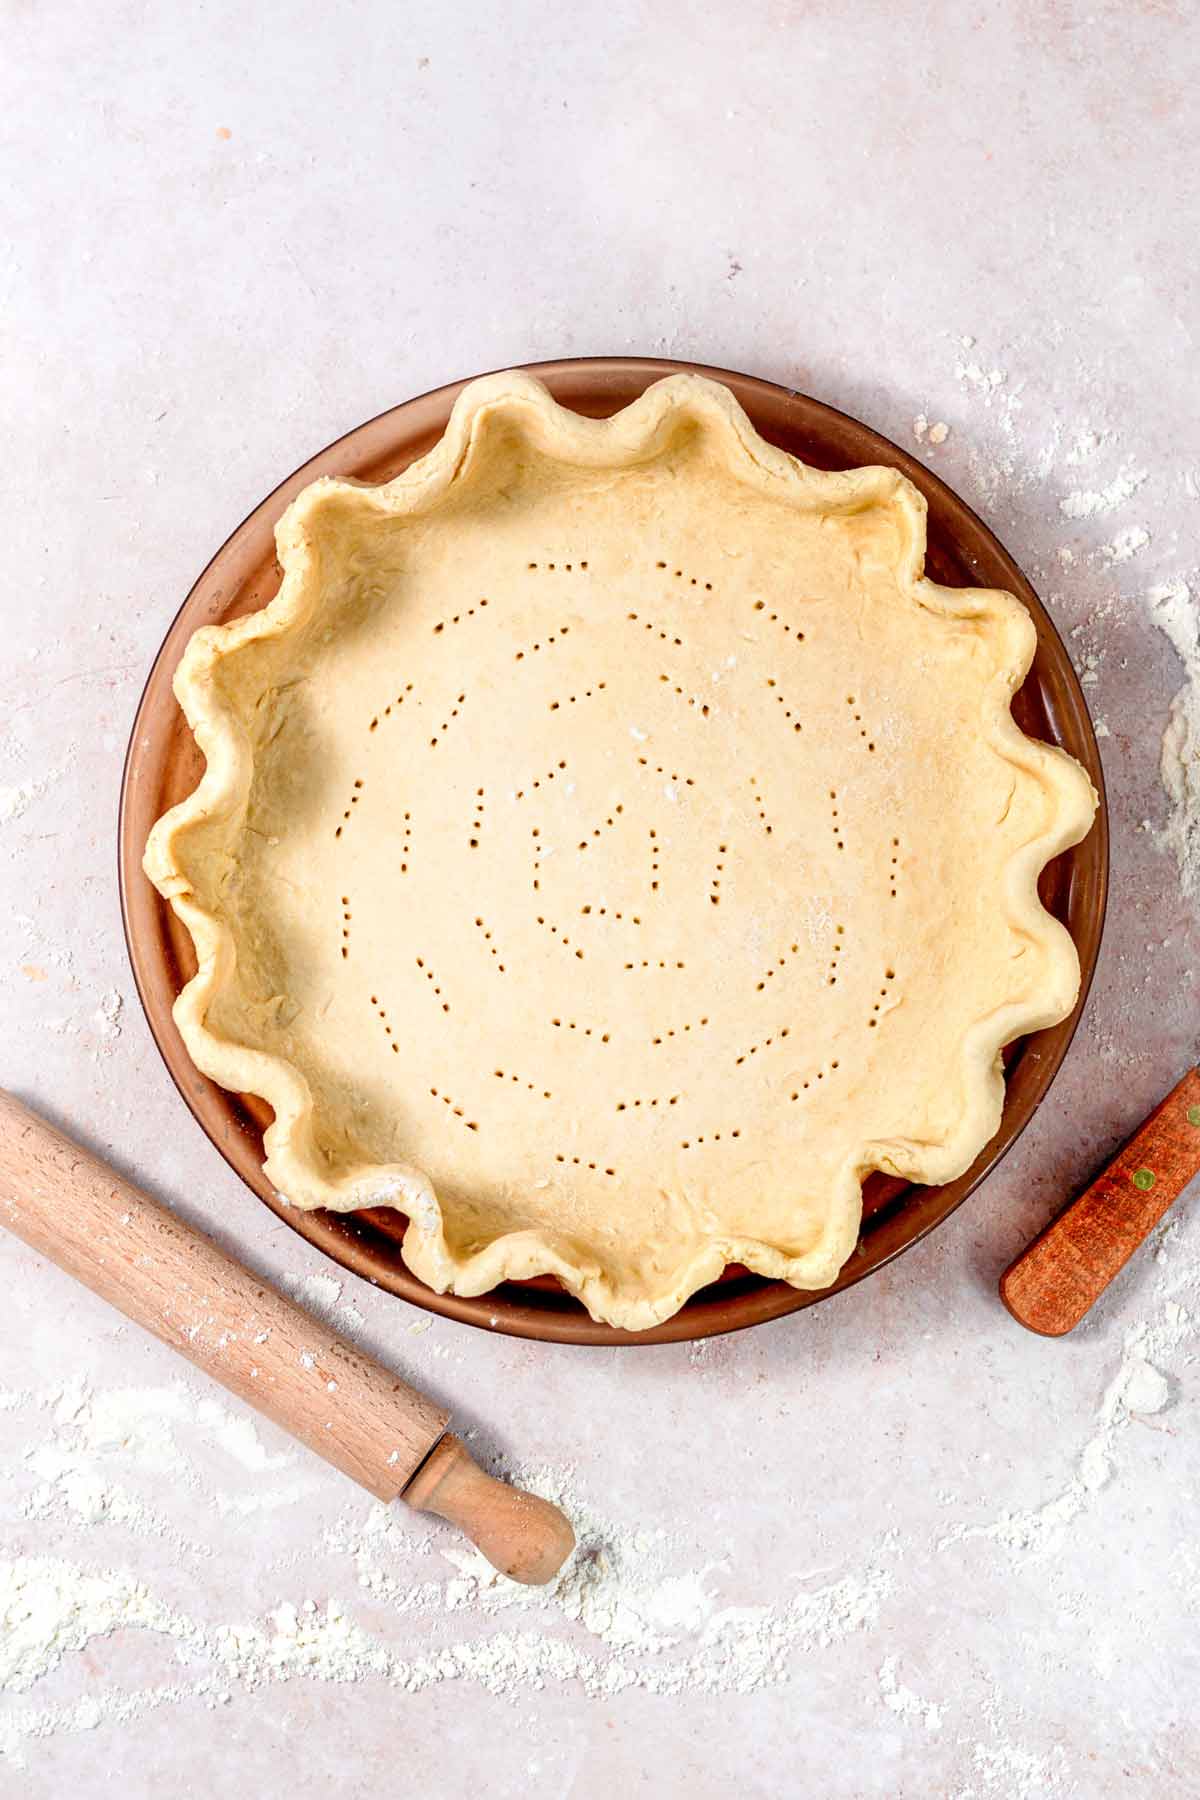
Line a 9″ pie pan with the bottom crust. Poke holes in the bottom of the crust in a radial pattern with a fork.

Add the peach mixture into the pan, on top of the pie crust, mounding the peaches up in the center.

Add the second pie crust to the top and create a lattice. Brush the peach or apricot preserves on the lattice and the edges of the pie crust.
How to Make a Lattice Crust & Bake
- To create a lattice as the top crust, roll the dough out into a 12” circle and cut the crust into 0.5″ strips to lay on top of the peaches.
- Lay half of the strips horizontally. Then, start weaving the remaining strips in.
- Place one long strip of dough perpendicular to the horizontal dough. Unfold the strips and then lay them over the perpendicular strip. Continue adding the perpendicular strips to weave them all in.

Cover the crust with aluminum foil or a pie shield and bake for 40 minutes. Remove the foil or shield and bake for another 15 minutes to brown the crust (for a total bake time of 55 minutes).

Remove from the oven and let cool completely before cutting.
Serving & Storage
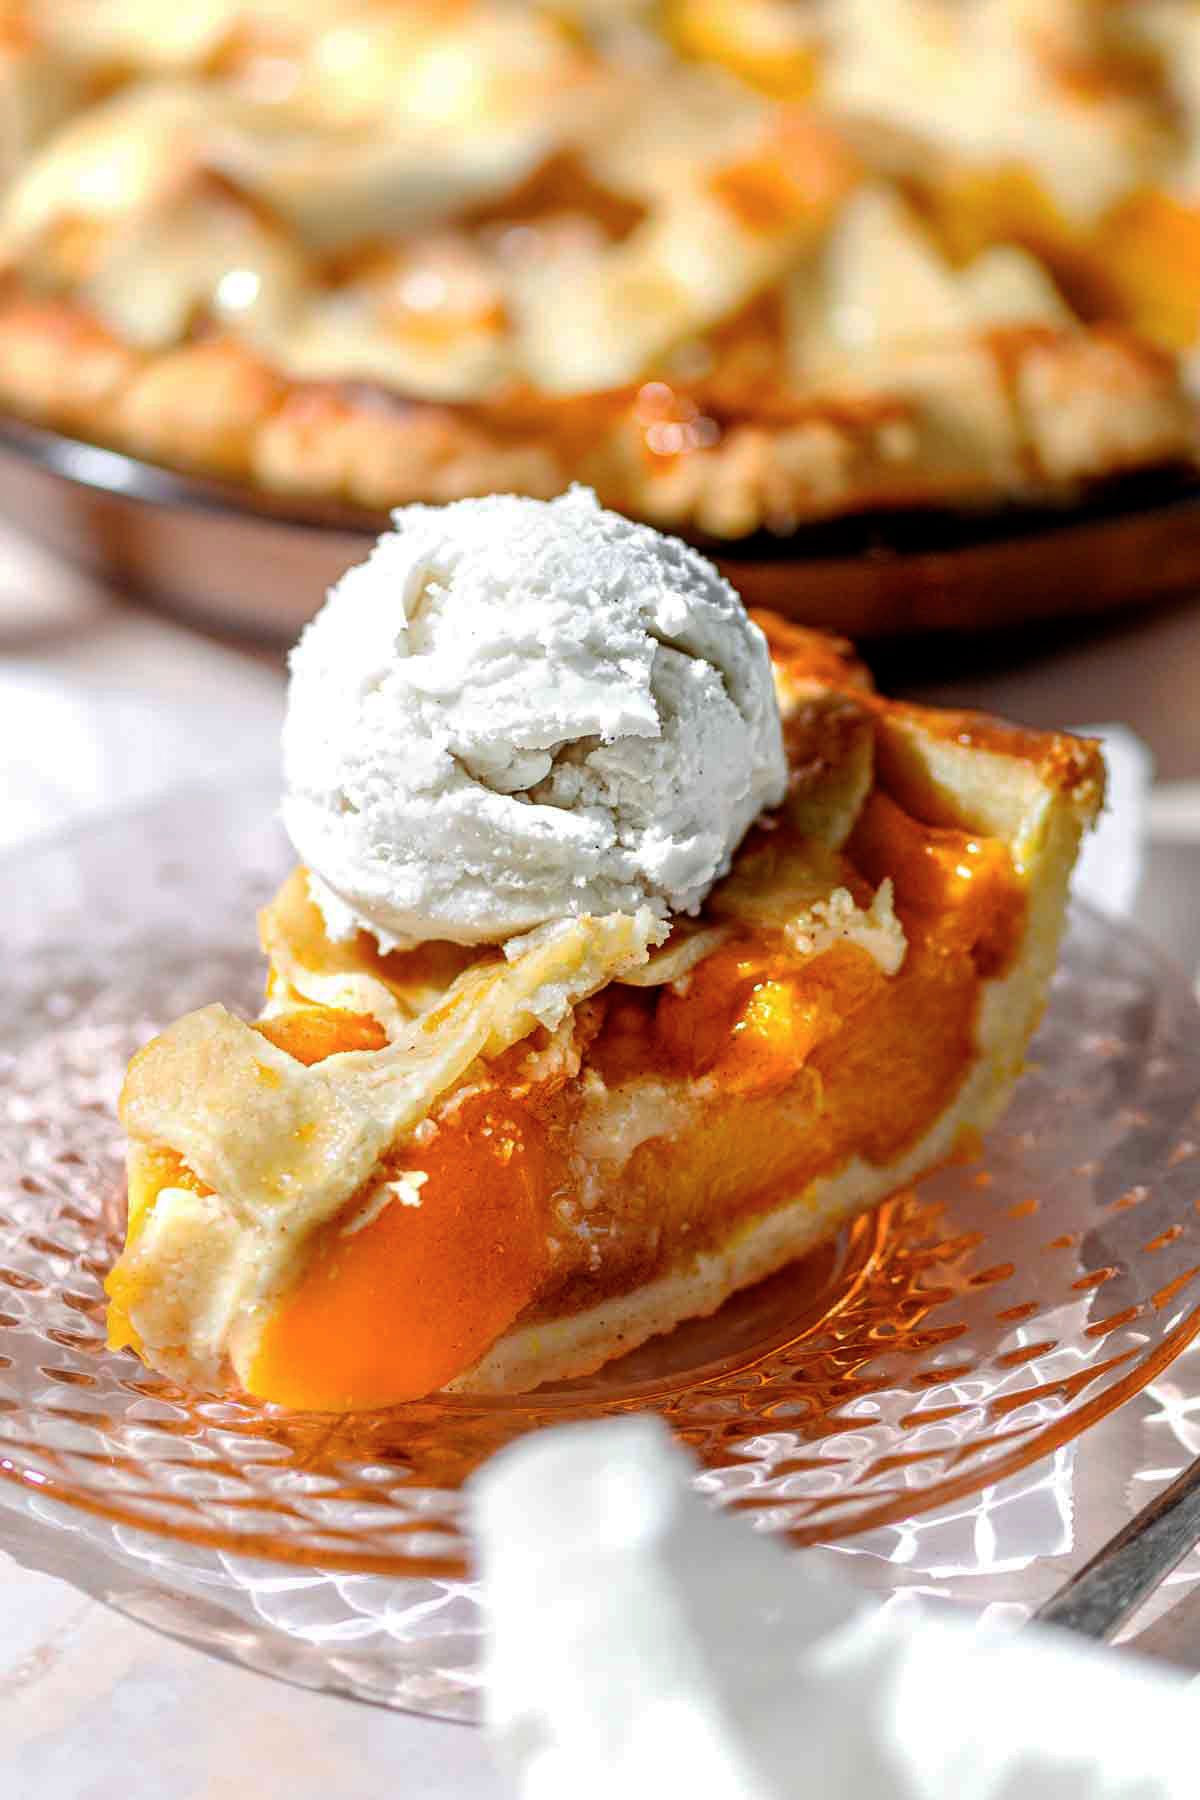
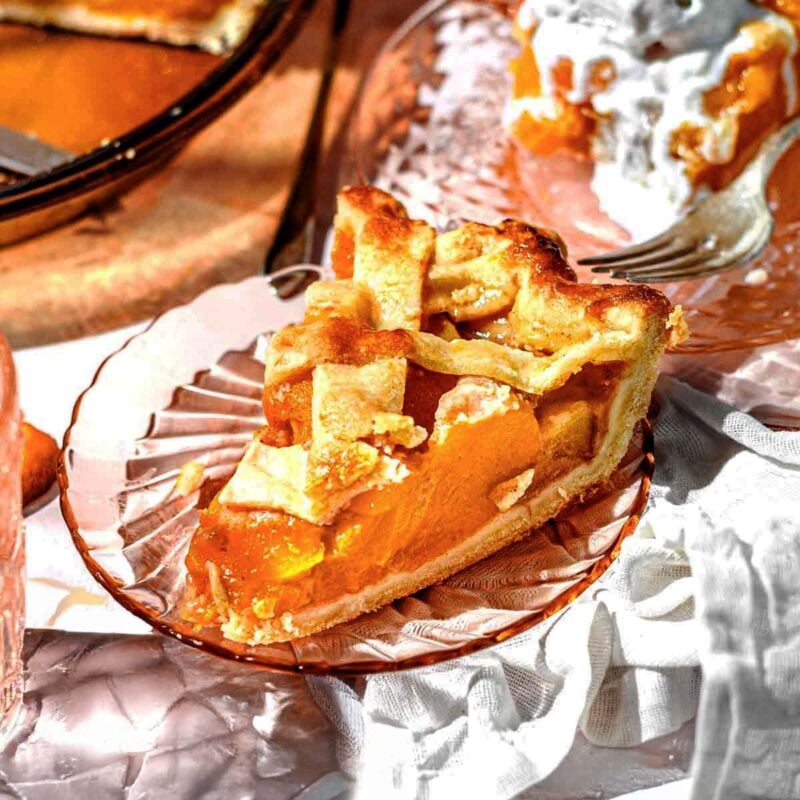
This homemade vegan peach pie is best served warm the first or second day. The fresh peaches will be bubbly in their thick sticky syrup and the lattice pie crust will be warm and crispy.
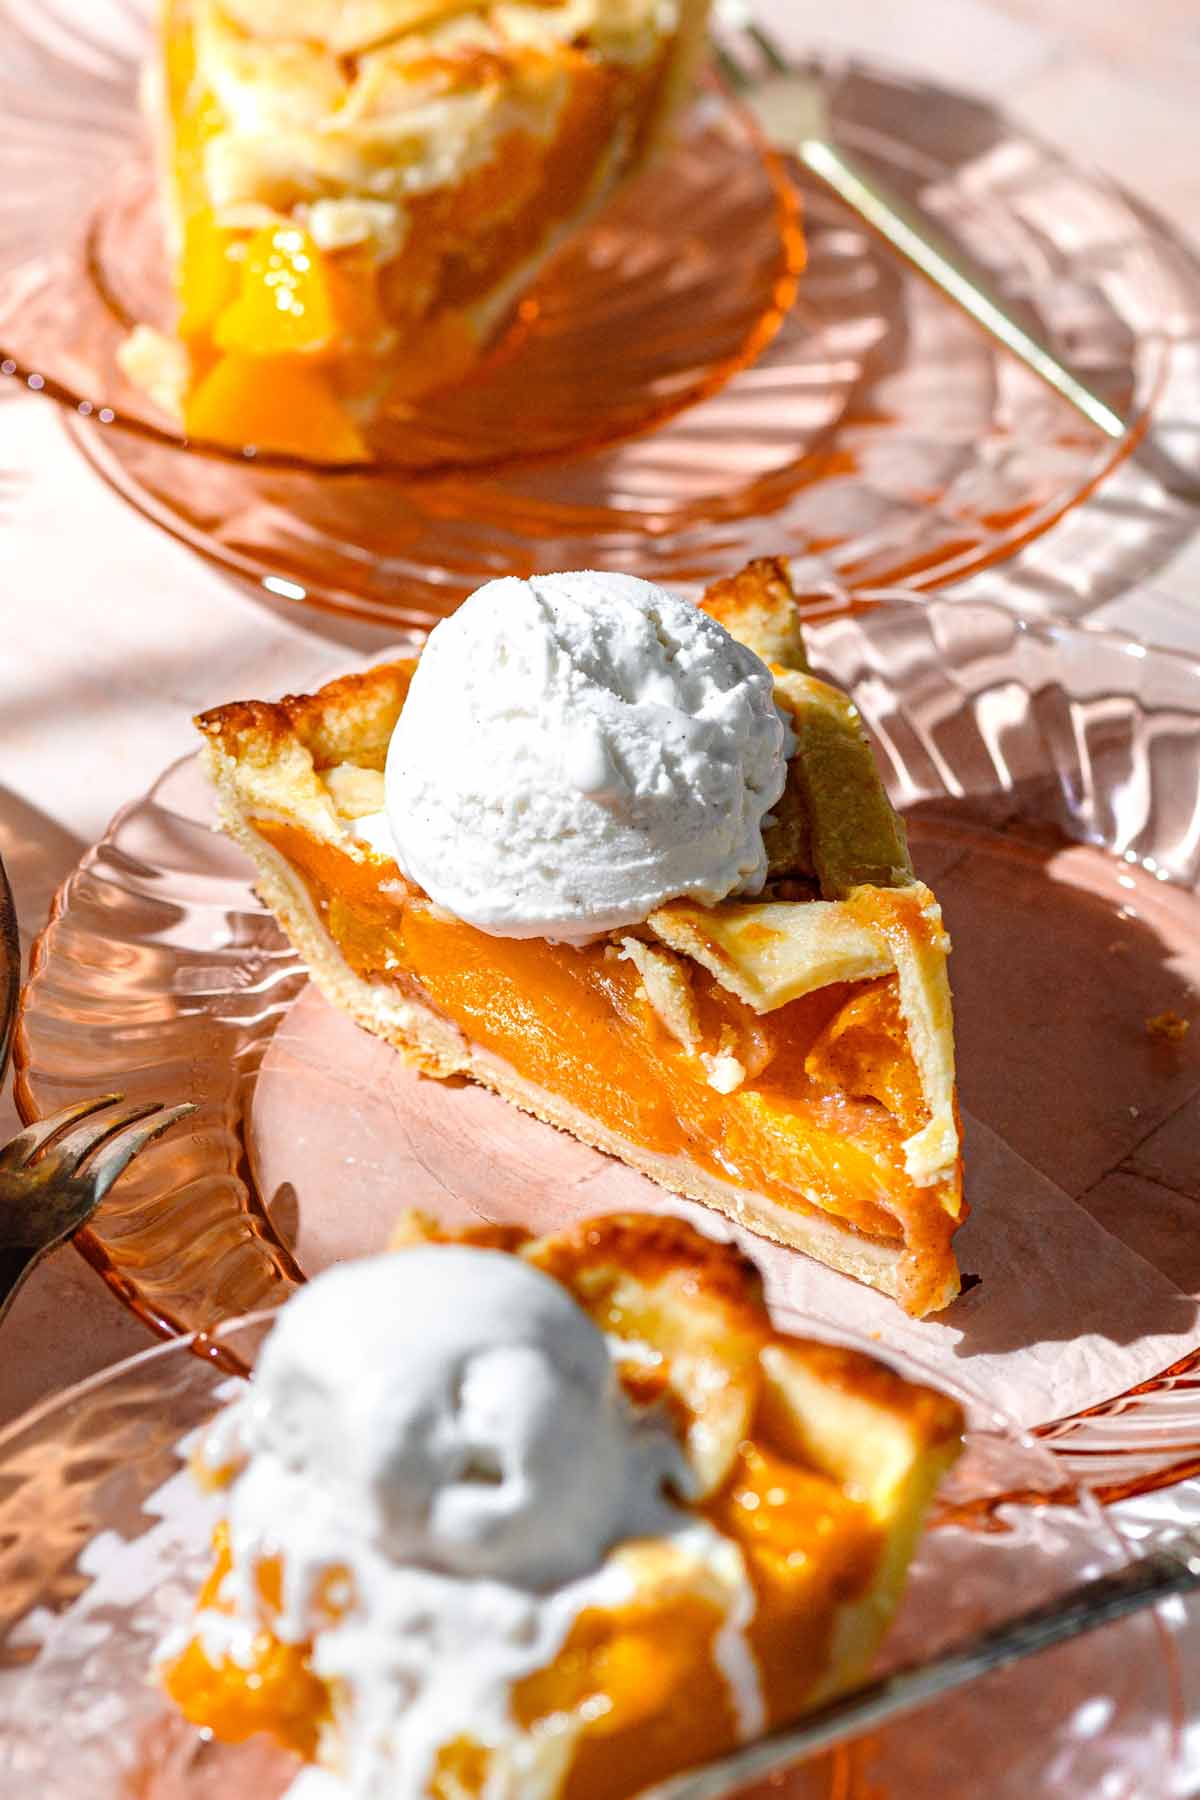
It’s super delicious served with dairy free whipped cream or with a big scoop of vanilla ice cream on top. The peach filling has just the right amount of sweetness so that the pie isn’t overly sweet when served with ice cream.
storage Tips
- Room Temperature: Cover the pie with aluminum foil or plastic wrap and store at room temperature for 1 day.
- Fridge: After 1 or so days, I recommend storing the pie in the refrigerator in an airtight container.
- Freezer: After baking and cooling, store individual slices wrapped in plastic wrap in an airtight container. Freeze for up to 3 months.
Tips For Baking with Canned Peaches
- Drain and pat the canned peaches dry: Removing the excess liquid helps prevent a soggy bottom crust.
- Taste the peaches before using and baking: Canned peaches vary in sweetness. Taste and adjust the sugar or spices in your filling to balance flavors.
- Use peaches packed in light syrup, not heavy: Light syrup adds flavor without making the pie overly sweet or watery. Avoid heavy syrup, which can overwhelm the filling and affect how it sets.
these create the best texture!
Peach Pie FAQ
If using frozen peaches, let them thaw completely before mixing with syrup ingredients. Frozen peaches tend to be less sweet than fresh peaches, so additional sugar may need to be mixed into the filling.
When first out of the oven, the pie filling will be runnier since it hasn’t completely set up. After cooling for 2-3 hours, the filling should be a syrupy consistency, not runny. If you’d like the filling to set up further, place the pie into the fridge to completely cool down. I recommend placing it in the fridge overnight.
The pie crust will be golden brown and hard to the touch when finished baking. The fruit filling should be bubbling and syrupy in appearance.
For a 8 or 9 Inch Standard Pie Dish: 3 15-oz cans of peaches (or 45 oz total).
For a Deep Dish 8 or 9 inch Pie Pan: 4 15-oz cans of peaches (or 60 oz total).
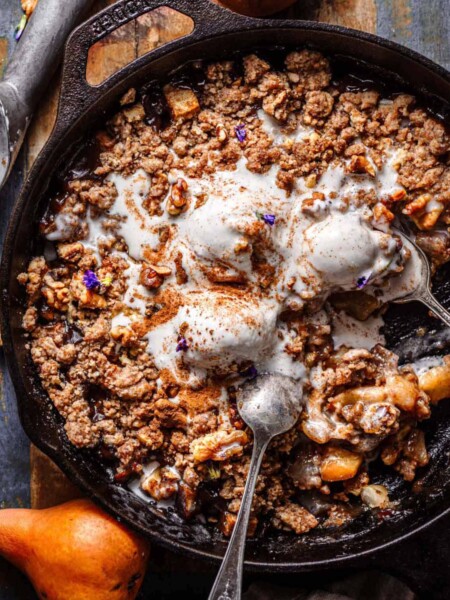
If you have leftover canned peaches, you can make these peach crisp overnight oats!
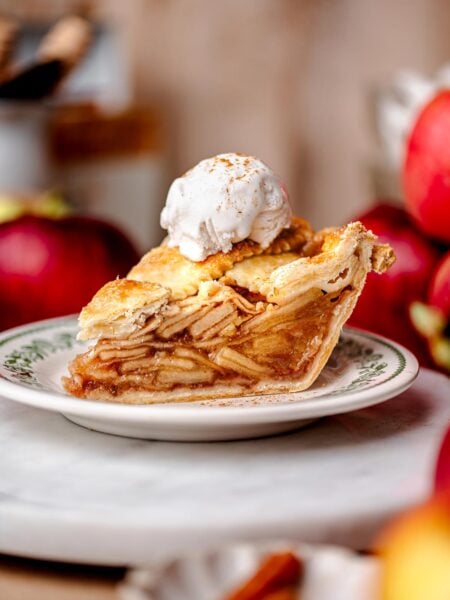
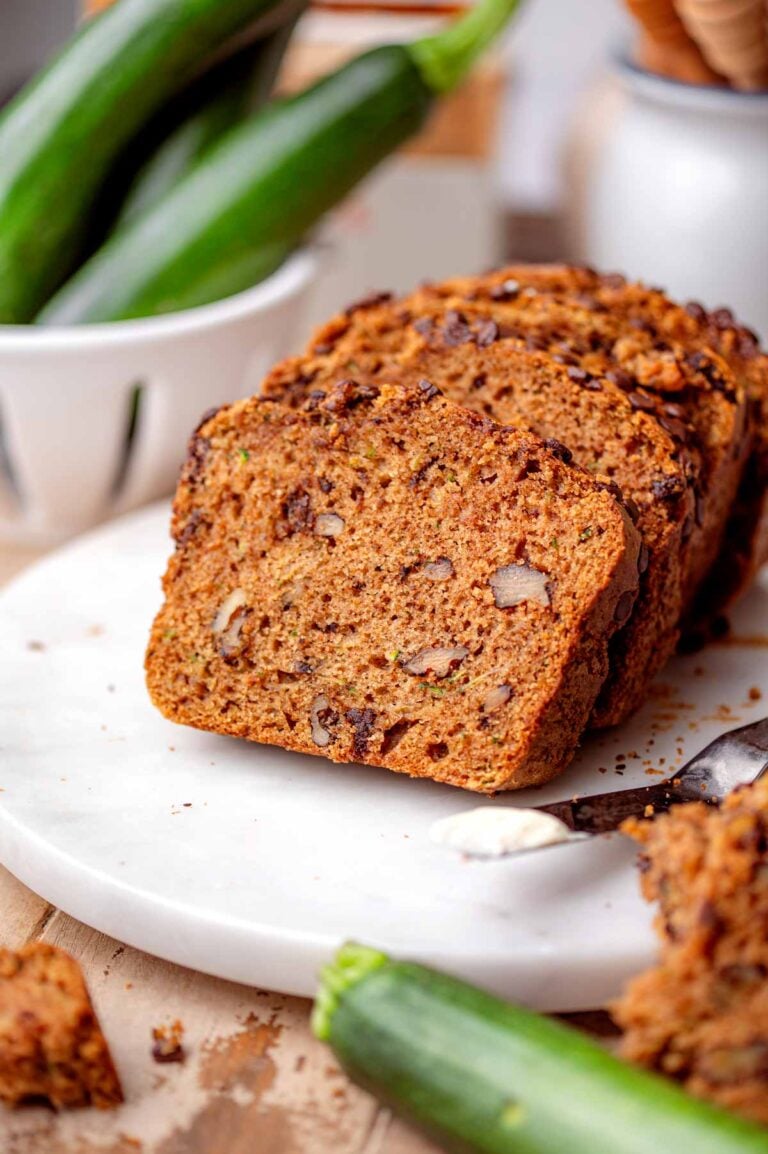
More Peach Recipes


Classic Peach Pie with Canned Peaches
Rate this RecipeIngredients
The Crust:
- 1 recipe homemade pie crust, or 2 store-bought 8-9” frozen crusts
The Filling:
- 45 oz canned peaches (in light syrup), drained & patted dry – for fresh peaches see note 1
- ½ cup light brown sugar, adjust to taste
- ¼ cup all-purpose flour, or ⅓ cup cornstarch
- ¼ tsp sea salt
- 2 tsp ground cinnamon
- 1 tbsp vanilla extract
- 1 tbsp lemon juice
- 1 tbsp melted salted butter, I used Country Crock Plant Butter (optional)
For the Crust:
- 1 tbsp apricot or peach preserves
- 1 tbsp coarse granulated sugar
Instructions
- Preheat your oven to 375°F. Make the crust according to the recipe above.(Optional) Bake the bottom crust: For a crisper base, you can par-bake it before filling. Line a 9-inch pie pan with your first pie crust and gently poke holes in the bottom with a fork. Bake at 375°F for 10–11 minutes, just until it starts to set. Let the crust cool completely before adding the peach filling.1 recipe homemade pie crust
- Make the filling: In a large bowl, combine the peach slices and all of the filling ingredients. Stir until the peaches are evenly coated.45 oz canned peaches (in light syrup), ½ cup light brown sugar, ¼ cup all-purpose flour, ¼ tsp sea salt, 2 tsp ground cinnamon, 1 tbsp vanilla extract, 1 tbsp lemon juice, 1 tbsp melted salted butter
- Add the filling: Pour the peach mixture into the crust, piling the fruit a bit higher in the center.
- Top with the second crust. For a lattice, cut the second crust into ½-inch strips. Lay half the strips across the pie in one direction. Weave the remaining strips over and under to form a criss-cross pattern.
- Glaze the crust: Microwave peach (or apricot) preserves for 15–20 seconds to loosen them. Brush the preserves over the top crust using a pastry brush. Sprinkle with granulated sugar.1 tbsp apricot or peach preserves, 1 tbsp coarse granulated sugar
- Bake: Cover the edges of the crust with foil or a pie shield. Bake for 40 minutes at 375℉. Then, remove the foil and bake another 10-15 minutes until golden and bubbly (55 minutes total).
- Cool and set: Let the pie cool completely at room temperature, then chill it in the fridge for at least 2 hours to help the filling firm up. Serve and enjoy! Top with coconut whipped cream or a scoop of non-dairy vanilla ice cream.
Video
Recipe notes
- Bring a large pot of water to a boil. Pierce the skin of each peach with a knife. Boil the peaches for 1 minute and remove them from the water. Let the peaches cool slightly, and then remove the skin. It should slide right off.
- Slice the peaches thinly and remove the pit. Add the peaches to a medium-size bowl and let cool to room temperature.
- 8 or 9 in Standard Pie Dish: 3- 15 oz cans of peaches (or 45 oz total)
- Deep Dish 8 or 9 inch Pie Pan: 4- 15 oz cans of peaches (or 60 oz total)
Did You Make This?
Leave a star rating and a comment below to let others know how it turned out for you!
Want to save this recipe for later? Pin it to Pinterest!


Categories:
Baked Goods, Pies, Crisps & More, Seasonal, Summer, Vegan Dessert Recipes, Vegan Recipes,


Did You Make This Homemade Easy Canned Peach Pie Recipe?
I’d love to know! Leave a star rating and comment below!