This post may contain affiliate links, view our disclaimer for details.
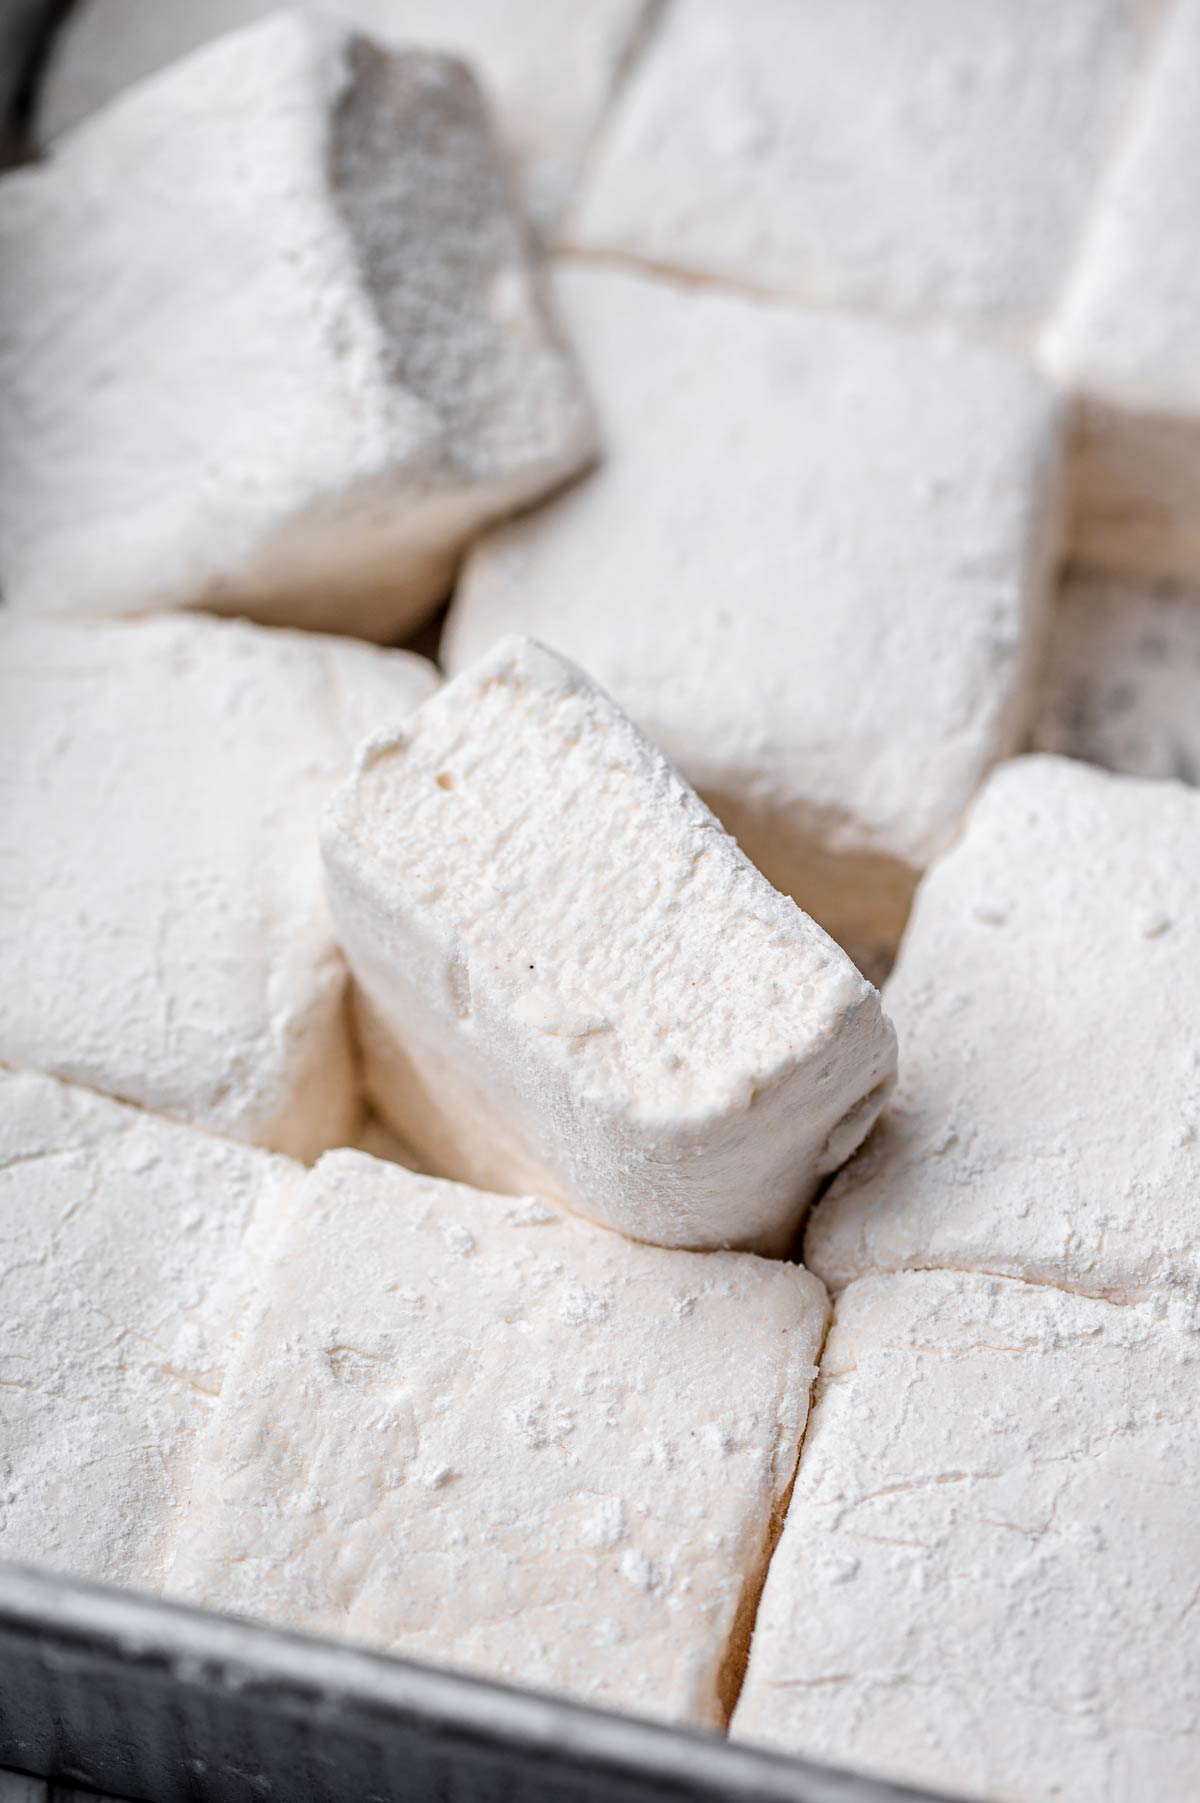
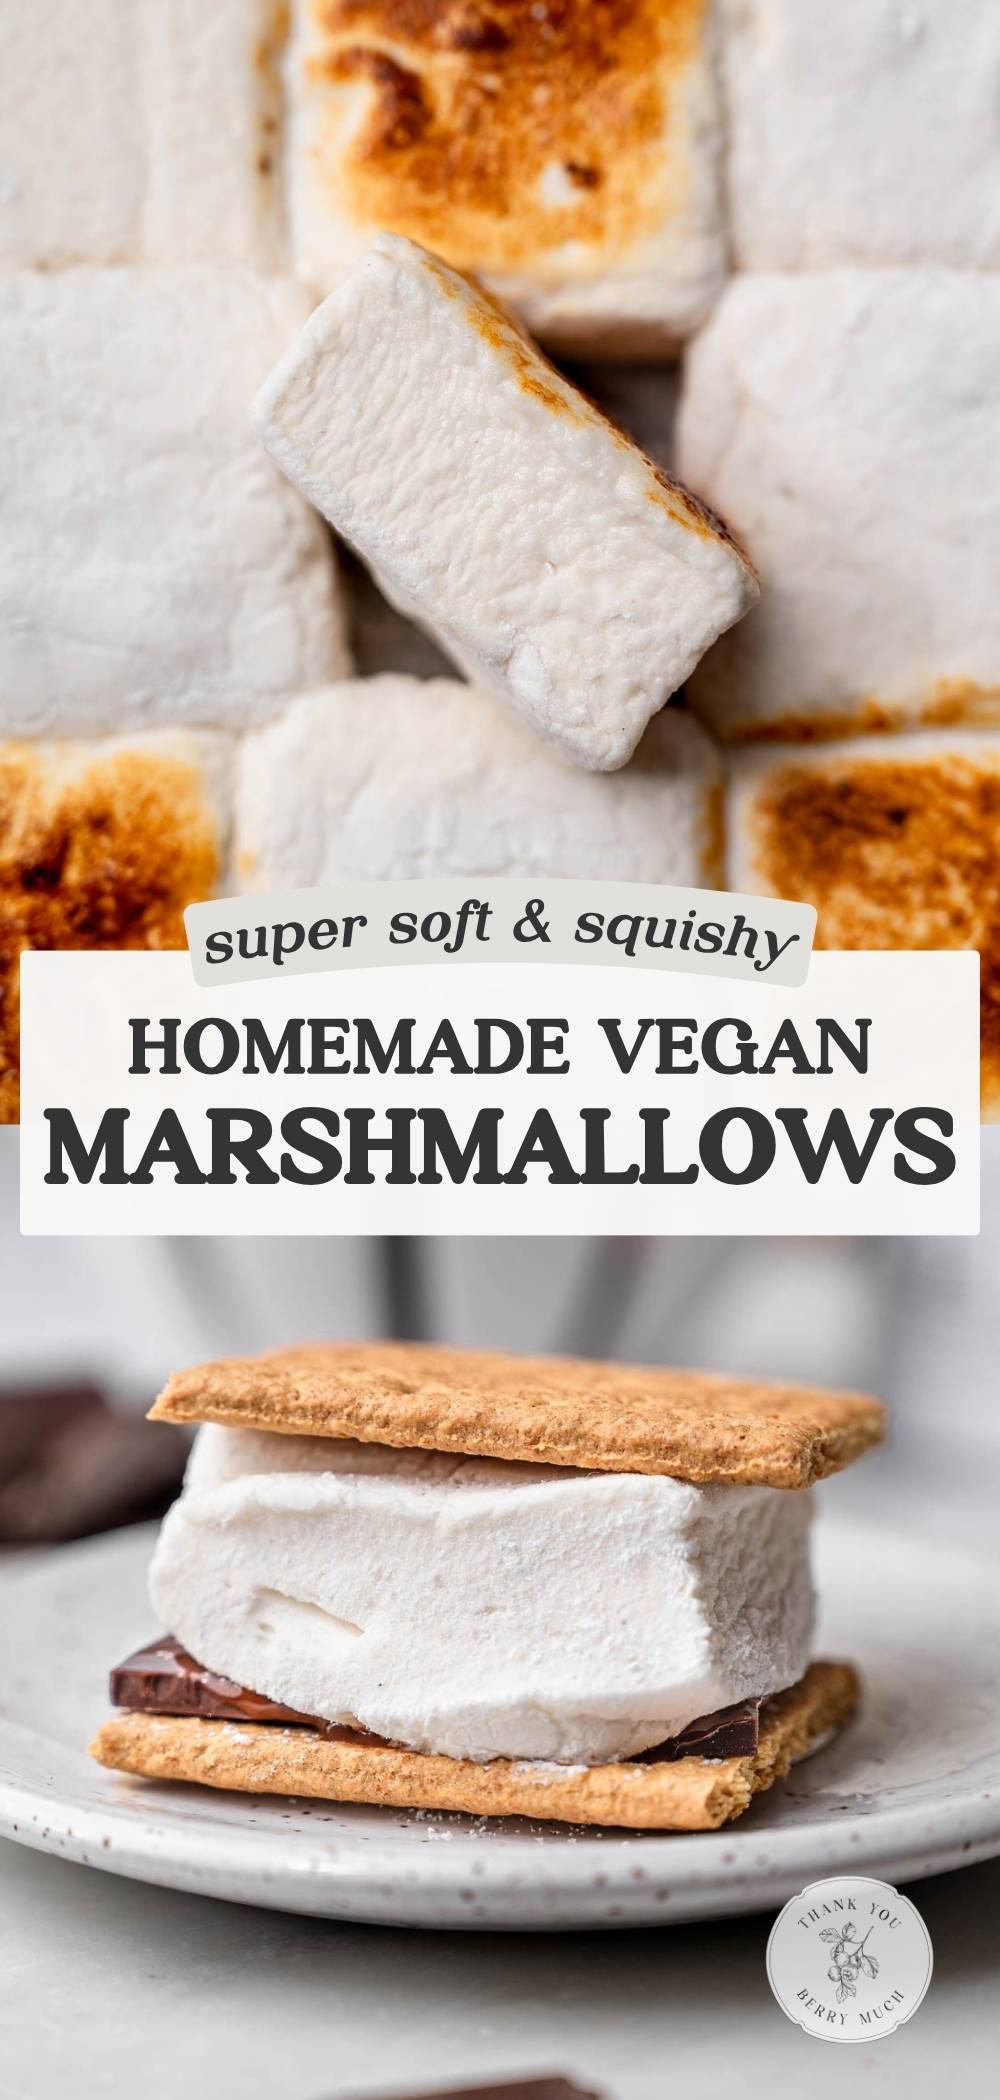
I’ve always loved marshmallows, and this vegan marshmallow recipe is my favorite way to make them at home, especially if you can’t find ones without gelatin at the store. They’re made without aquafaba or agar agar, and in my opinion, they taste way better than anything from a bag. They’re squishy, melt like a dream, and toast up so well. Fair warning: these disappear fast.
Why This Recipe Works
Traditional marshmallows are usually made with gelatin, which is animal-based and high in protein. It helps the marshmallows whip up and set into that fluffy texture. Some marshmallow recipes also use egg whites for extra aeration.
Why I Didn’t Use Aquafaba and Agar Agar
A lot of homemade vegan marshmallow recipes use aquafaba and agar agar, and while those can work, they don’t always give the best marshmallow texture. Aquafaba can whip up like egg whites, but it doesn’t have the same protein strength as gelatin or egg whites.
In my testing, aquafaba was really inconsistent. One can of chickpeas worked great and the next didn’t set up properly, with everything else kept the same. Agar agar sets firmly, but not in that soft, stretchy way gelatin does. It ends up more brittle or jelly-like than fluffy.
What Store-Bought Vegan Marshmallows Use
So instead, I looked at what store-bought vegan marshmallows are actually made of. Most aren’t using aquafaba or agar at all. They typically combine a syrup, sugar, a seaweed-based gelatin alternative like carrageenan, and a plant protein. GoodMallow uses pea protein, while brands like Dandies and Trader Joe’s use soy protein.
I first started testing this recipe back in 2021 when I was experimenting with vegan egg white substitutes. I came across Versawhip 600K (it sounds technical, but it’s really just a modified soy protein from Modernist Pantry) and it whips up better than anything else I’ve tried. The foam is significantly more stable than aquafaba.
What I Tested Side by Side
For this final round of testing, I tested aquafaba, potato protein, and Versawhip side by side in the same recipe. Versawhip gave me the best overall result. It had a neutral flavor and gave the marshmallows the most reliable structure.
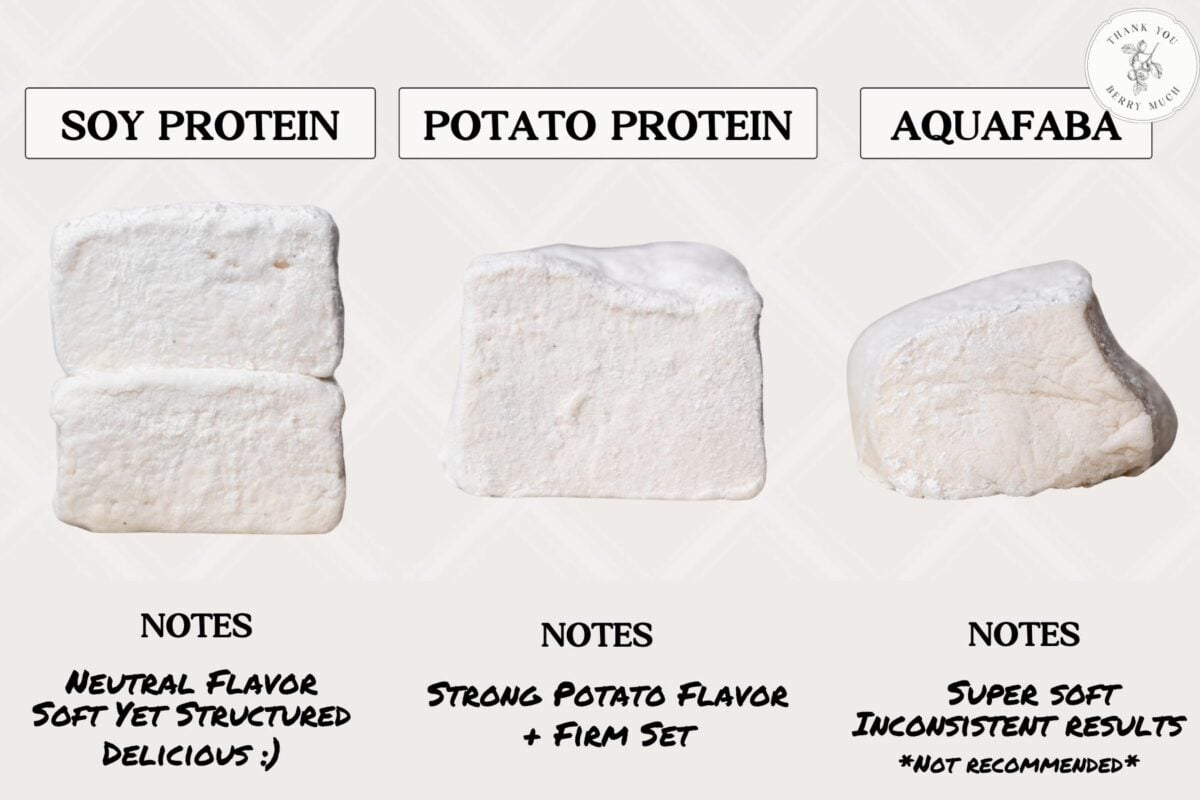
The potato protein actually worked really well too. It set up in a way very similar to the Versawhip version. I used it 1:1 by volume with the Versawhip, and at that amount the flavor was a little too noticeable. I do think it could be a good soy-free option, but I need to fine-tune the amount more so it gives enough structure without tasting like potato protein.
Why Syrup Temperature Matters
In this recipe, I also cook the syrup a little hotter than some other marshmallow recipes, which helps remove extra moisture and gives the marshmallows a firmer set. The final recipe for these vegan marshmallows turned out SO fluffy, bouncy, sliceable, toastable, and much closer to the texture I was after. Keep reading to learn about what you need to make them!
Ingredients
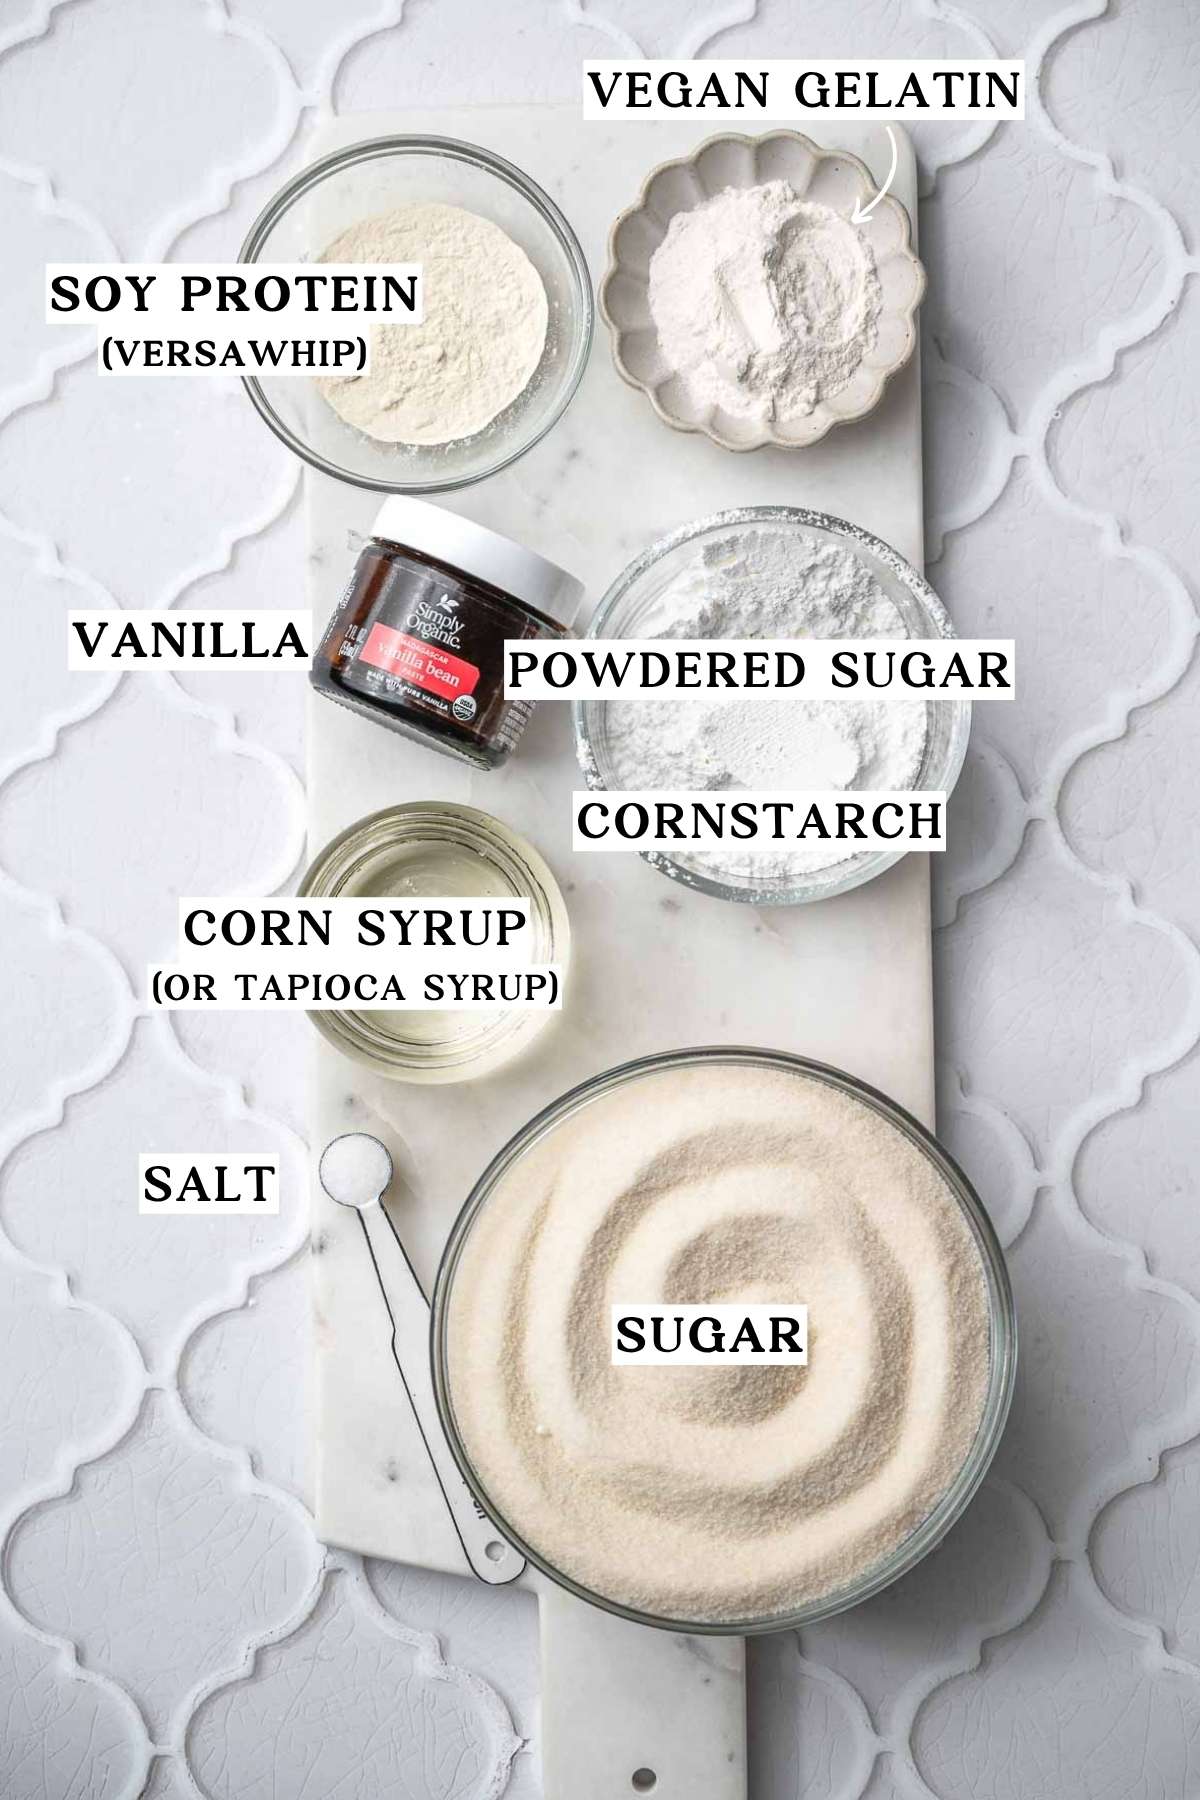
Soy Protein
This recipe uses a modified soy protein. It is not the same as regular soy protein powder or soy protein isolate, so I don’t recommend swapping those in here.
I used the Versawhip 600K from Modernist Pantry, which can be ordered online or directly through their website. A little goes a long way. This recipe only uses 8 grams of soy protein, so one small 50 gram bag can make a little over 6 batches of marshmallows.
Substitution: Can I Use Potato Protein Instead?
Potato protein did work in testing, and it set up in a way that was surprisingly similar to the Versawhip version. The main issue was flavor. When I used it 1:1 by volume with the Versawhip, the potato flavor was a little too noticeable.
It is also harder to find in the U.S. and tends to be more expensive. I had to order it from the online baking supply store Gusta (Louis François Potato Protein).
I think potato protein could be a good soy-free option with more testing, but I still need to fine-tune the amount so it gives enough structure without affecting the flavor as much. For now, Versawhip gives the most reliable result.
Vegan Gelatin
This recipe uses a carrageenan-based vegan gelatin alternative to help the marshmallows set. Carrageenan is a seaweed-derived setting ingredient, and in this recipe it works together with the soy protein to create structure. It’s what’s used in store-bought vegan marshmallows.
It also needs the hot sugar syrup to activate properly. If the syrup doesn’t get hot enough, the marshmallow mixture may whip up but won’t set into that firm, sliceable texture.
Corn Syrup
Corn syrup helps keep the sugar syrup smooth and prevents crystallization. It also helps give the marshmallows that classic soft, stretchy texture.
Note: Regular corn syrup is not the same as high fructose corn syrup.
I don’t recommend replacing it with maple syrup or agave in this recipe. Those sweeteners can change the color and final set of the marshmallows. Tapioca syrup may work as a closer substitute since it’s used in some store-bought vegan marshmallows, but I haven’t tested it yet.
Granulated Sugar
Regular granulated sugar gives the lightest color and most neutral flavor. In testing, coarse raw sugar and darker sweeteners made the fluff darker in color.
For the best texture and color, I recommend sticking with plain granulated sugar here. I used Domino’s Golden Sugar, which is vegan-friendly.
Vanilla and Salt
Vanilla adds flavor, and a small amount of salt helps balance the sweetness. Since marshmallows are mostly sugar, even a little salt makes a difference.
Homemade Vegan Marshmallow Cost Breakdown
I know the specialty ingredients look expensive upfront. A bag of Versawhip and vegan gelatin is definitely more of an investment than grabbing a bag of marshmallows at the store. But the nice thing is that each bag makes several batches.
A 50g bag of Versawhip makes a little over 6 batches, and a 170g bag of vegan gelatin makes about 11 batches. Using the prices I paid, here’s what one batch roughly costs:
- Versawhip 600K: $2.40
- Vegan gelatin: $2.56
- Corn syrup: $1.25
- Granulated sugar, vanilla, water, and salt: under $1
That brings one batch to about $7. Which seems expensive at first glance, but one batch makes the equivalent of roughly 3 bags of store-bought vegan marshmallows, based on a standard 10 oz bag!
At about $4.60 per store-bought bag, the same amount would cost around $13 from the store. So while the specialty ingredients cost more upfront, one homemade batch comes out to about half the price of buying the same amount of store-bought vegan marshmallows. Plus, these freeze well, so you can make one batch and use them for months!
Step by Step Instructions
Exact ingredient quantities are in the recipe card below!
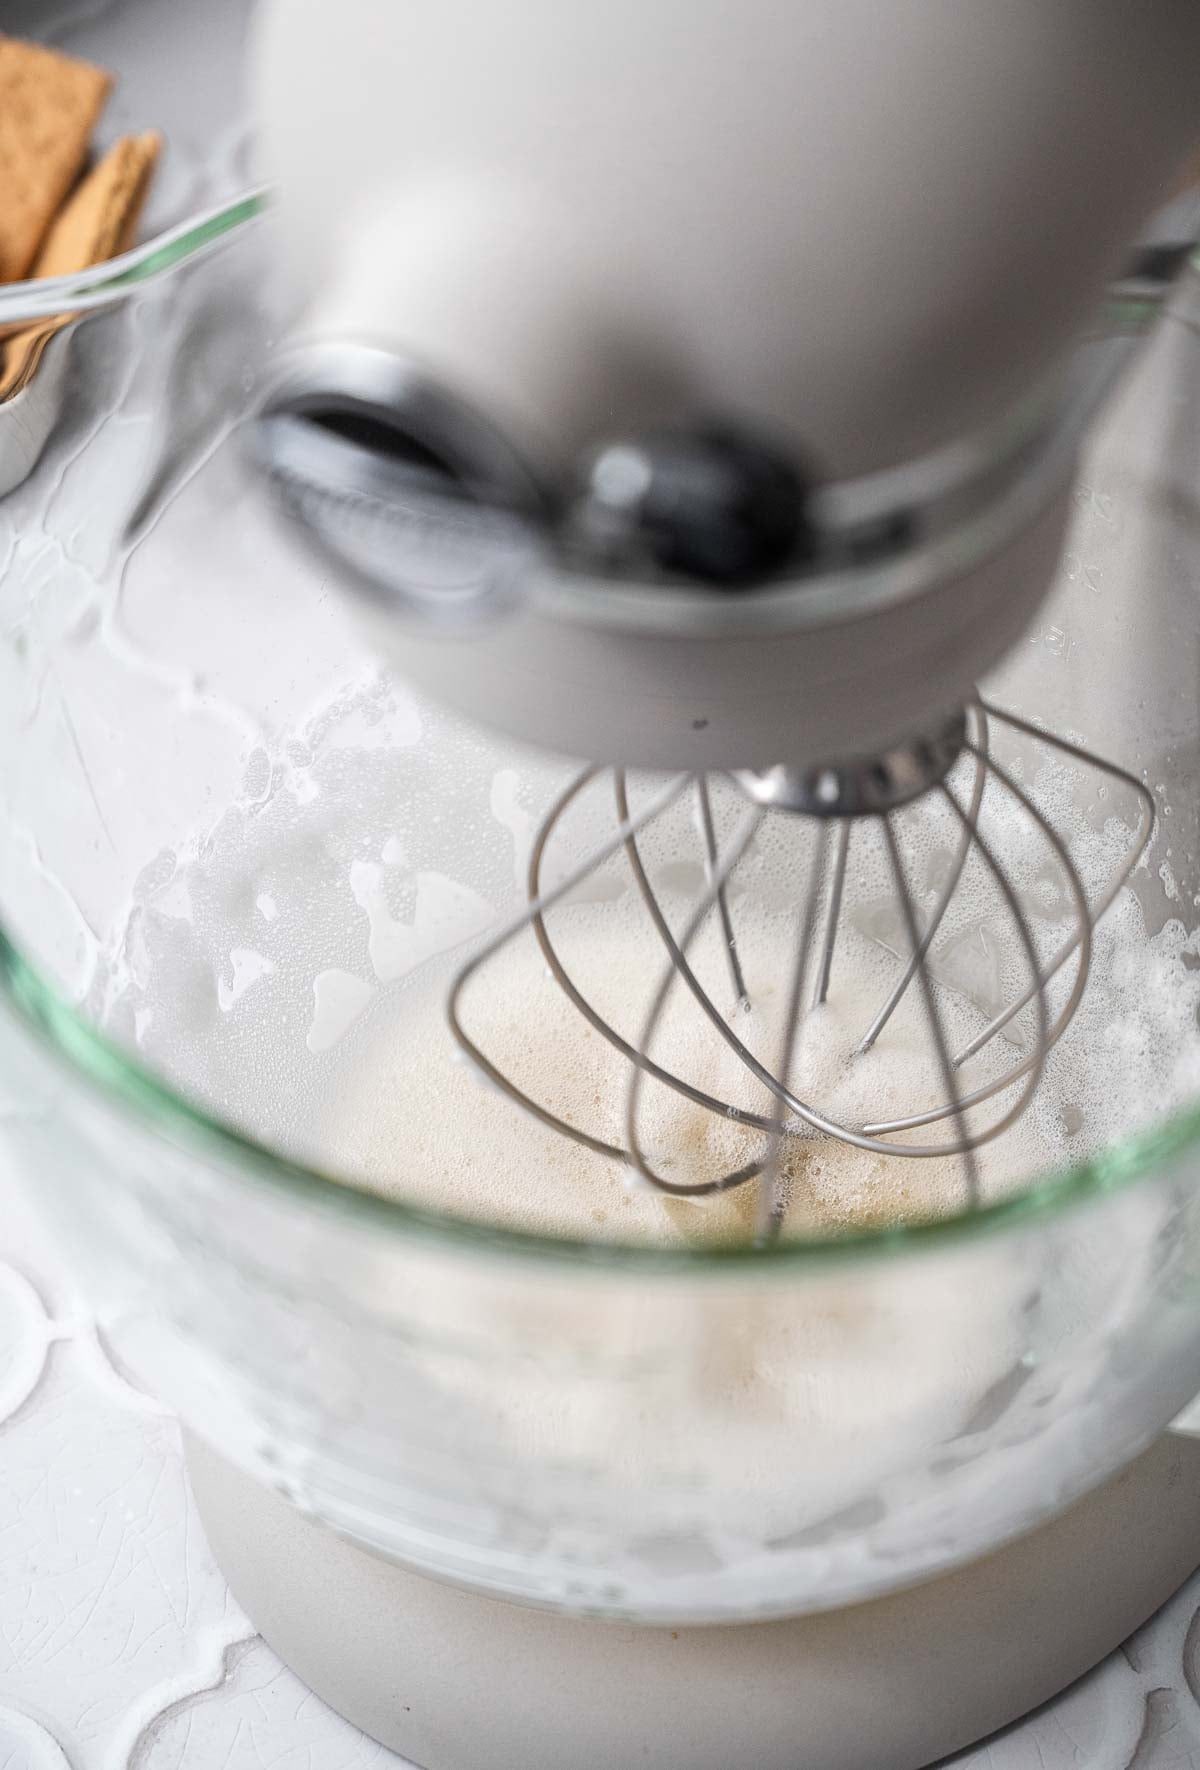
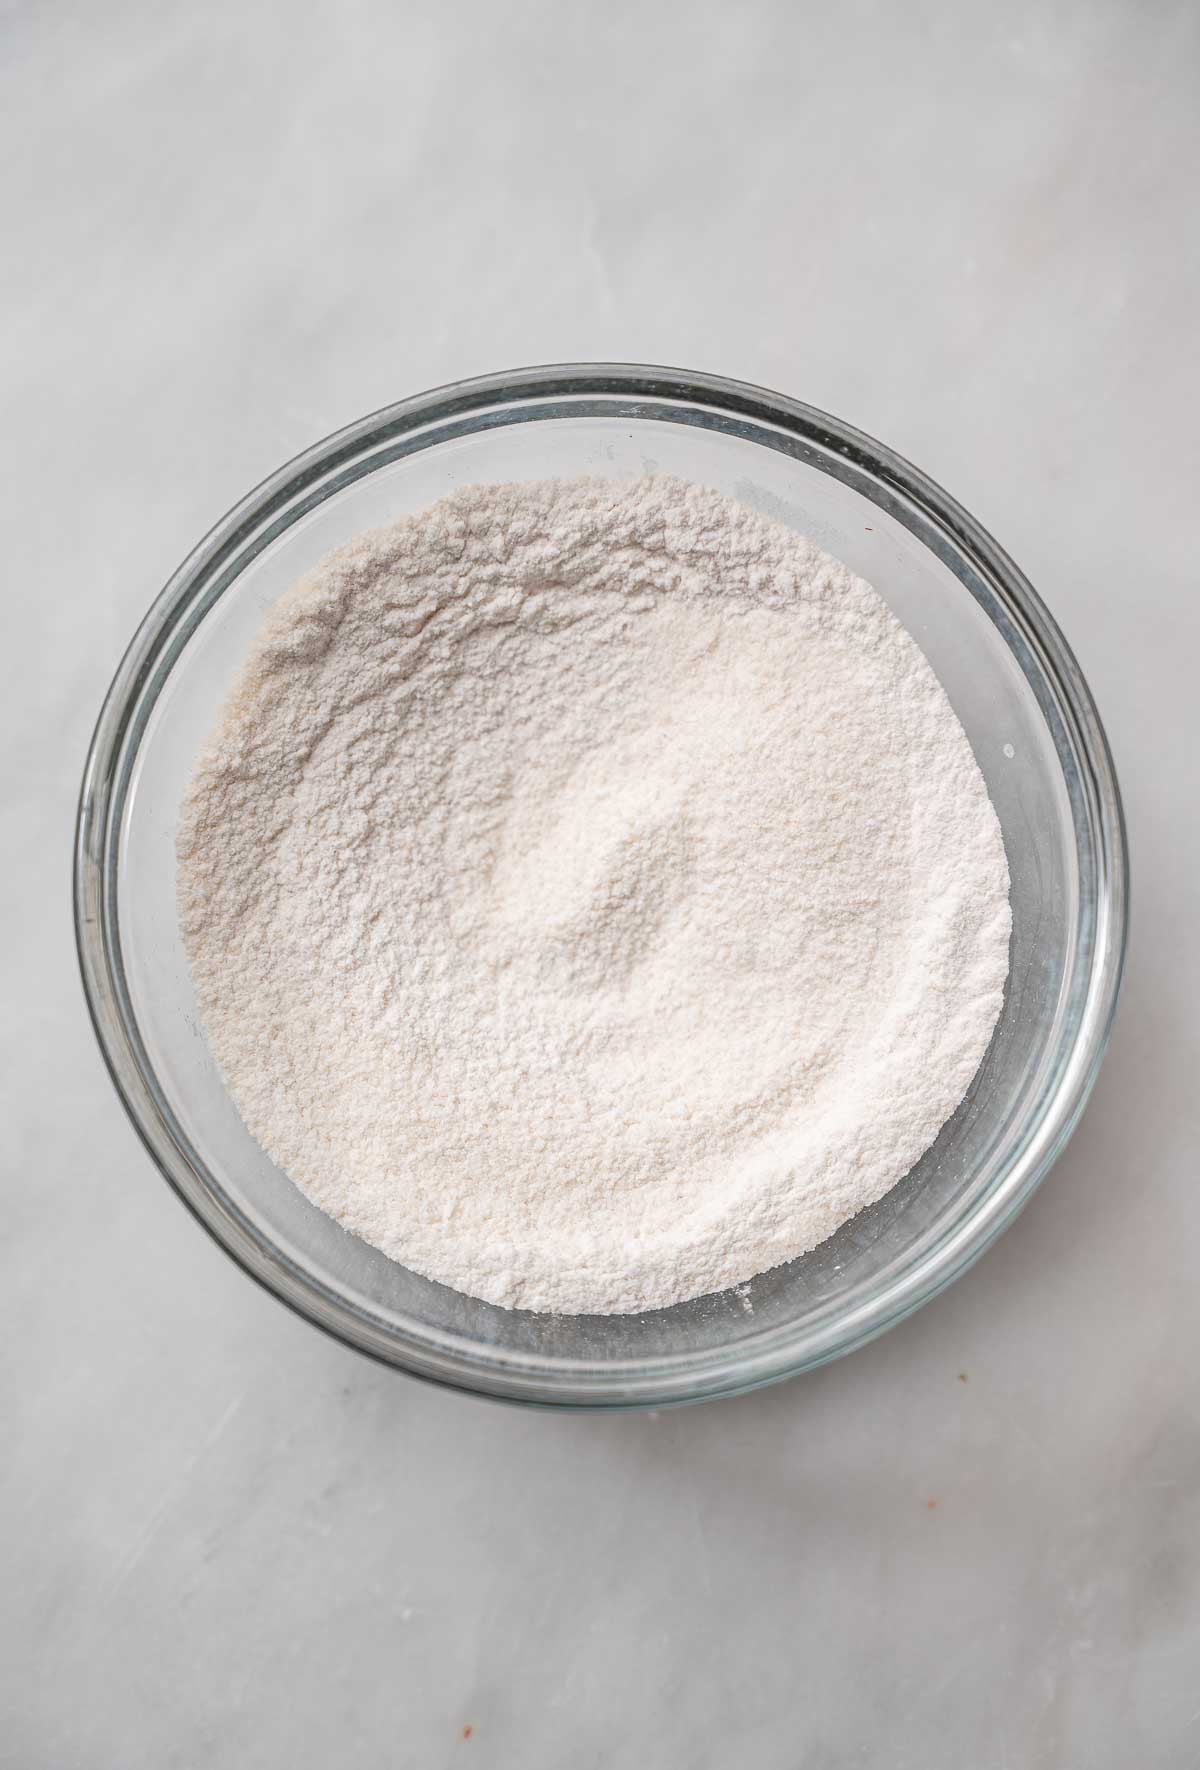
Add the modified soy protein and cold water to the bowl of a stand mixer.
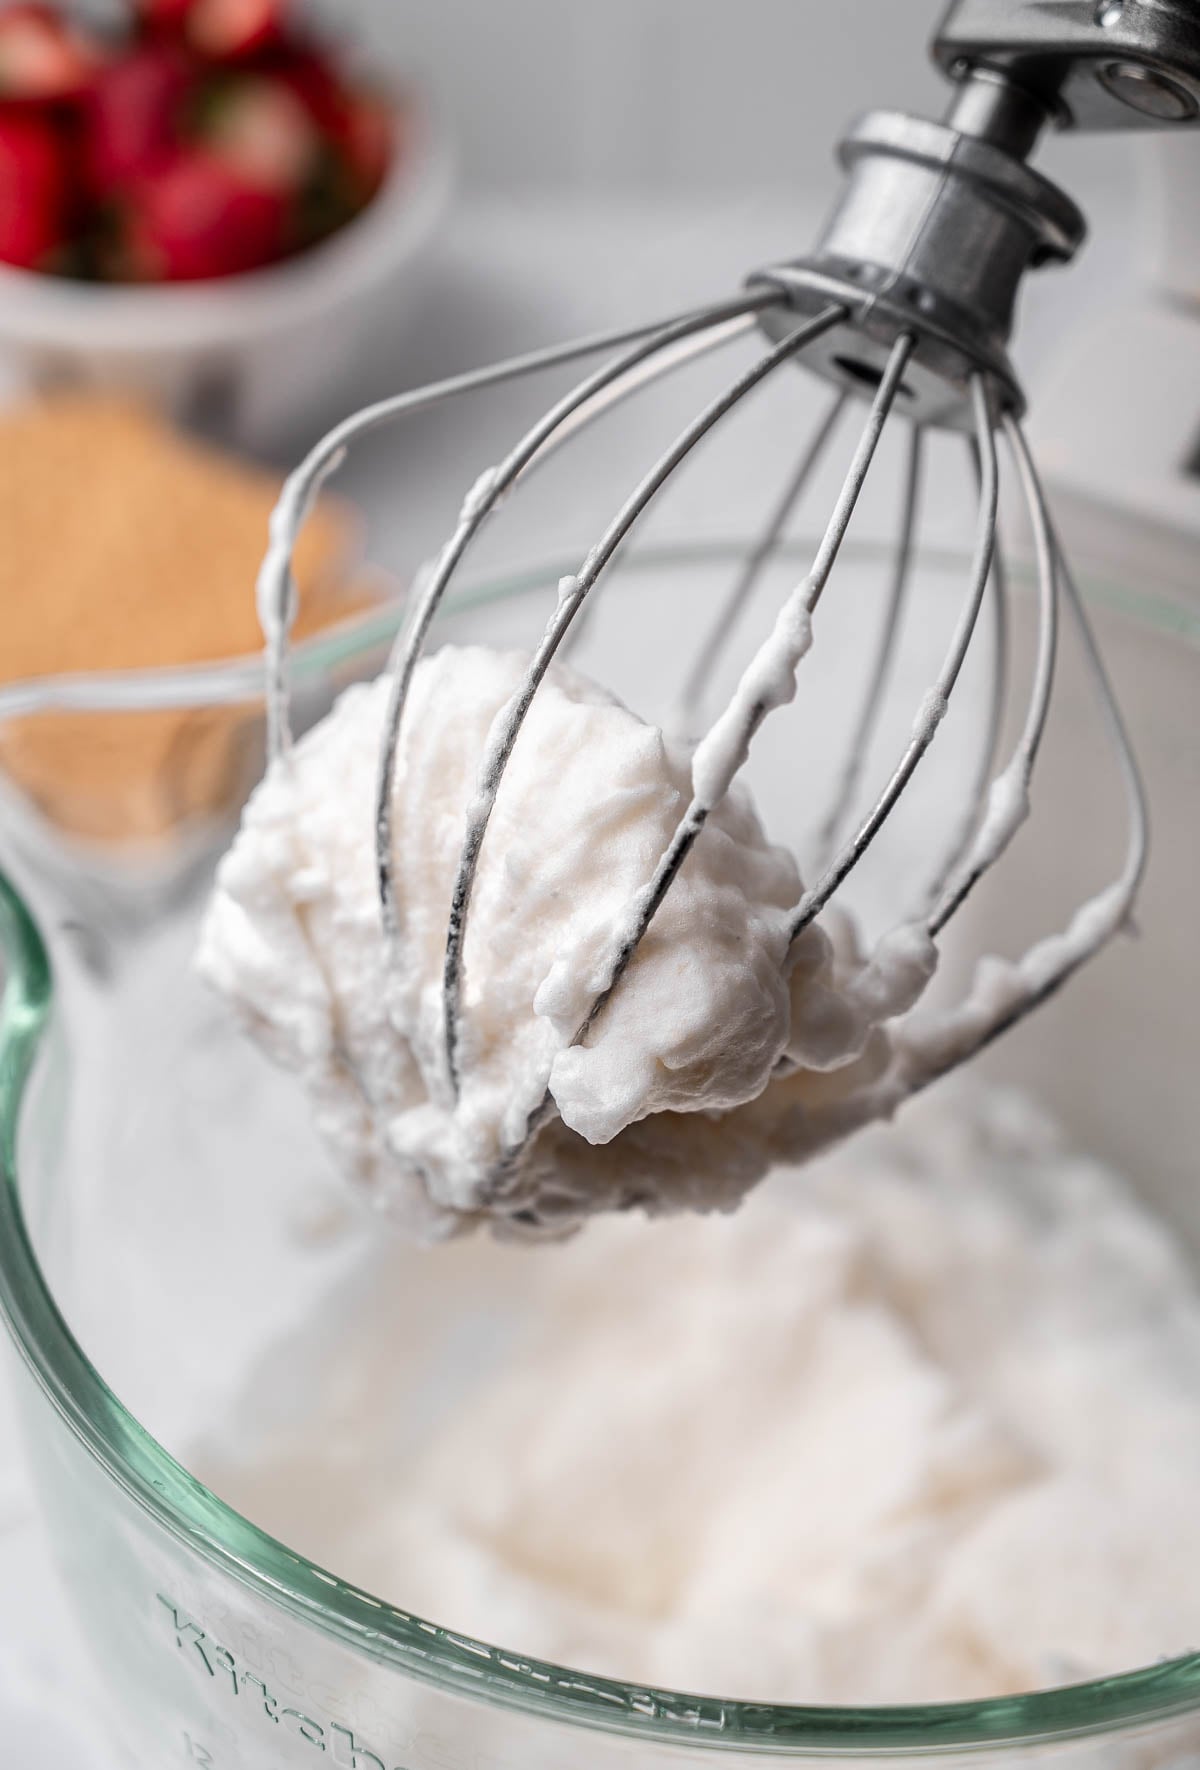
Mix on high for about 8 minutes, or until it reaches stiff peaks and quadruples in volume.
Make the Sugar Syrup
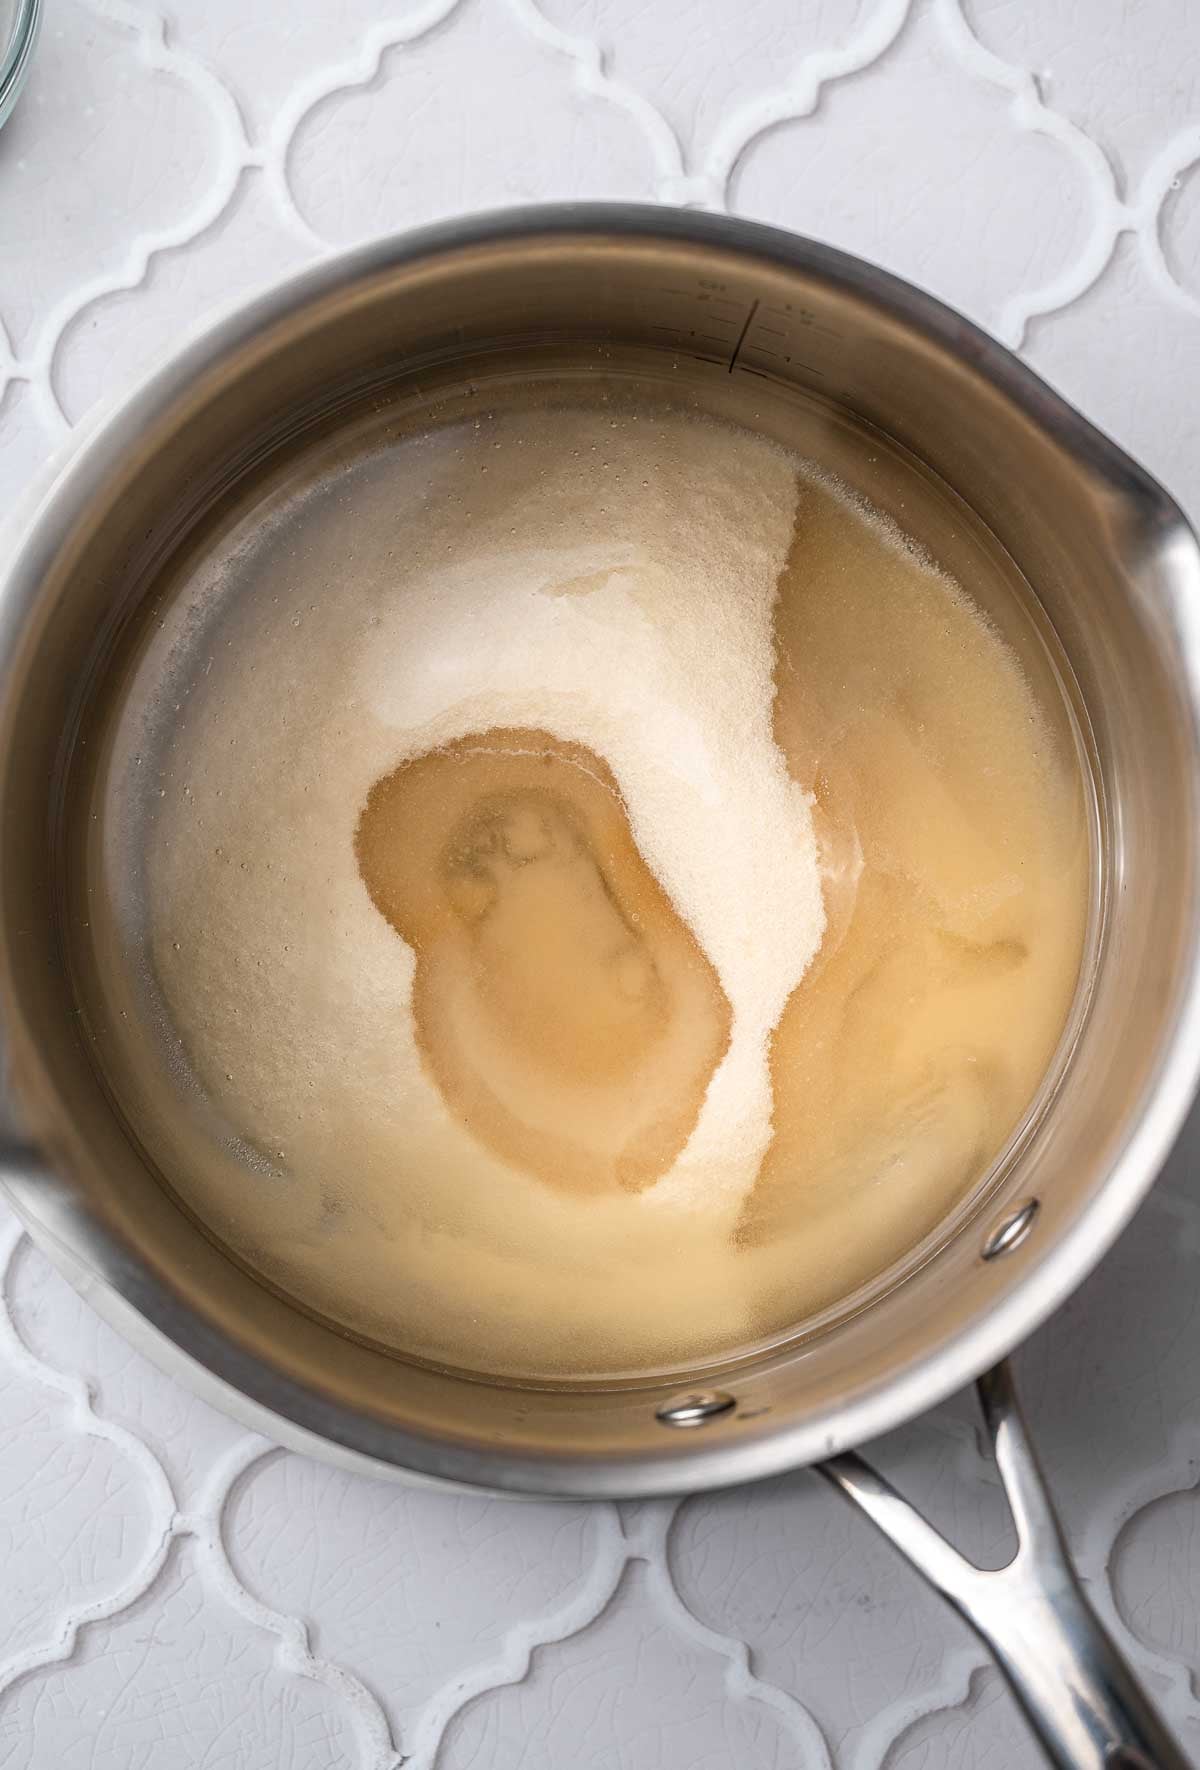
While the soy protein whips, start the syrup. Add sugar, water and corn syrup to a heavy bottomed pot.
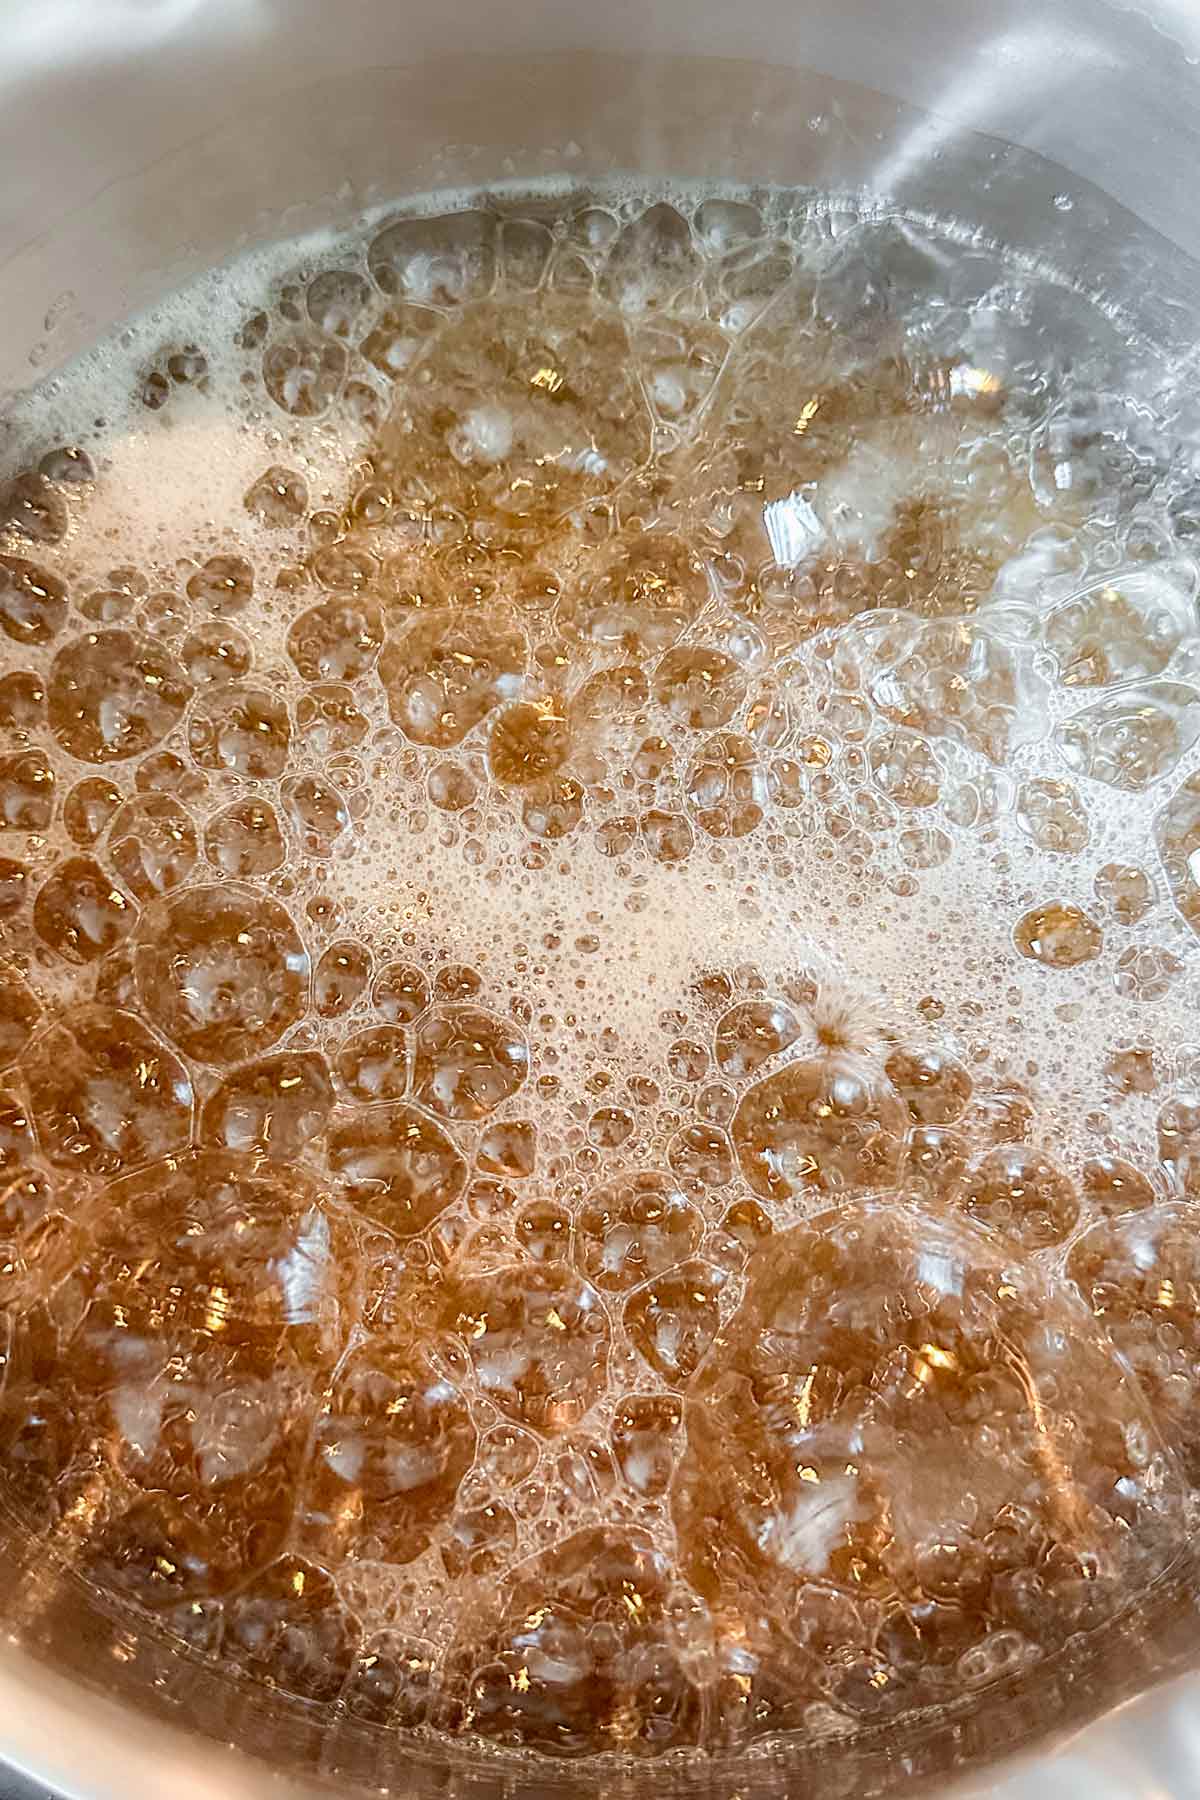
Give the mixture a quick stir, then place over medium to medium-low heat and bring to a simmer. Let it simmer/boil until it reaches 245–250°F.
Whisk the Vegan Gelatin into the Foam
While the syrup simmers, mix the vegan gelatin and 2 tbsp of sugar together in a small bowl. This helps prevent clumping.
Slowly sprinkle the vegan gelatin mixture into the foam with the mixer on medium-low speed. The foam will thicken up like in the picture.
Add the Syrup to the Foam
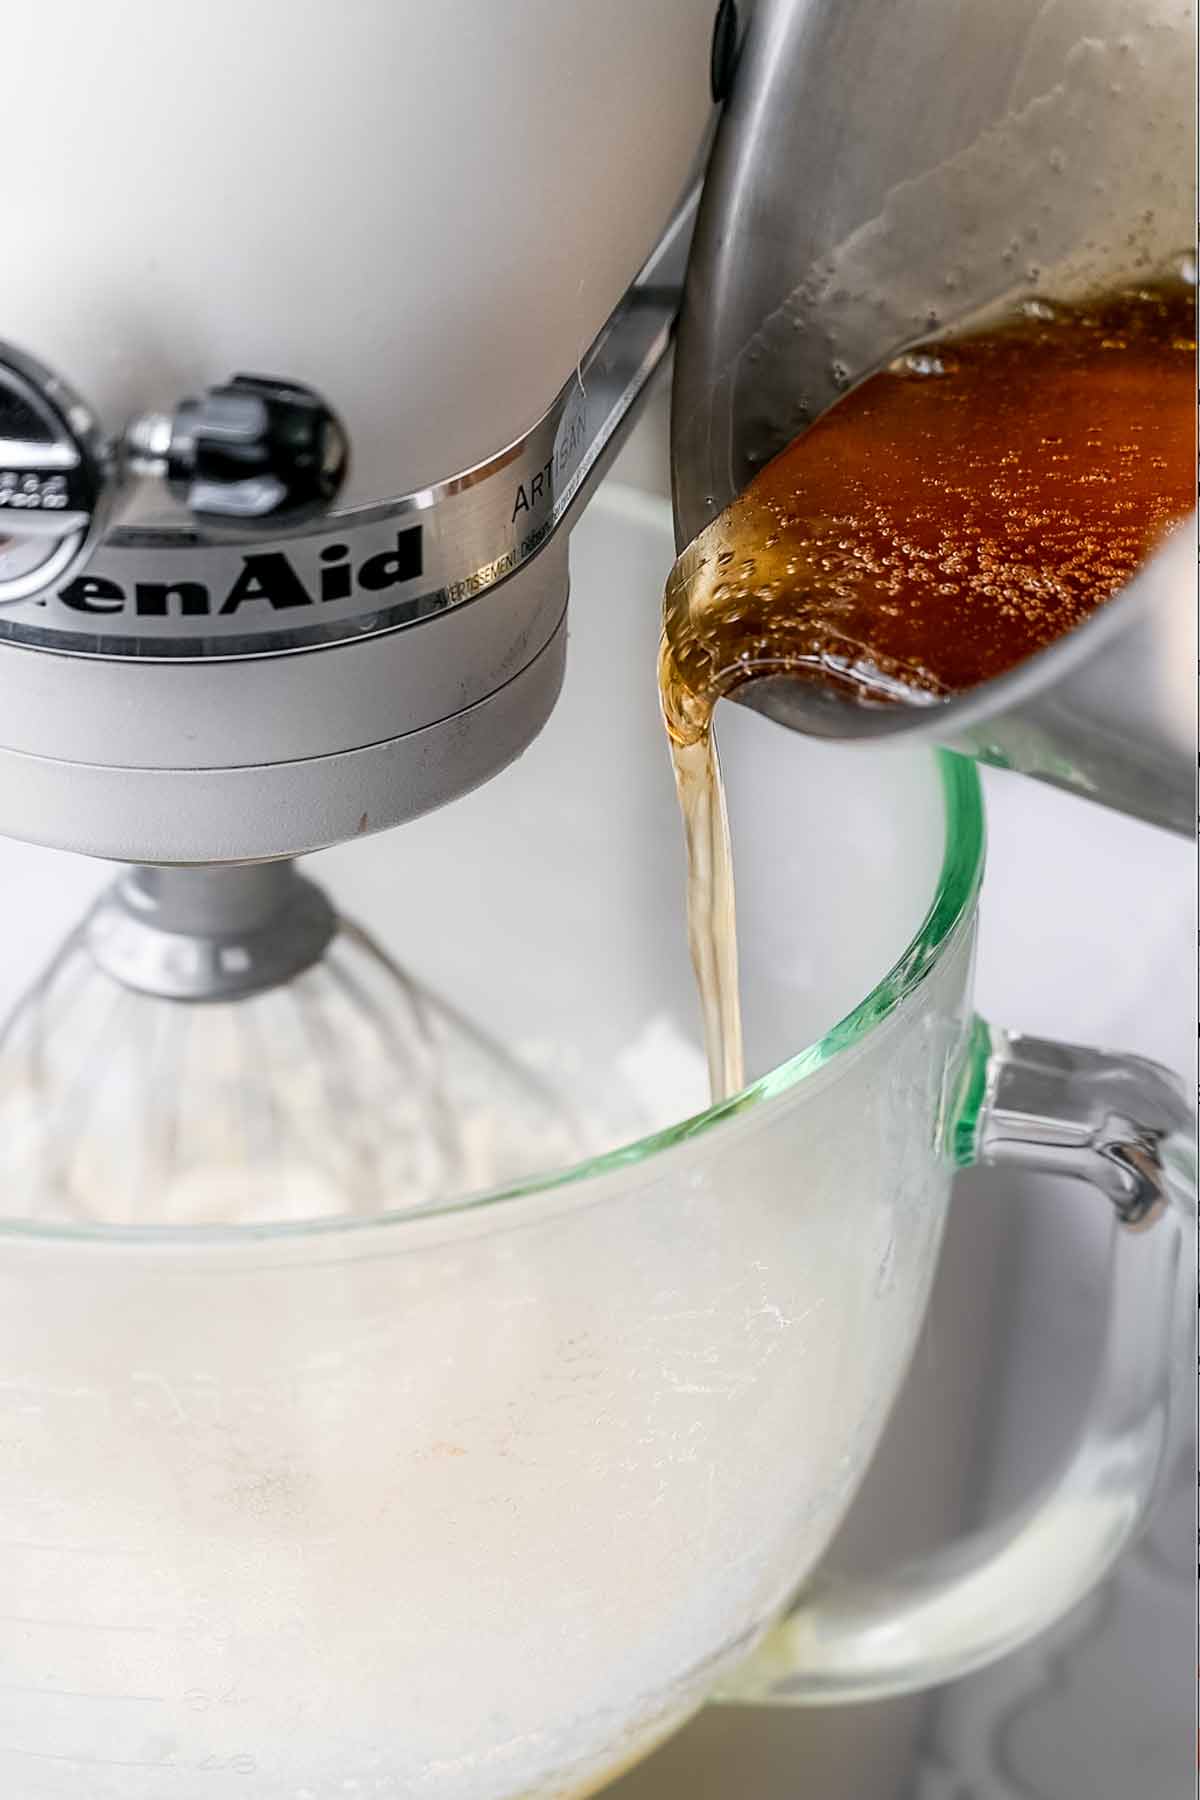
Once the syrup has reached 245–250°F, slowly stream it into the mixer while running on low speed.
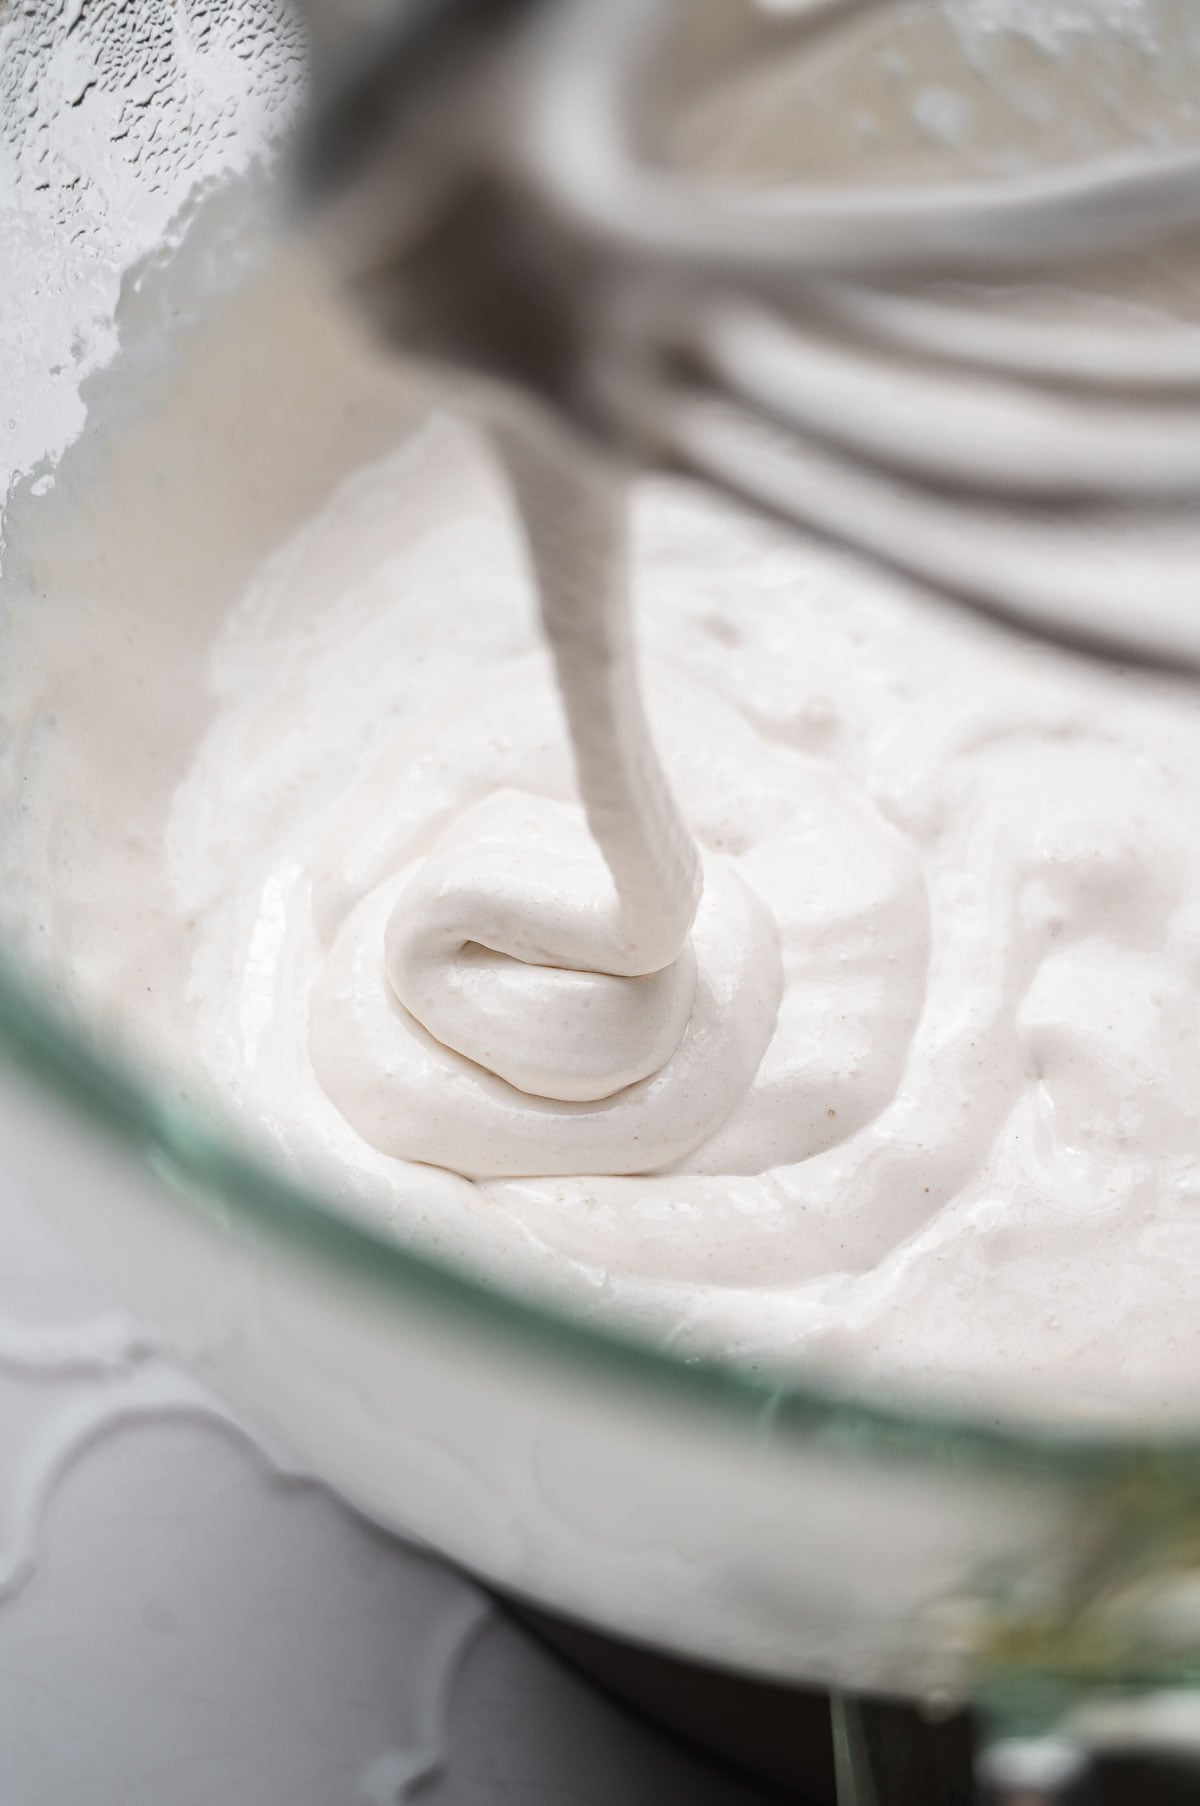
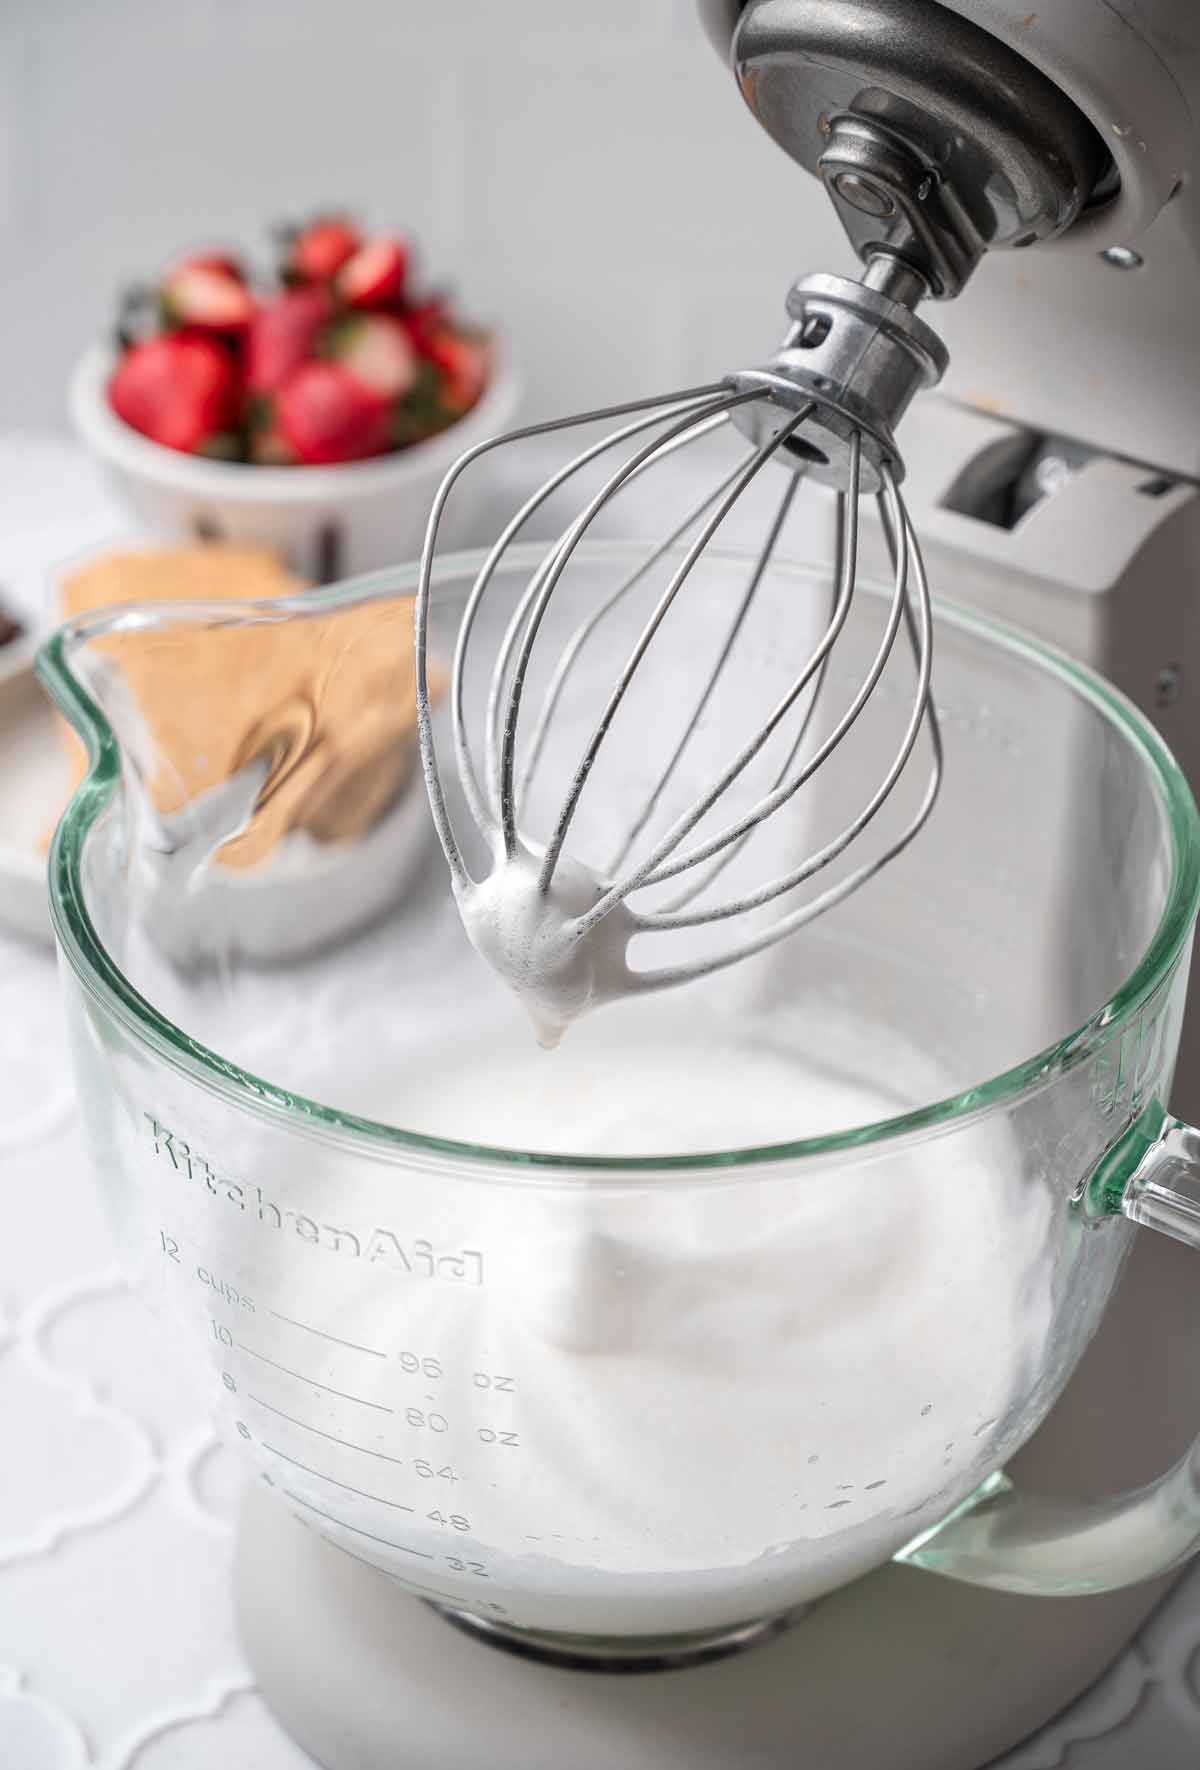
After all the syrup is added, whip on high speed for about 8 minutes. Add the salt and vanilla. Keep mixing on high until the fluff drizzles off the whisk in thick ribbons that hold their shape.
Transfer to the Pan
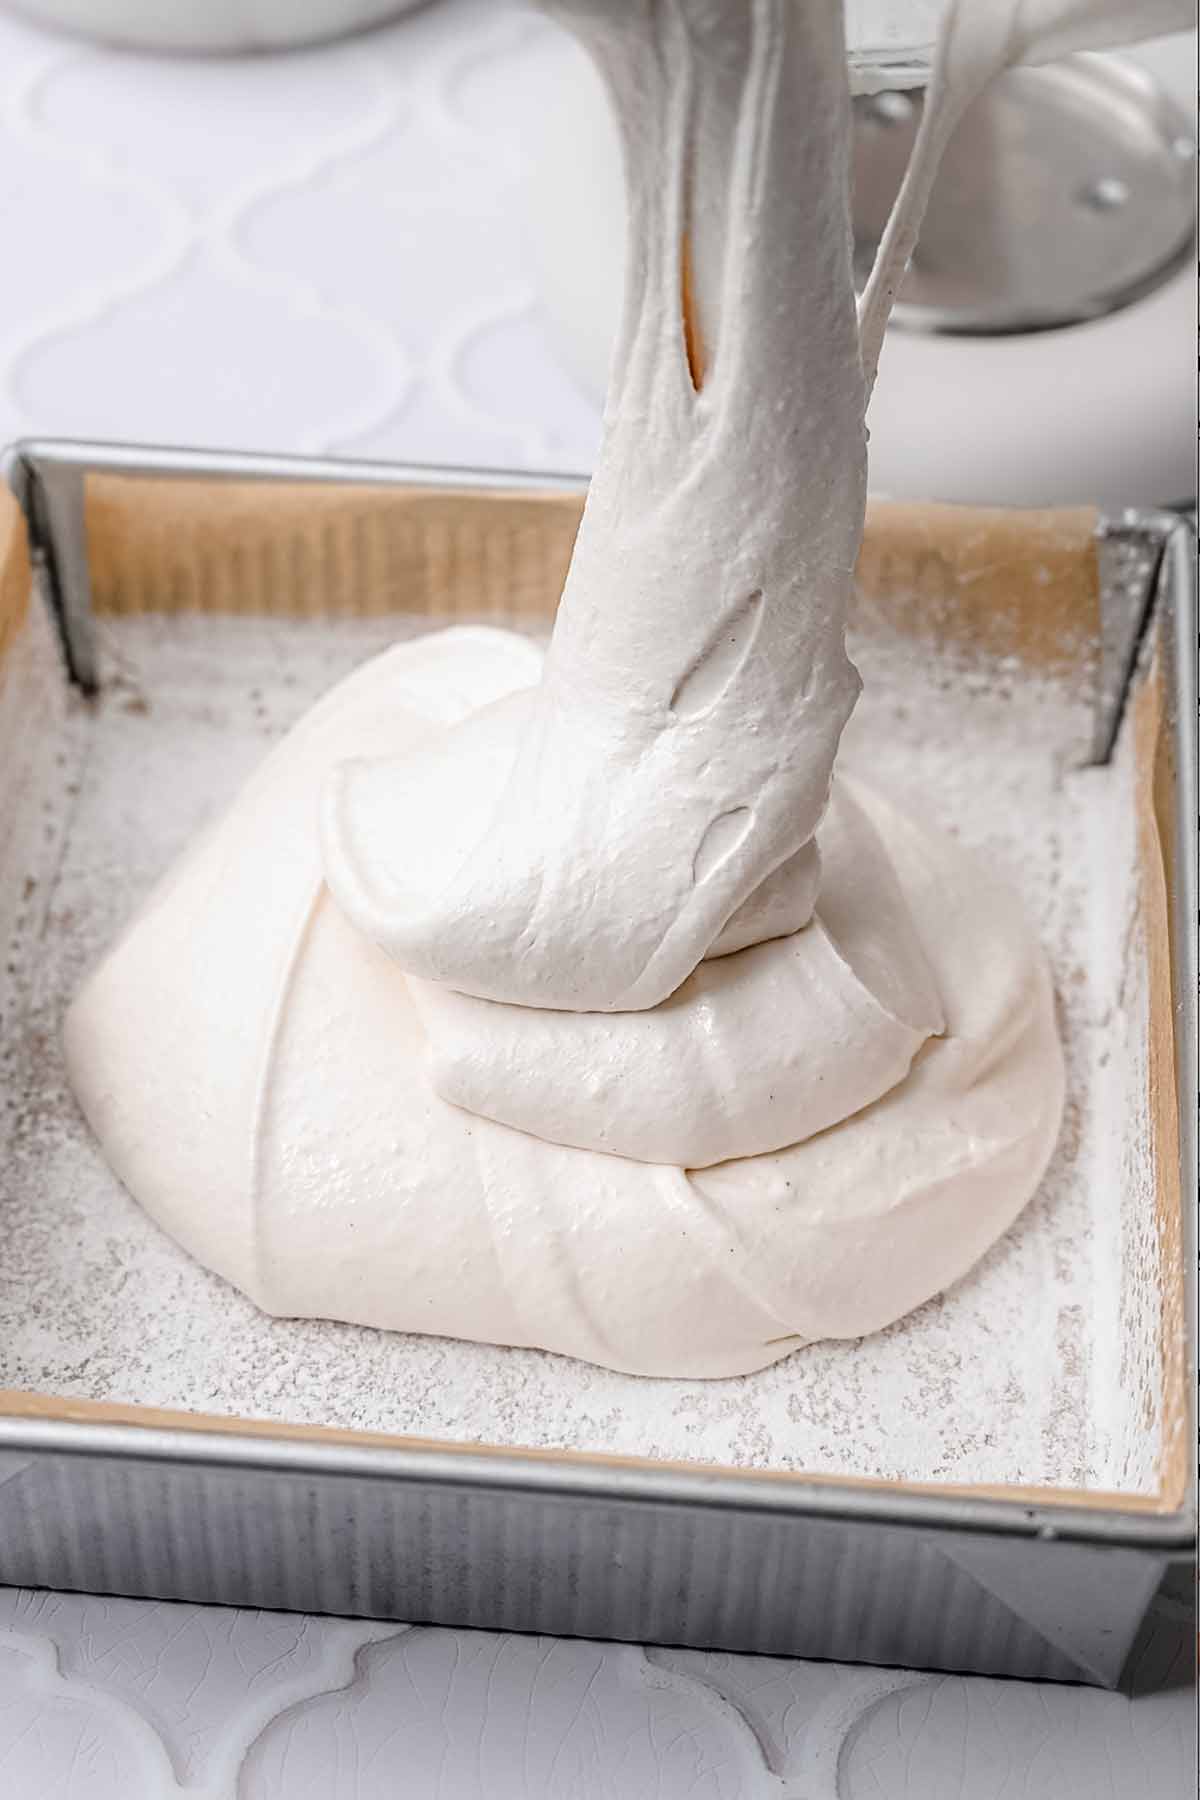
Pour the vegan marshmallow into the prepared pan. Smooth out the top with an oiled spatula.
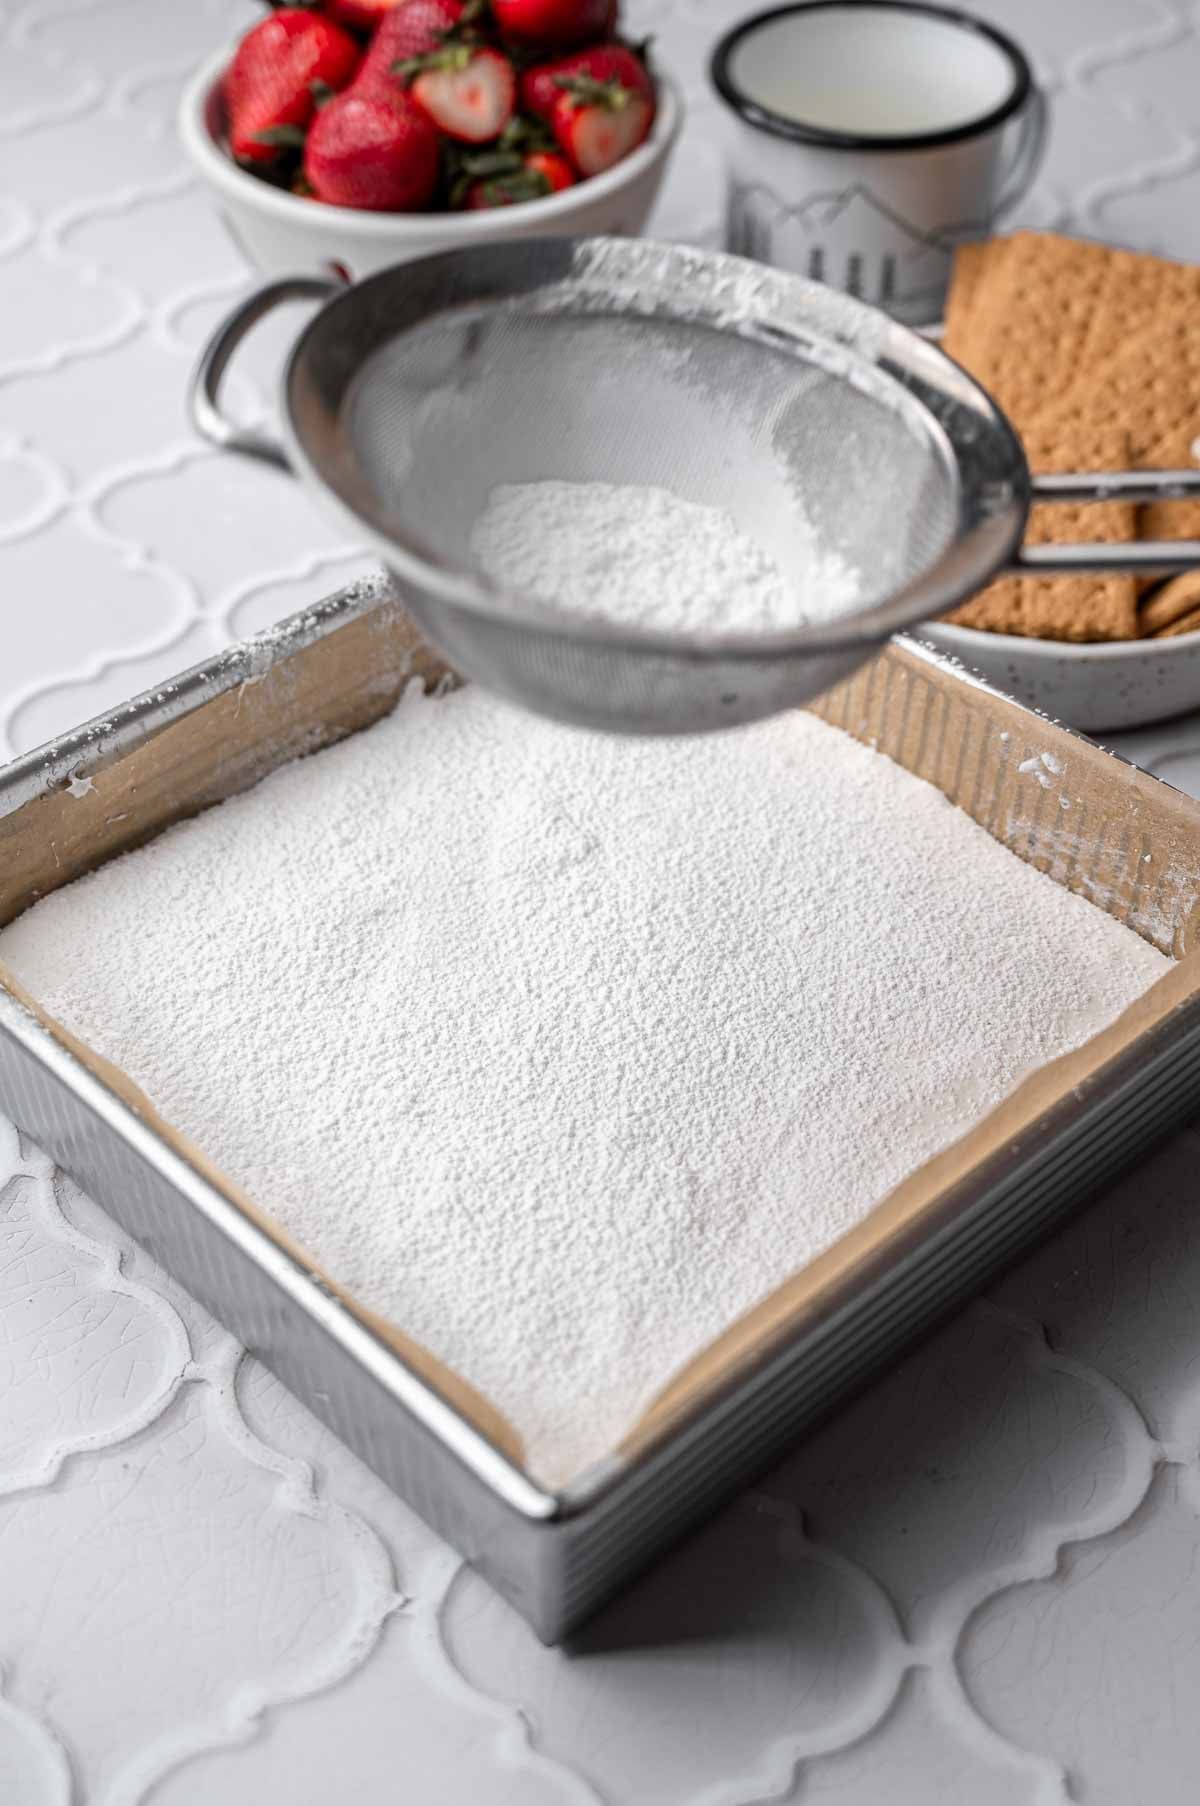
Dust the top of the marshmallow with powdered sugar + cornstarch. Let cool at room temperature for 2-3 hours.
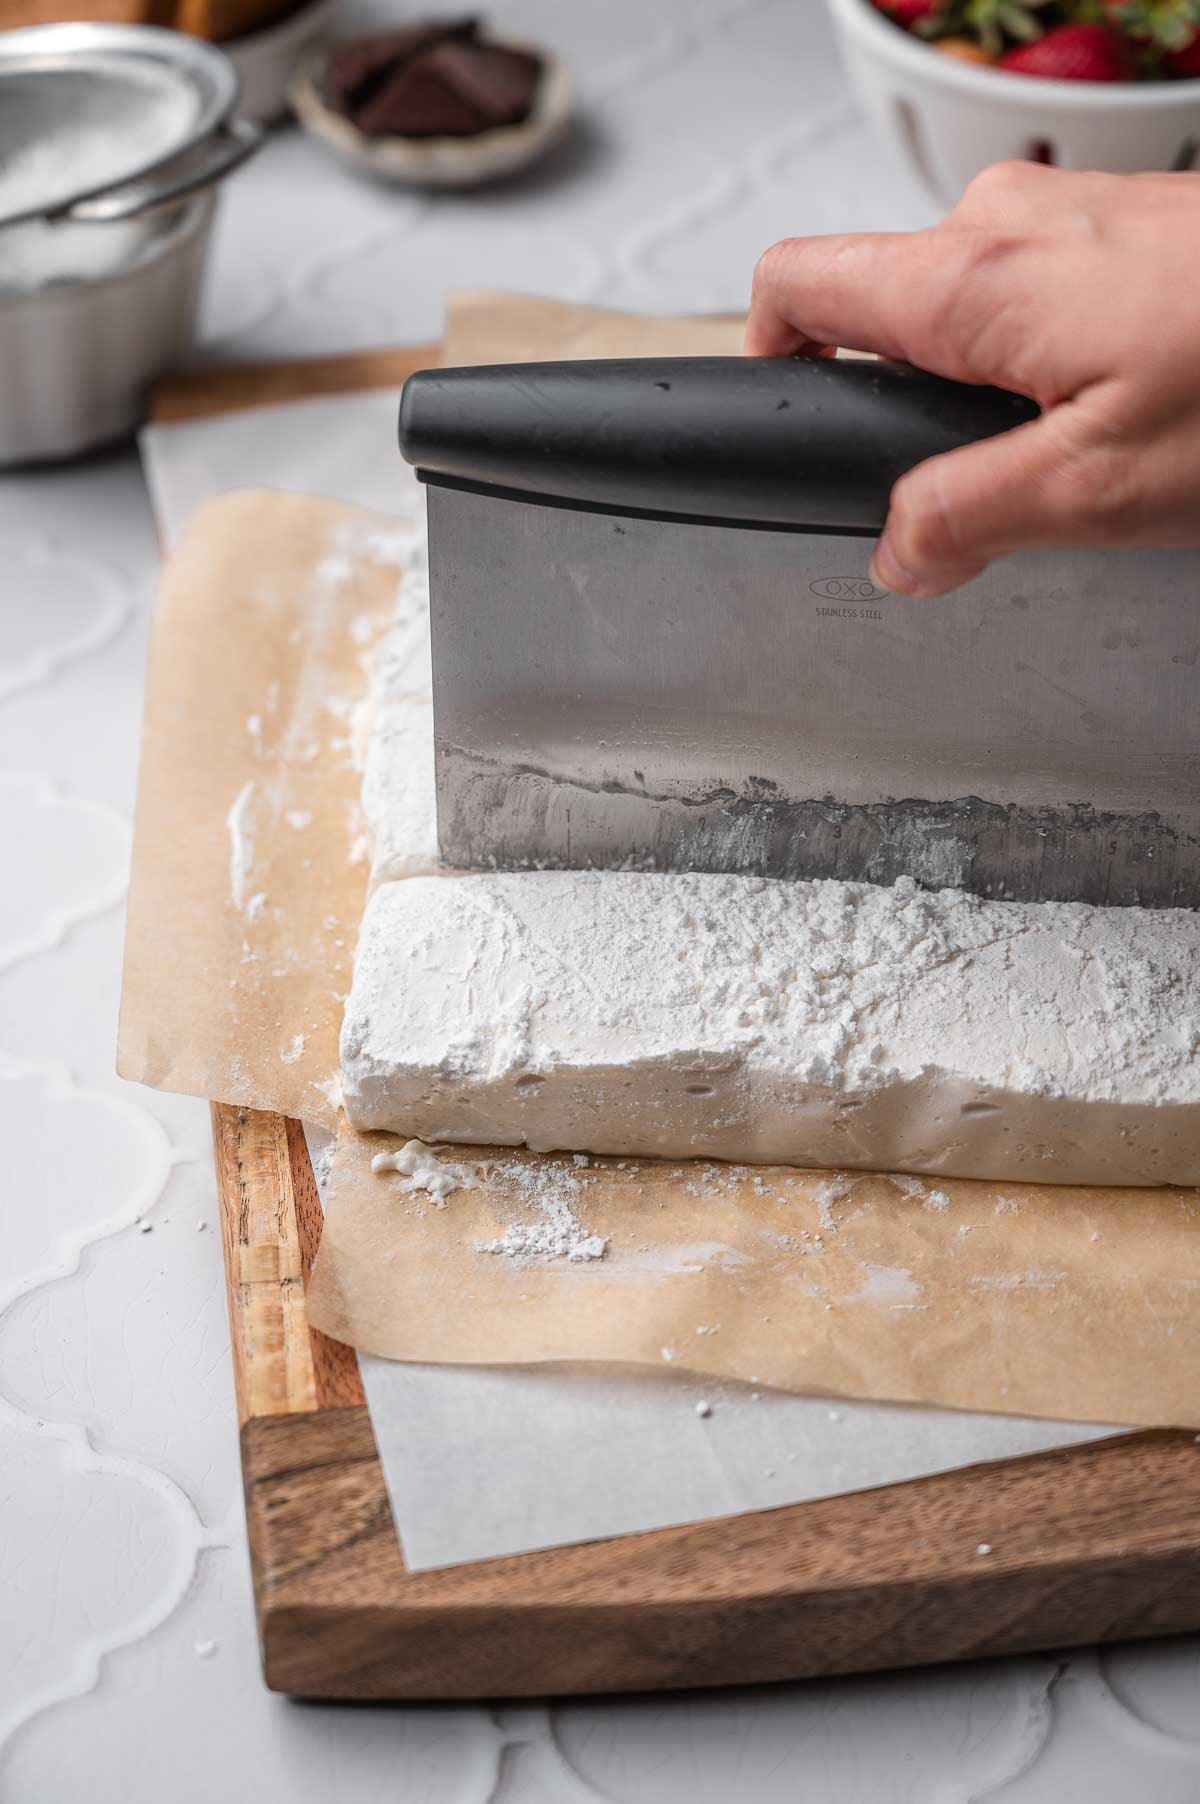
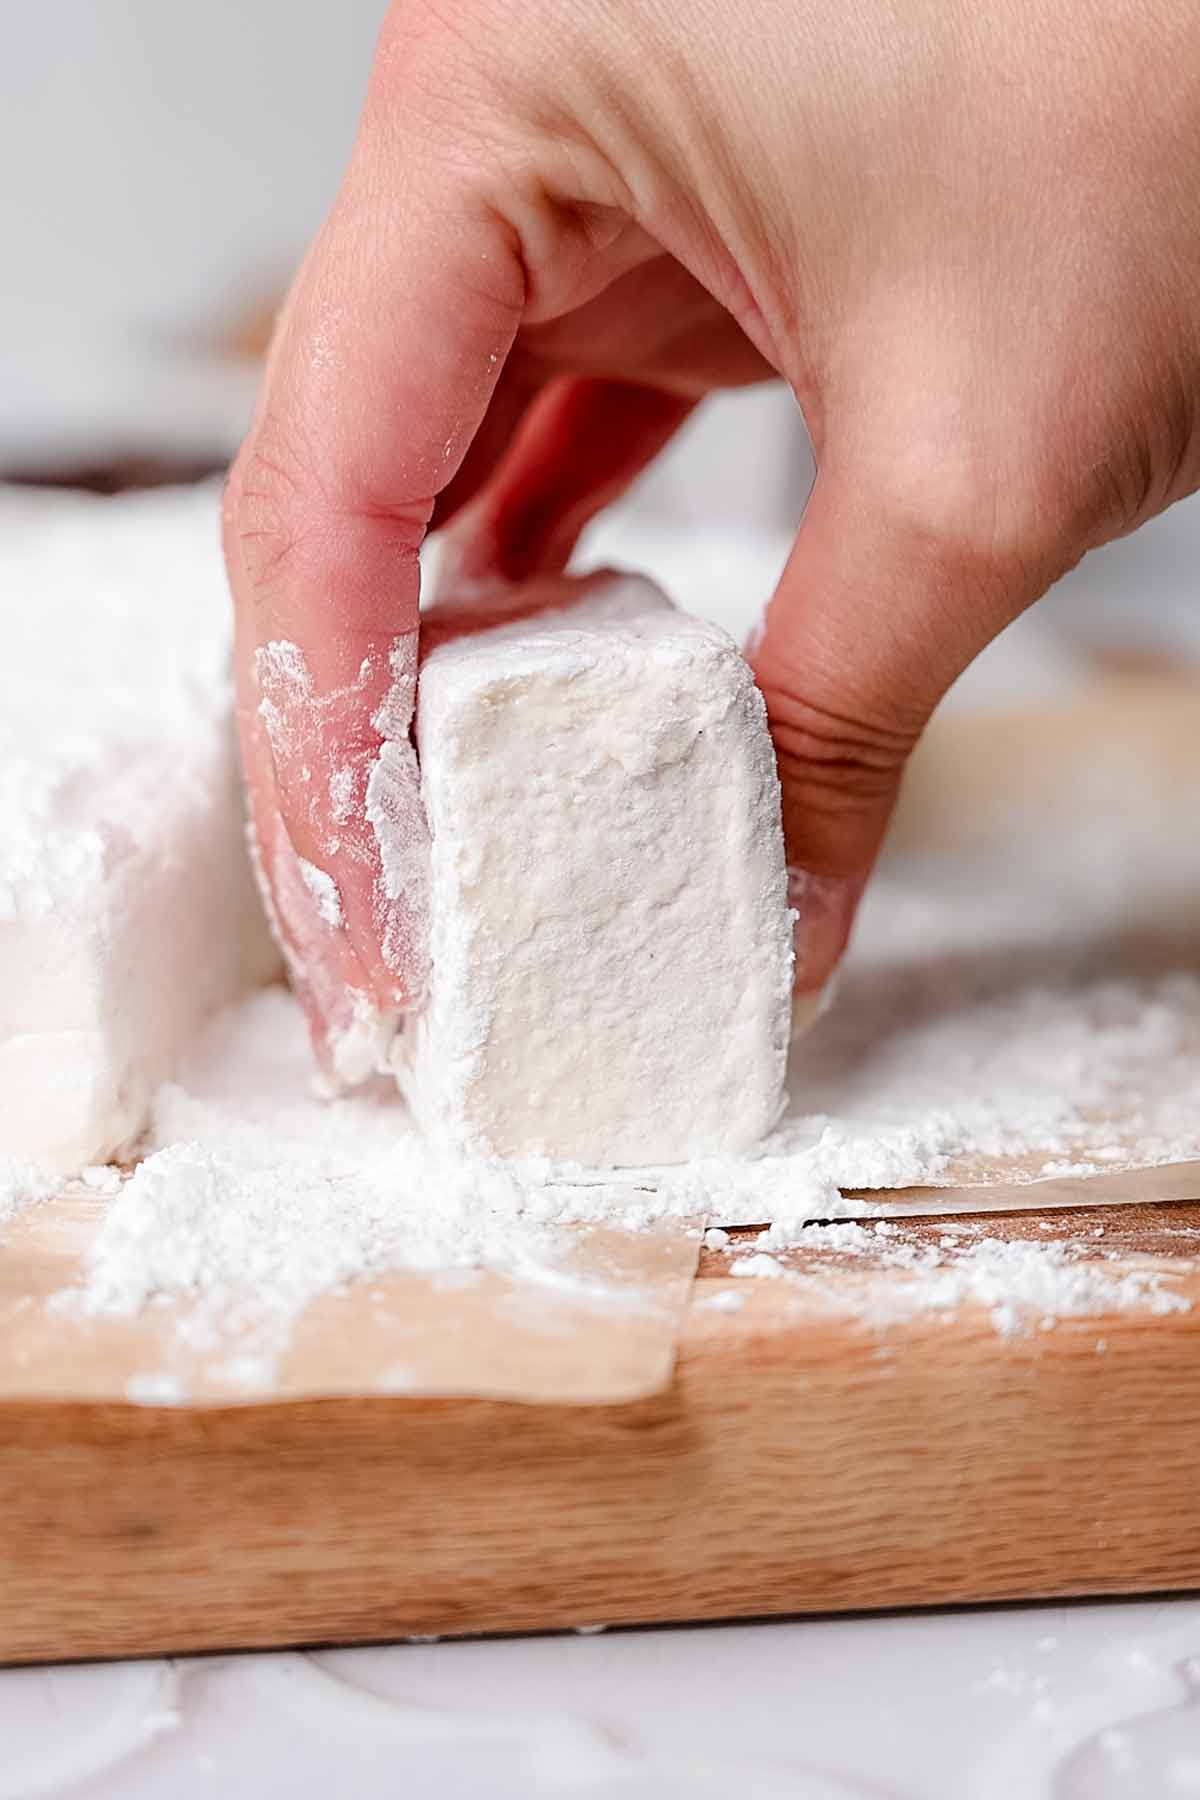
Remove the cooled marshmallow from the pan and cut into squares with a well oiled knife or bench cutter.
Clean the knife between cuts. Makes 16 jumbo marshmallows or 64 smaller marshmallows.
Storing the Vegan Marshmallows
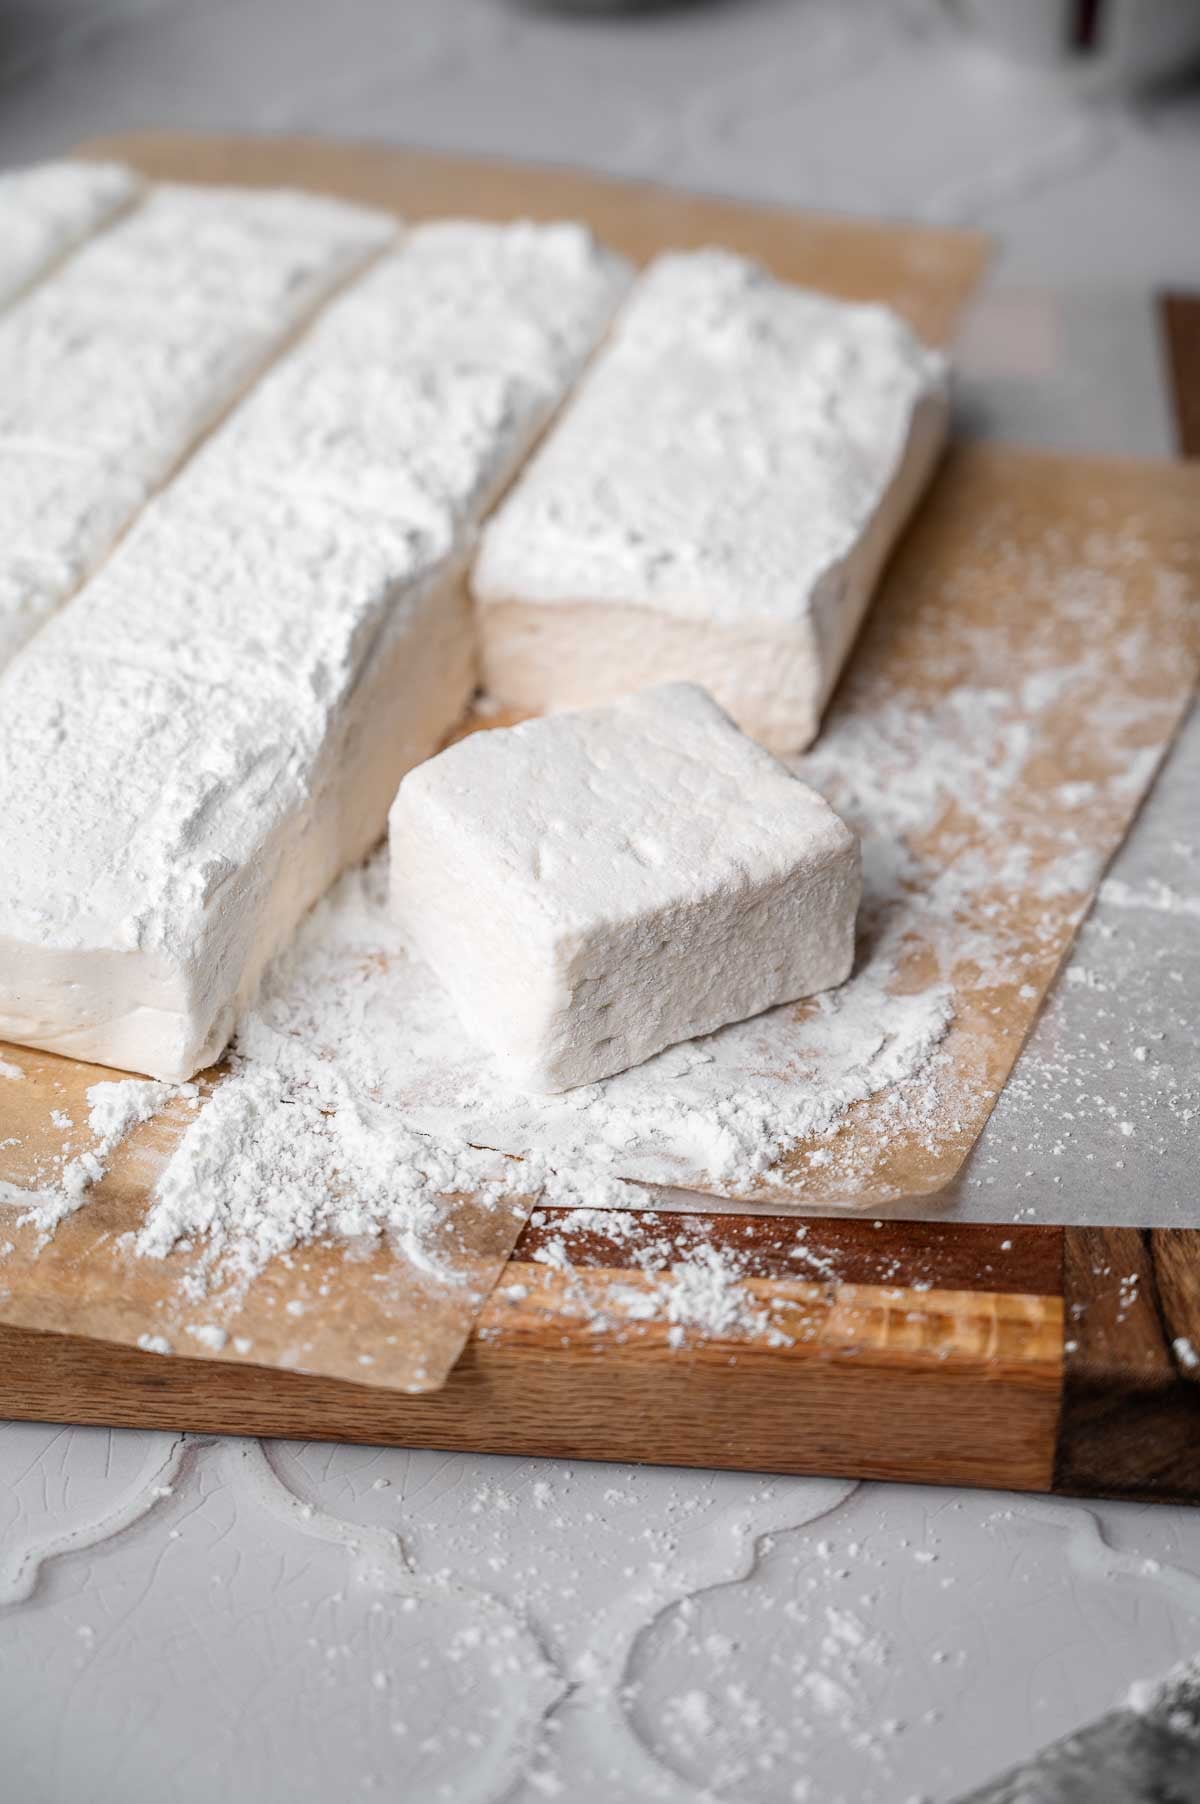
Once the marshmallows are cut into squares, be sure to toss them with the powdered sugar-starch mixture. You can shake them in a metal sieve to remove the excess. Then, they can be stored in an air tight container at room temperature for up to a week.
For longer storage, they can be frozen! Place them in a freezer baggie (or a container) and store in the freezer for several months. Let them thaw at room temperature before enjoying.
Dust with powdered sugar to prevent them from sticking to each other.
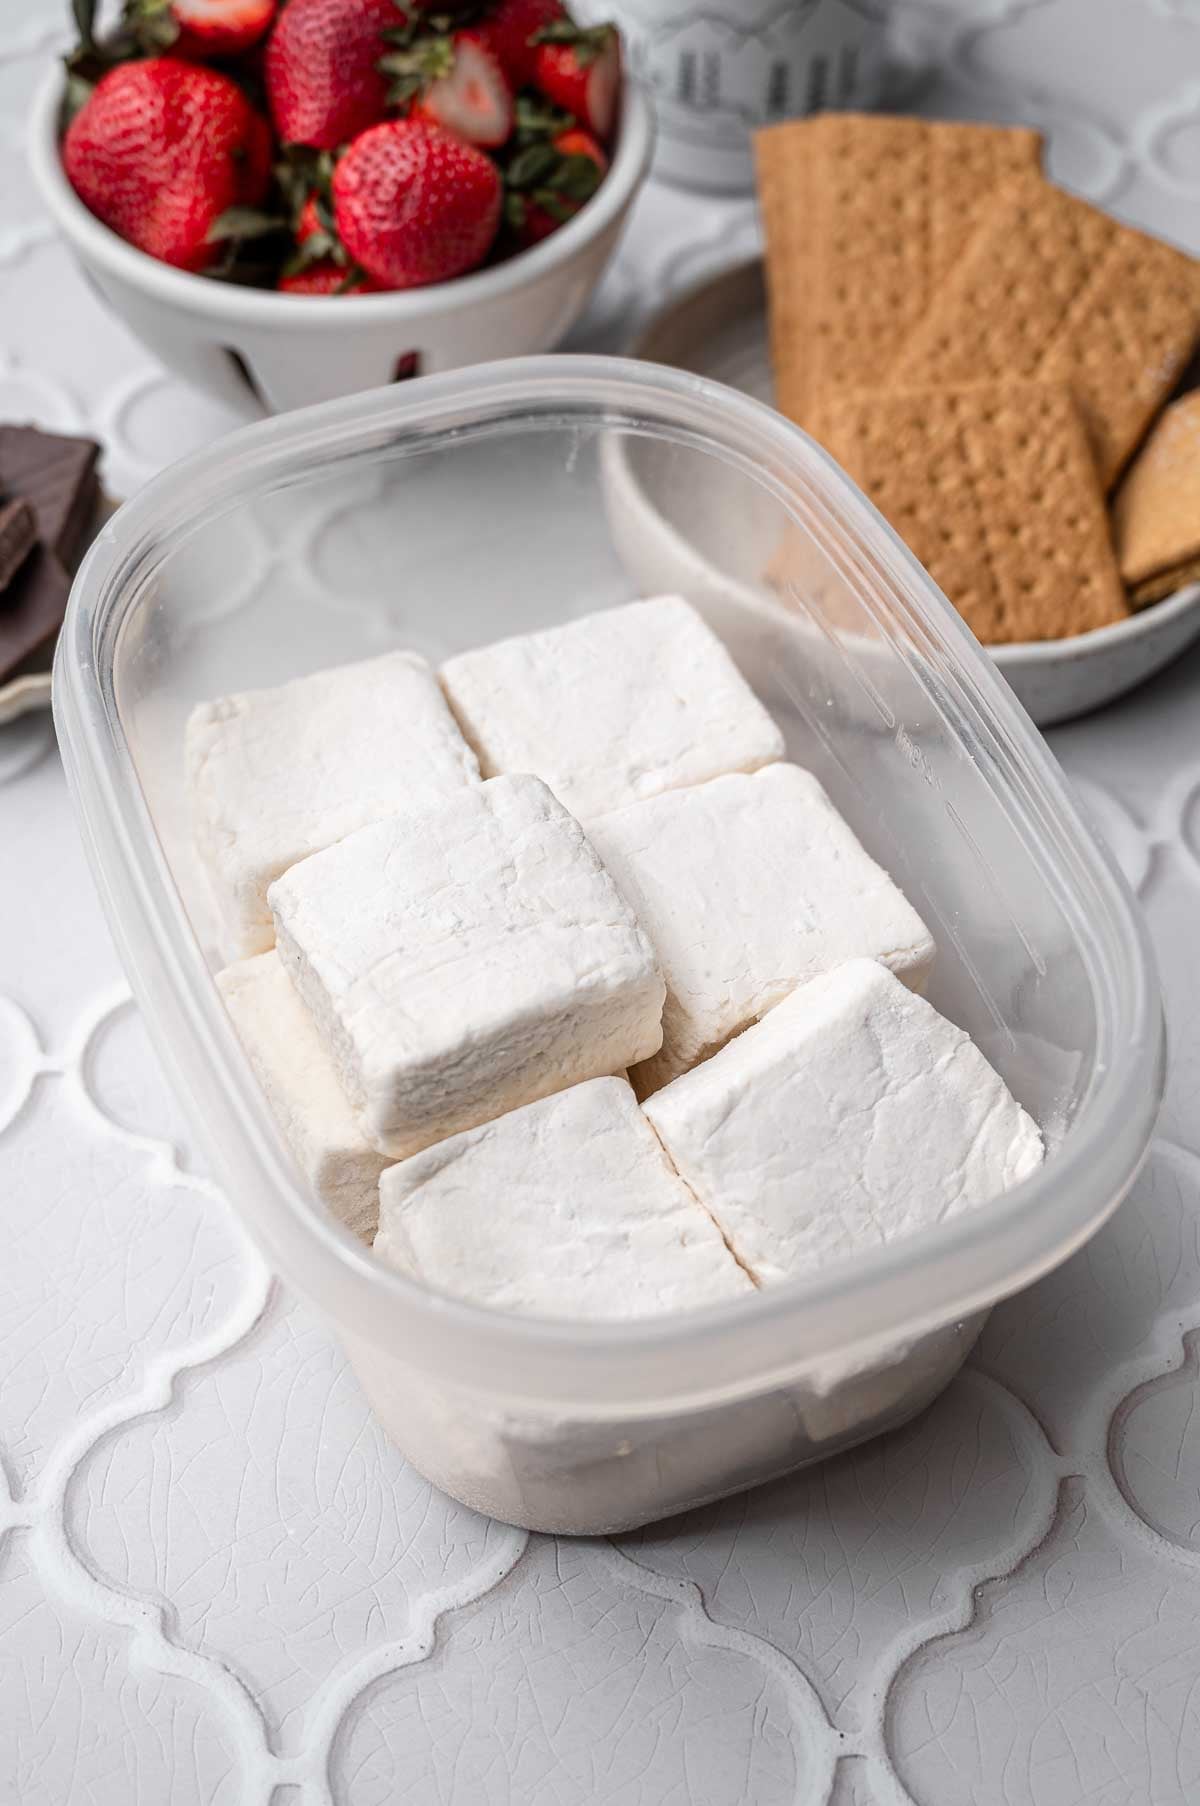
Place the squares in an airtight container for storage.
Ways to Use Homemade Marshmallows
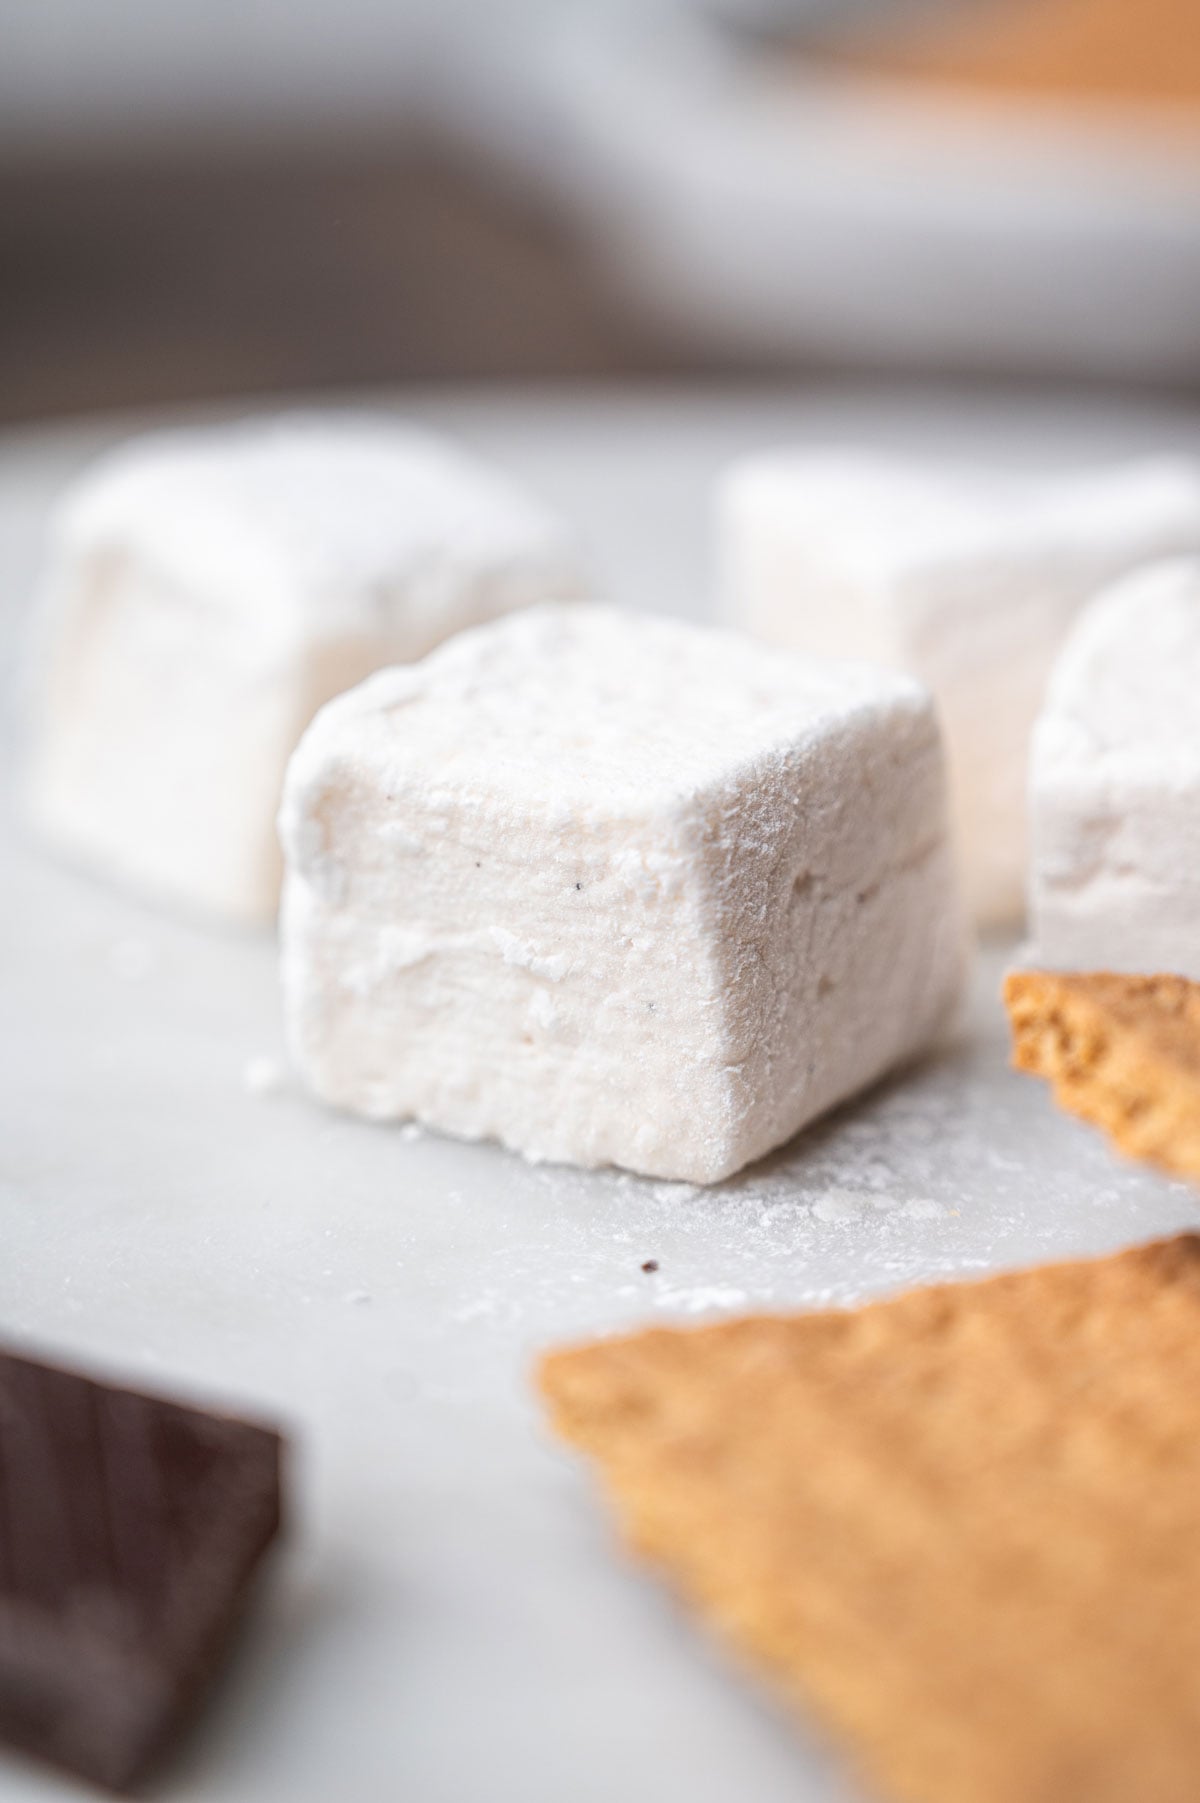
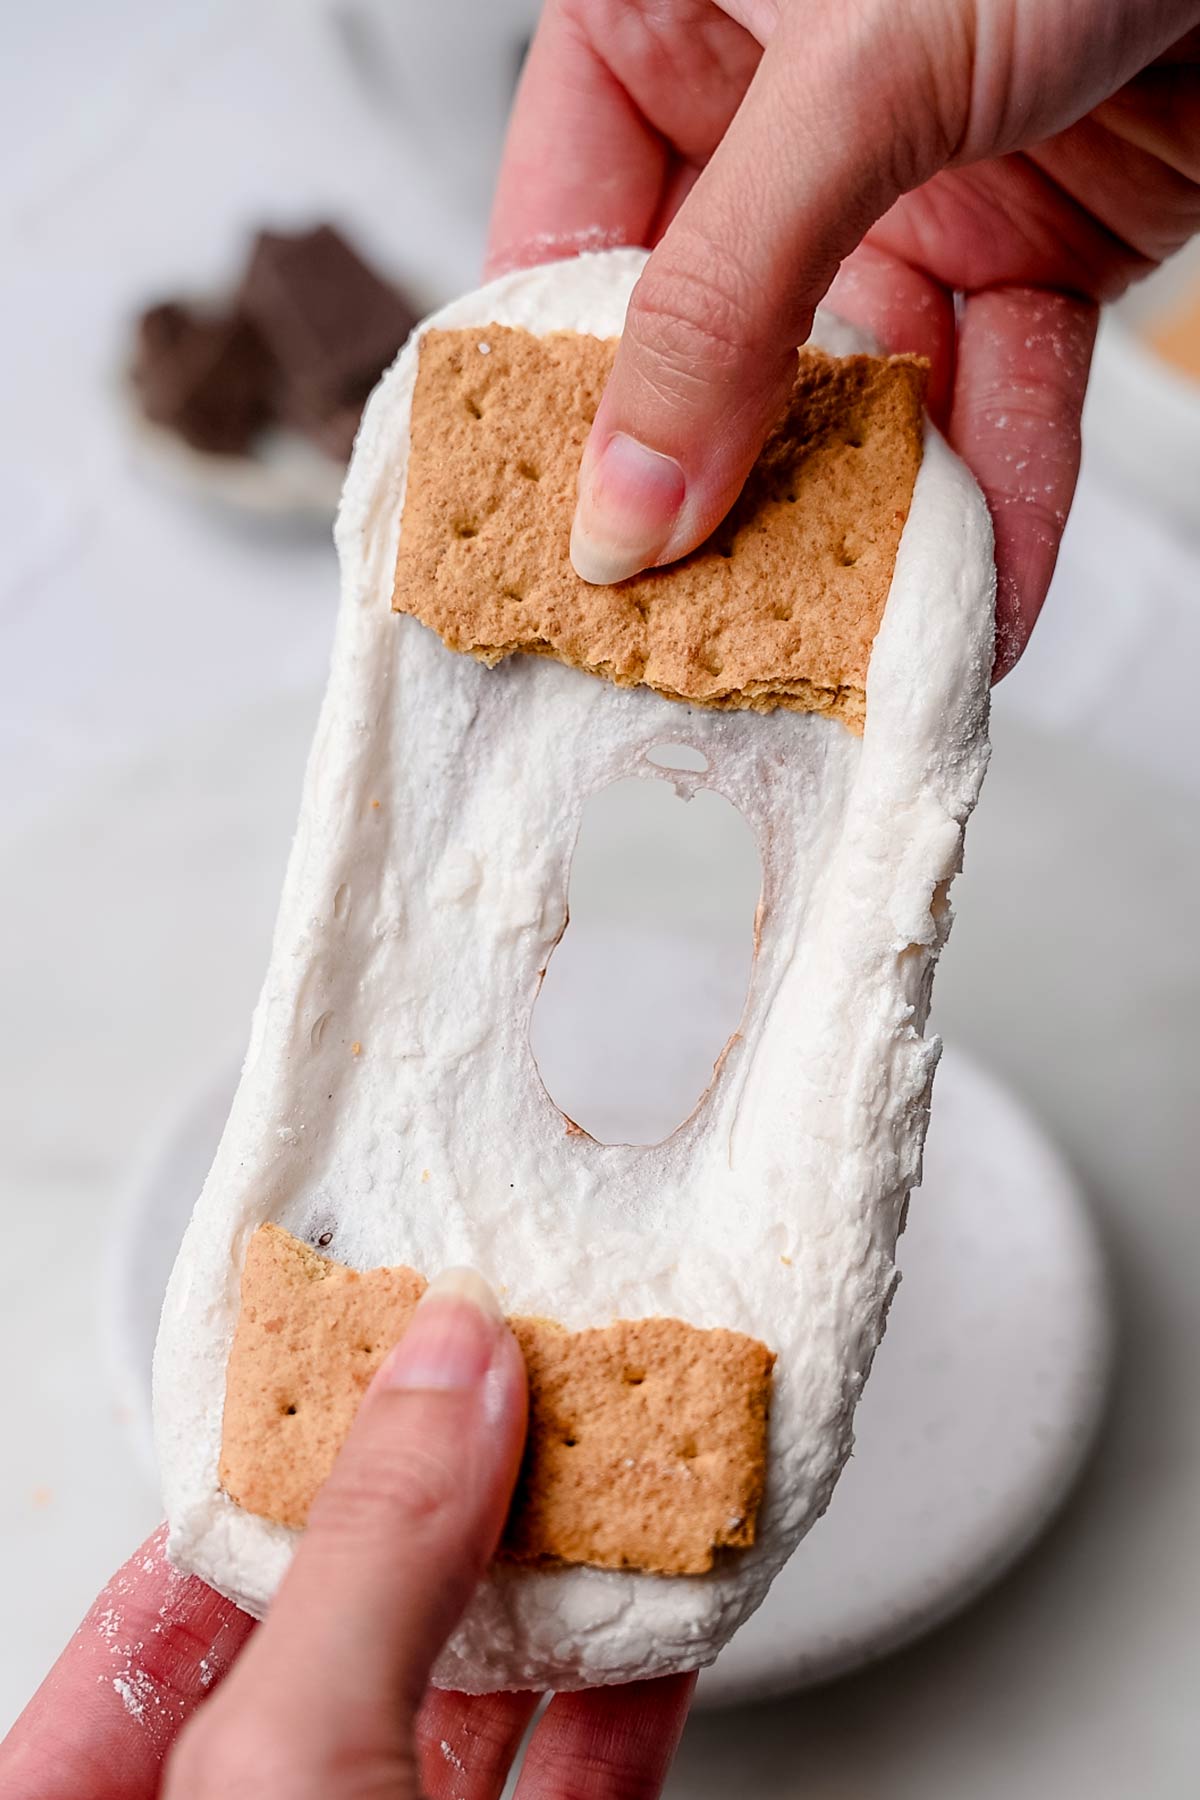
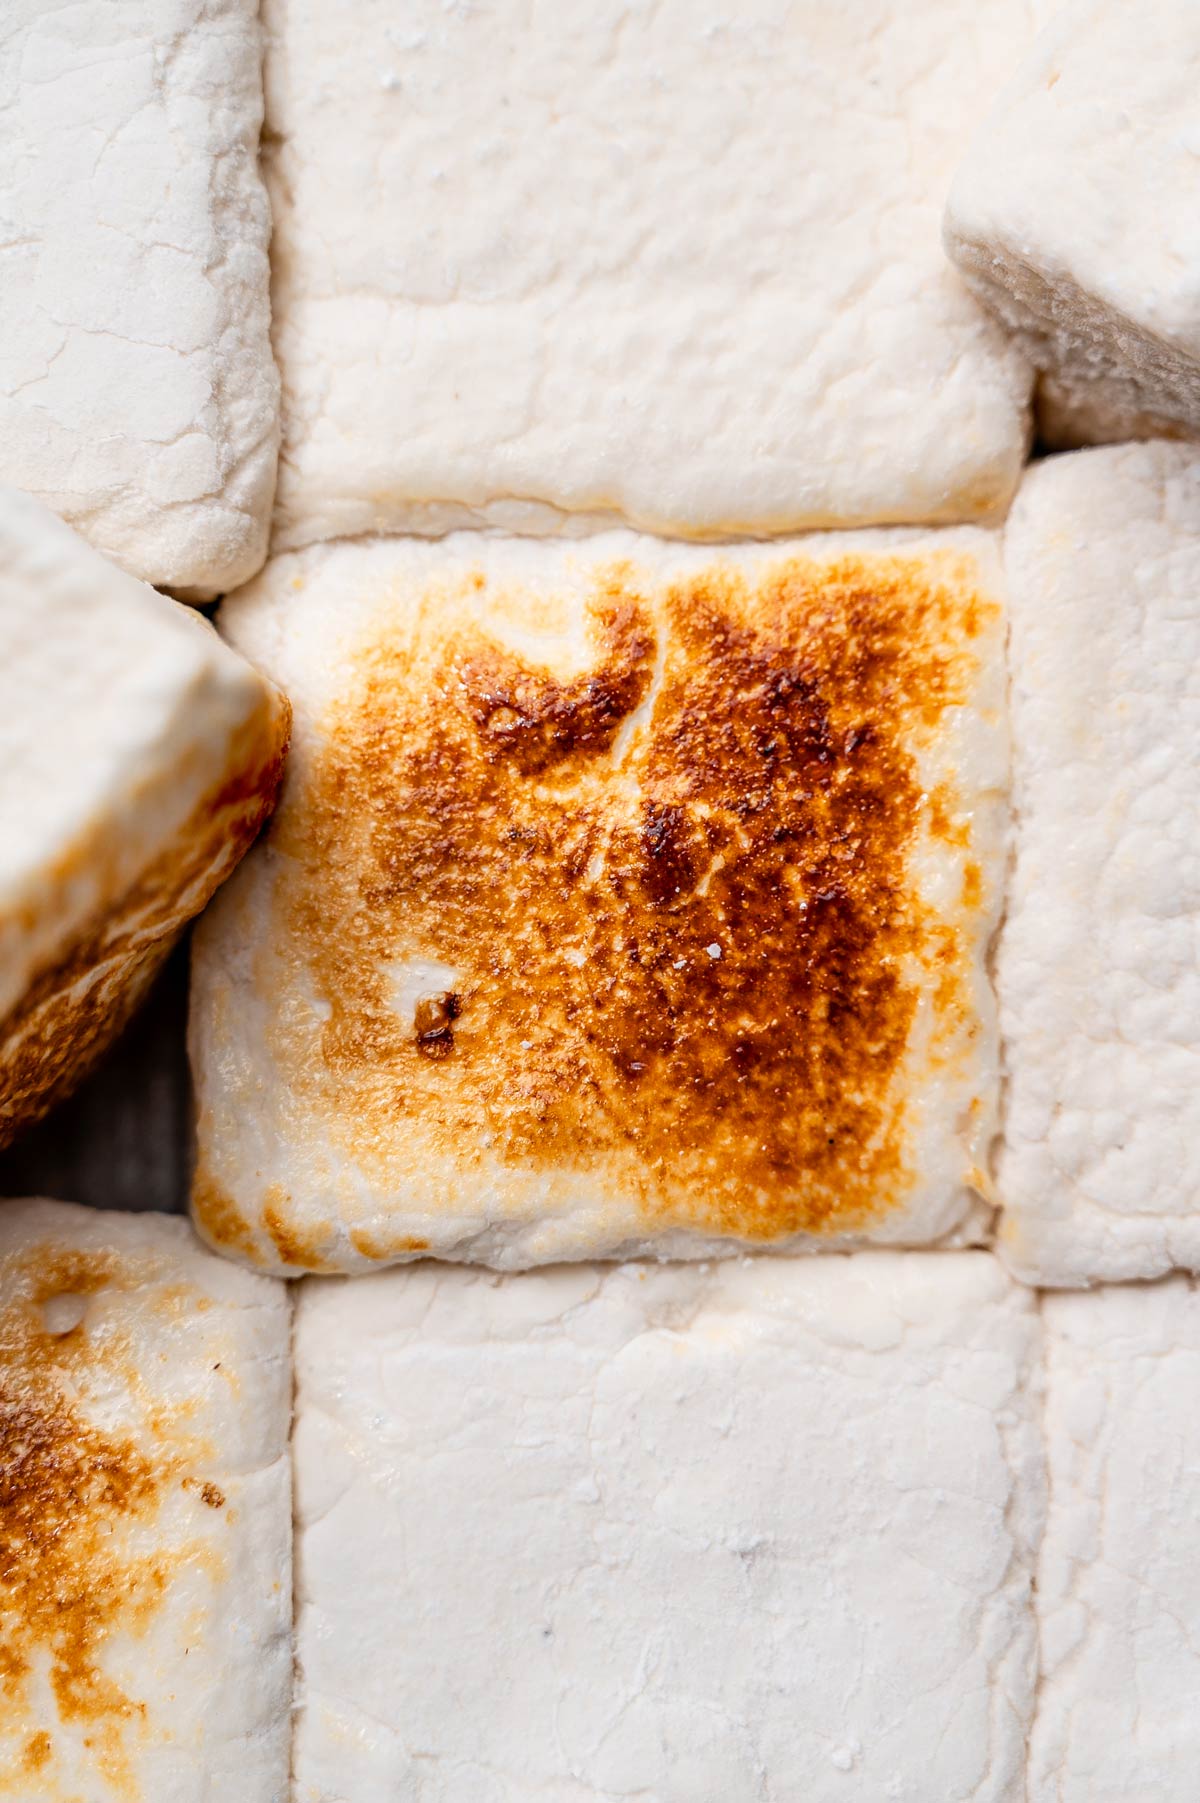
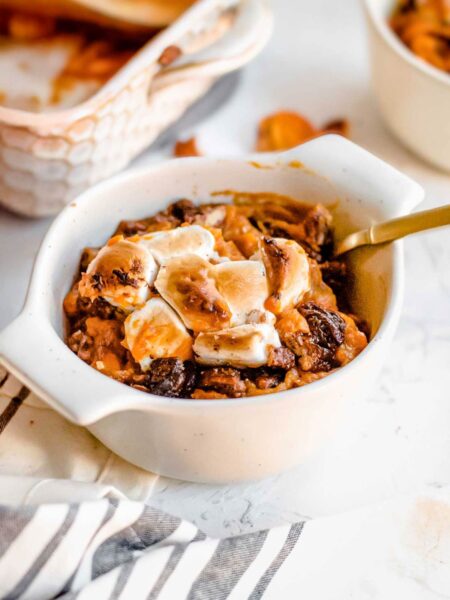
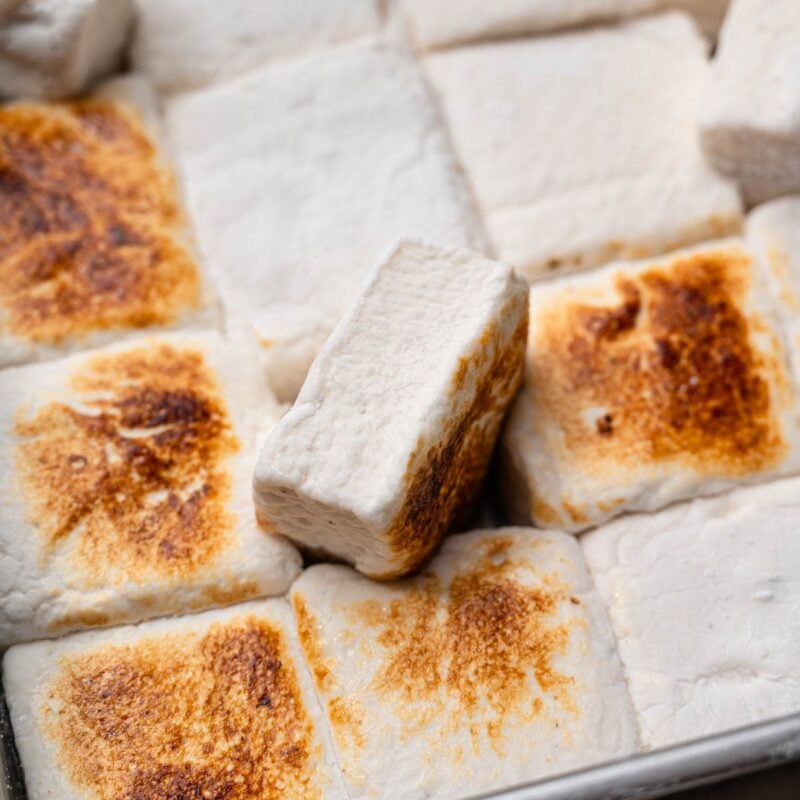
Use these vegan marshmallows anywhere you would use store-bought marshmallows. They toast up perfectly and melt super well. They would be delicious around 4th of July or Christmas time.
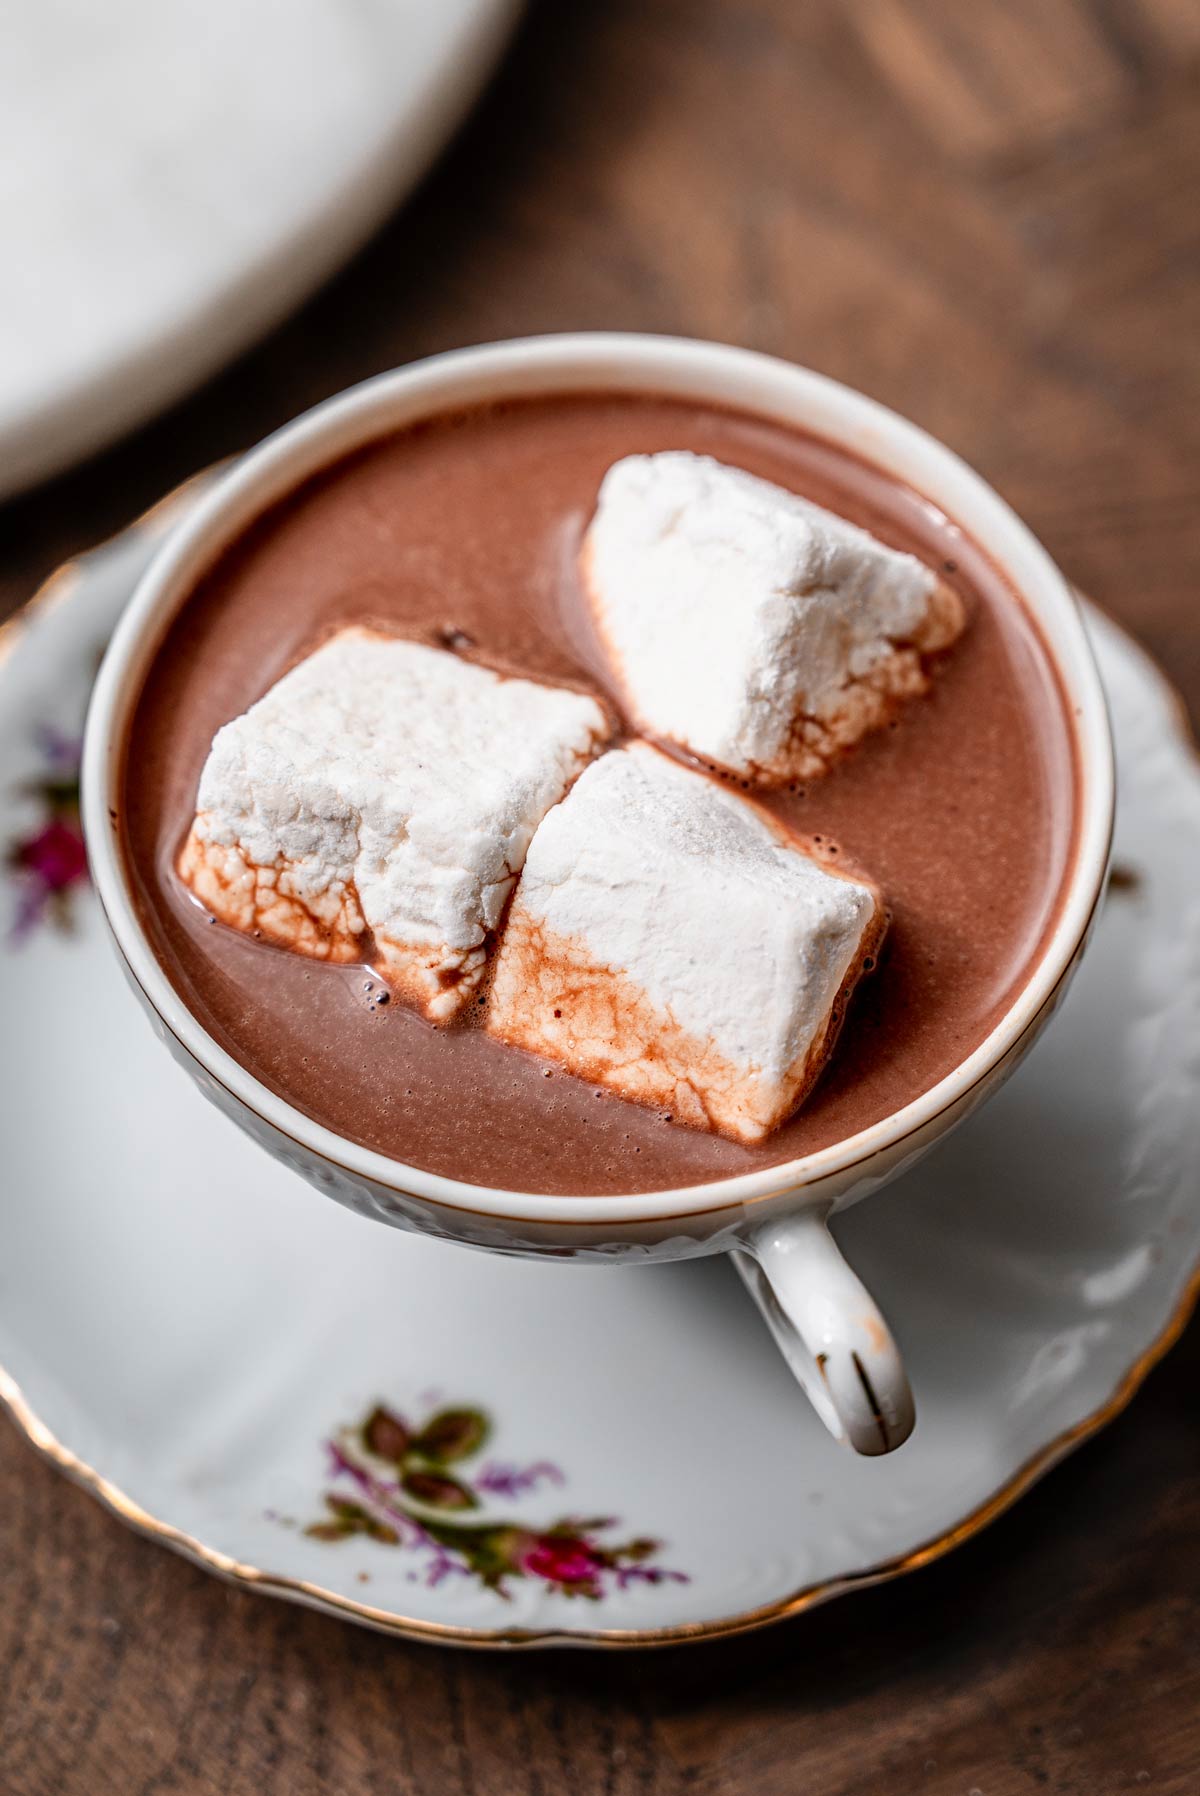
They are great for s’mores, hot chocolate, rocky road, cookies, brownies, cakes, dessert bars, and holiday treat boxes. You can also toast them with a kitchen torch or over a fire until golden and gooey.
You can add in other flavors like peppermint extract, or swirl in berry puree once poured in the pan. They also take food coloring well. Use 1-2 drops of gel color as needed.
I also tested them in rice crispy treats, and they melted really well (better than store-bought). The only thing to keep in mind is that homemade marshmallows, vegan or not, usually have more moisture than store-bought marshmallows.
For the best rice crispy treats that stay crisp longer, let the marshmallows fully set up/dry out well before using them and make sure they are generously coated in the powdered sugar/starch mixture.
Troubleshooting Vegan Marshmallows
Vegan marshmallows are a little more technical than a standard cookie or cake recipe, mostly because a few small details can change the final texture pretty dramatically. The syrup temperature, whipping time, and plant-based protein base all work together to create that characteristic fluffy structure.
During testing, these were the most common issues I ran into. The good news is that once you know what to look for, they’re pretty easy to troubleshoot!
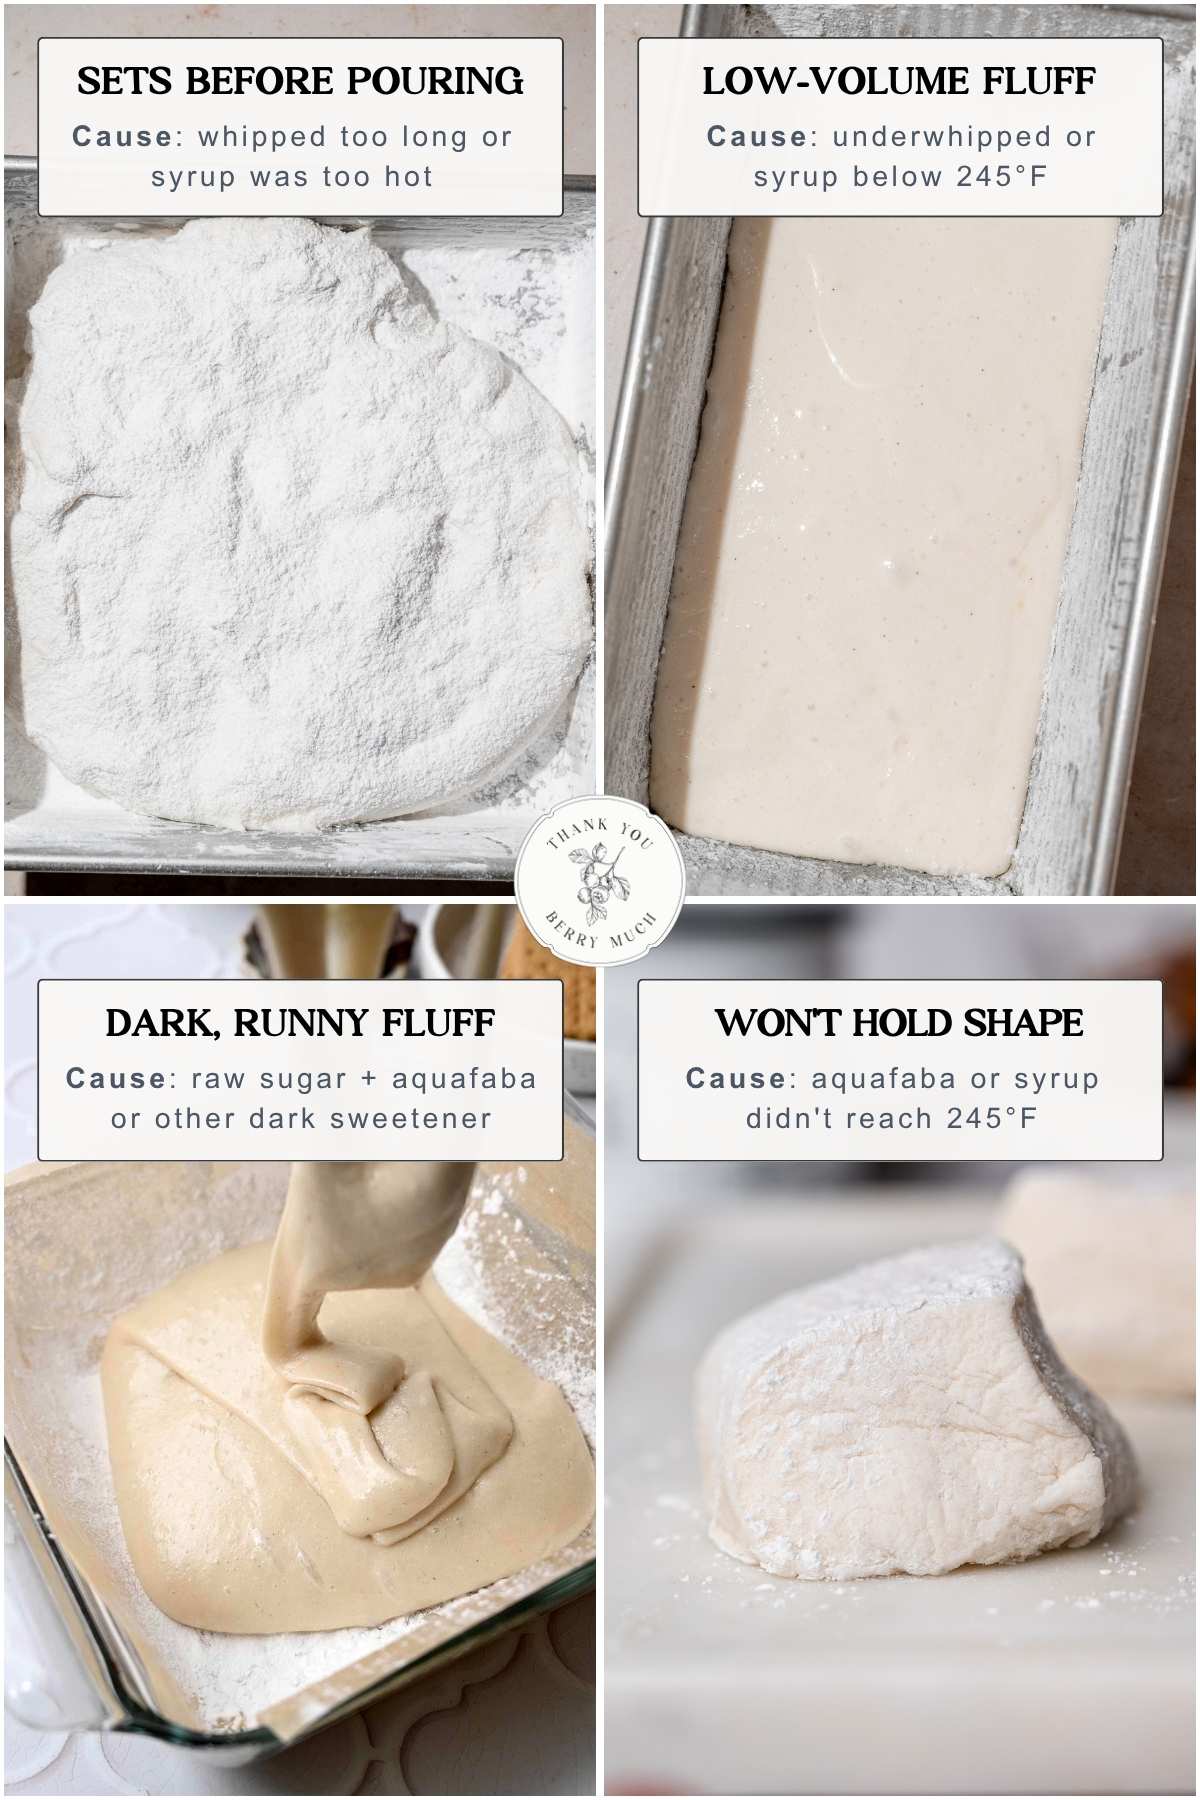
1. Set Before Pouring
If the marshmallow mixture is thick, stiff, and hard to spread into the pan, it was likely whipped too long. As it whips, it cools down and starts to set, so it can firm up before you have time to pour it.
- How to fix it: Stop whipping once the mixture is thick and drizzles off the whisk in ribbons that hold their shape. Have your pan ready and transfer the marshmallow right away.
2. Low-Volume Fluff
If the fluff is thin, fluid, or doesn’t gain much volume, the syrup may not have been hot enough, or the mixture may need more whipping.
- How to fix it: Use a candy thermometer and cook the syrup to 245°F. Check several spots in the pot and wait until the coolest area reaches 245°F. Once added, whip until the mixture drizzles off the whisk in ribbons that hold their shape and has noticeably increased in volume.
3. Dark, Runny Fluff
If the fluff looks darker or runny, the sugar or foam base may be the issue. In testing, darker raw sugars and darker sweeteners changed the color, and aquafaba created a softer, less stable foam.
- How to fix it: Use the sugar and protein base listed in the recipe. For the lightest color and most reliable texture, I recommend regular granulated sugar and Versawhip. I used Domino’s Golden Sugar which is vegan friendly.
4. Won’t Hold Shape After Cutting
If the marshmallows slump, are super bouncy, or won’t hold their shape once cut, the foam structure likely wasn’t strong enough. This can happen if the syrup wasn’t hot enough to activate the vegan gelatin or the wrong foam base was used.
- How to fix it: Make sure the syrup reaches 245°F (and add it right away to the mixer), use Versawhip for the best structure, and let the marshmallows fully set before cutting.
Marshmallow Recipes


Very Best Vegan Marshmallows
Rate this RecipeIngredients
Marshmallow Base
- 1 tbsp modified soy protein, Versawhip 600K, 8g – see note 1
- ½ cup cold water, 120g
- 1 tbsp + 1 tsp vegan gelatin, 15g, see note 2
- 2 tbsp granulated sugar, 25g
Sugar Syrup
- 1 ¾ cups granulated sugar, 350g
- ½ cup cold water, 120g
- 1 cup light corn syrup, 240 ml, see note 3
- ¼ tsp fine salt
- ½ tsp vanilla paste, or 1 tsp vanilla extract
Coating & Prep
- ½ cup powdered sugar, 60g
- 2 tbsp cornstarch or tapioca starch, 16g
- Neutral oil
Instructions
- Prep the pan: Line an 8×8-inch pan with parchment, leaving an overhang for easy removal later. Brush the parchment well with oil. Mix the powdered sugar and starch together. Dust the oiled pan with 1-2 tbsp of the mixture.½ cup powdered sugar, Neutral oil, 2 tbsp cornstarch or tapioca starch
- Start the foam: Add the Versawhip and ½ cup of cold water to the bowl of a stand mixer. Whip on high with a balloon whisk attachment for about 8 minutes, until stiff peaks form and the mixture has tripled or quadrupled in volume.1 tbsp modified soy protein, ½ cup cold water
- Start the syrup: While the Versawhip is whipping, combine the granulated sugar, water, corn syrup, in a saucepan. Give it a quick stir, then place over medium to medium-low heat and simmer without stirring. Heat until the syrup reaches 245–250°F. It will reach 220°F quickly, then take several more minutes to climb to 245°F. Keep an eye on it as it simmers so it doesn’t boil over.1 ¾ cups granulated sugar, ½ cup cold water, 1 cup light corn syrup
- Add the vegan gelatin to the foam: Mix the vegan gelatin with the 2 tablespoons sugar (this prevents clumping). Once the Versawhip has reached stiff peaks, reduce the mixer to medium-low and slowly sprinkle in the vegan gelatin mixture until well combined.1 tbsp + 1 tsp vegan gelatin, 2 tbsp granulated sugar
- Whip in the hot syrup: As soon as the syrup reaches 245–250°F, slowly stream it into the mixer while it runs on medium-low. Increase to high and whip until very thick, lighter in color and glossy. The marshmallow is ready when it drizzles from the whisk in thick ribbons that spiral onto themselves and hold their shape. If the ribbons sink back in, keep whipping. Mix in the salt and vanilla near the end.This takes about 8 minutes in my KitchenAid mixer, but may take longer depending on your mixer. Always go off appearance rather than time.¼ tsp fine salt, ½ tsp vanilla paste
- Transfer to pan: Quickly pour the marshmallow fluff to the prepared pan. Smooth the top with a well-oiled spatula and dust the top with more of the powdered sugar-starch mixture. Let cool uncovered at room temperature for 4 hours before cutting.
- Cut: Once set, remove the marshmallow from the pan using the parchment overhang. Oil a chef’s knife or bench cutter and cut into squares, cleaning the knife and re-oiling between cuts. Gently toss the squares with the remaining powdered sugar mixture, then shake off the excess.Store in an airtight container at room temp. for up to a week. Can be frozen.
Recipe notes
Did You Make This?
Leave a star rating and a comment below to let others know how it turned out for you!


Did You Make These Vegan Marshmallows?
I’d love to know! Leave a star rating and comment below!