This post may contain affiliate links, view our disclaimer for details.
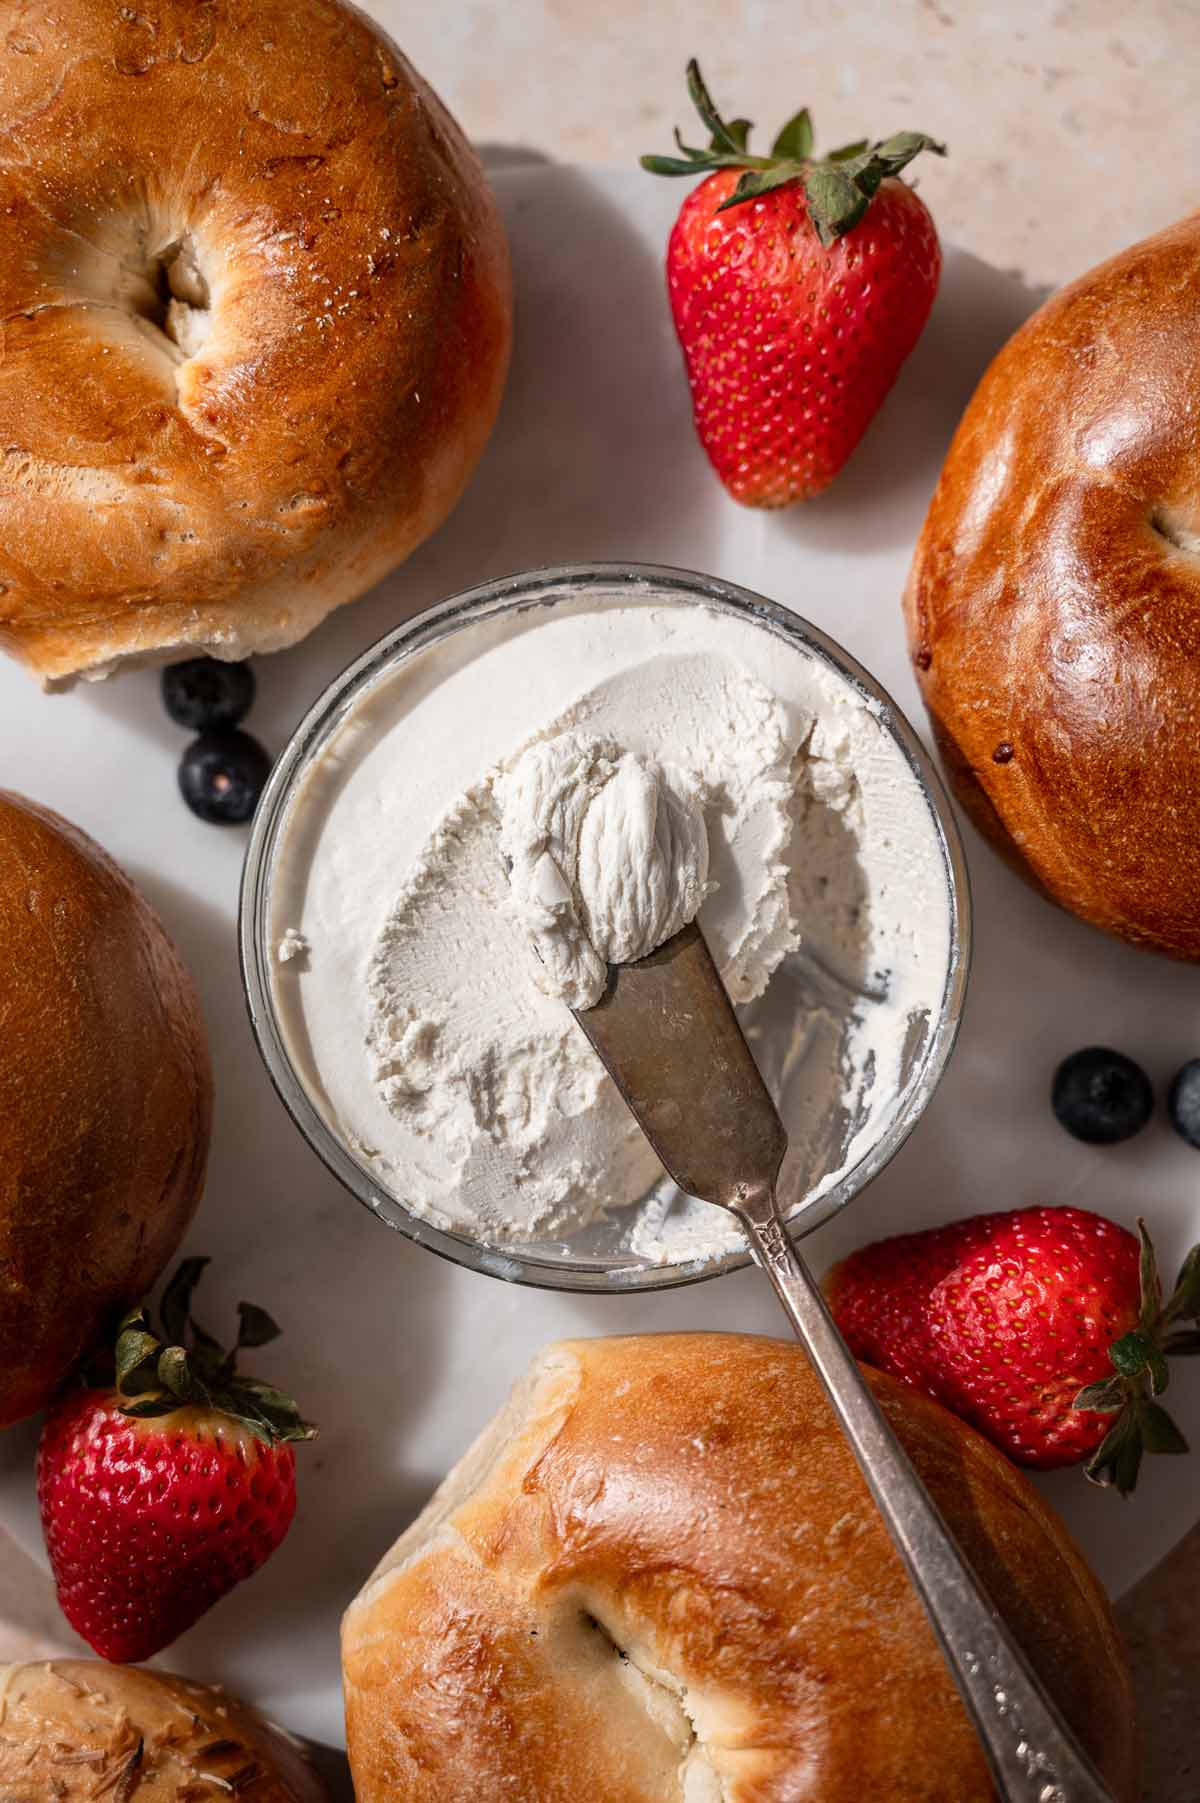
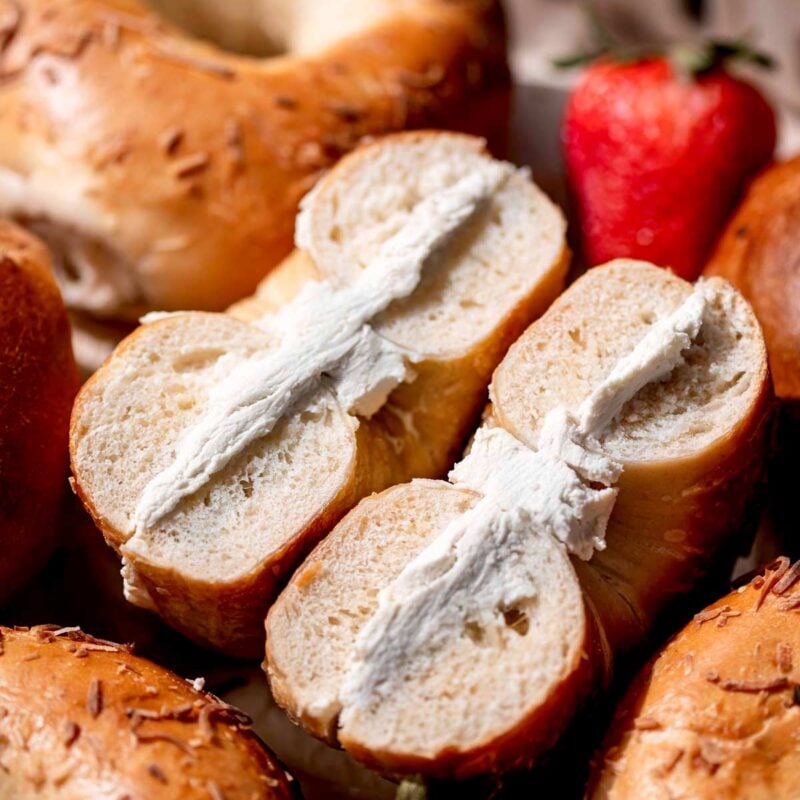
Of all the cheeses, vegan cream cheese is easily one of my most used. I love adding it to stuffed peppers, spreading it on bagels, and of course, using it to make cheesecakes! So, I thought it was time to make a realistic homemade version that’s closer nutritionally to dairy cream cheese than store-bought ones are.
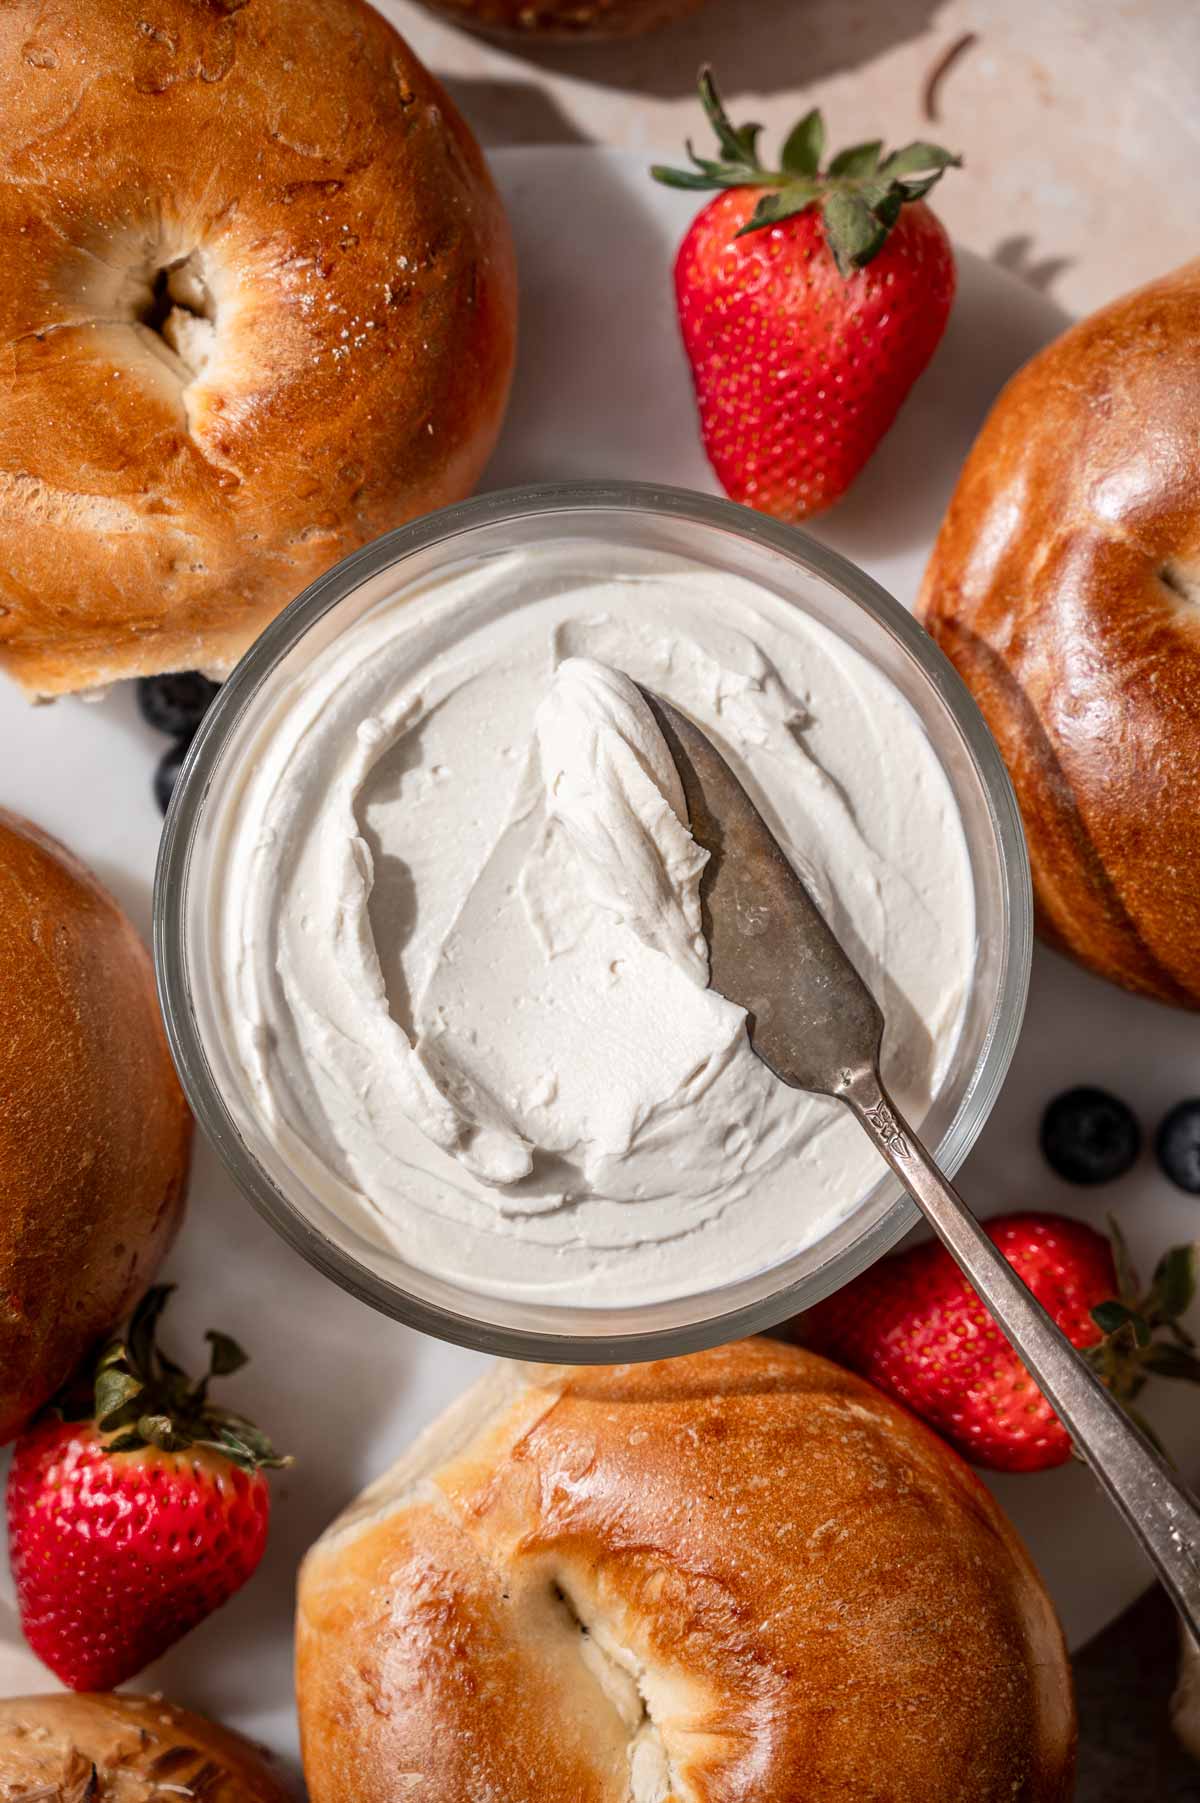
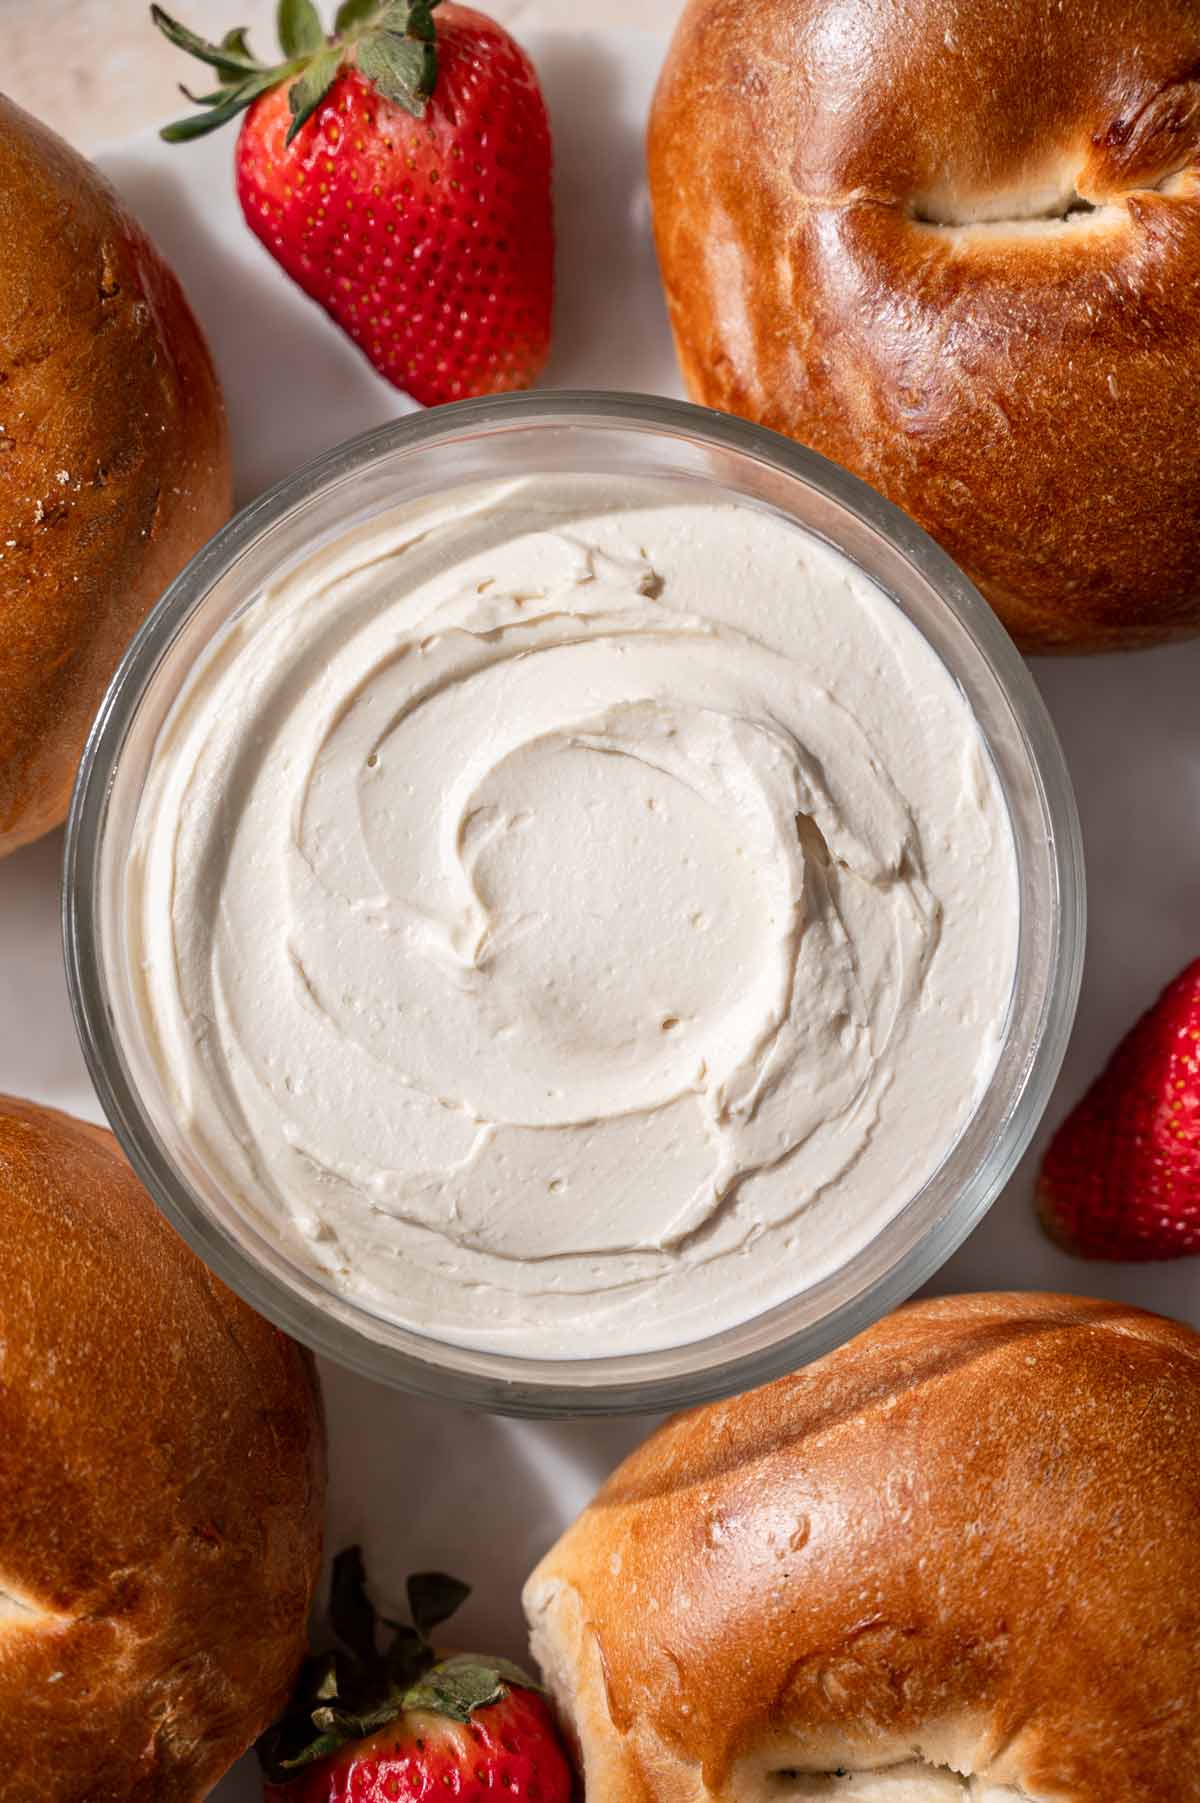
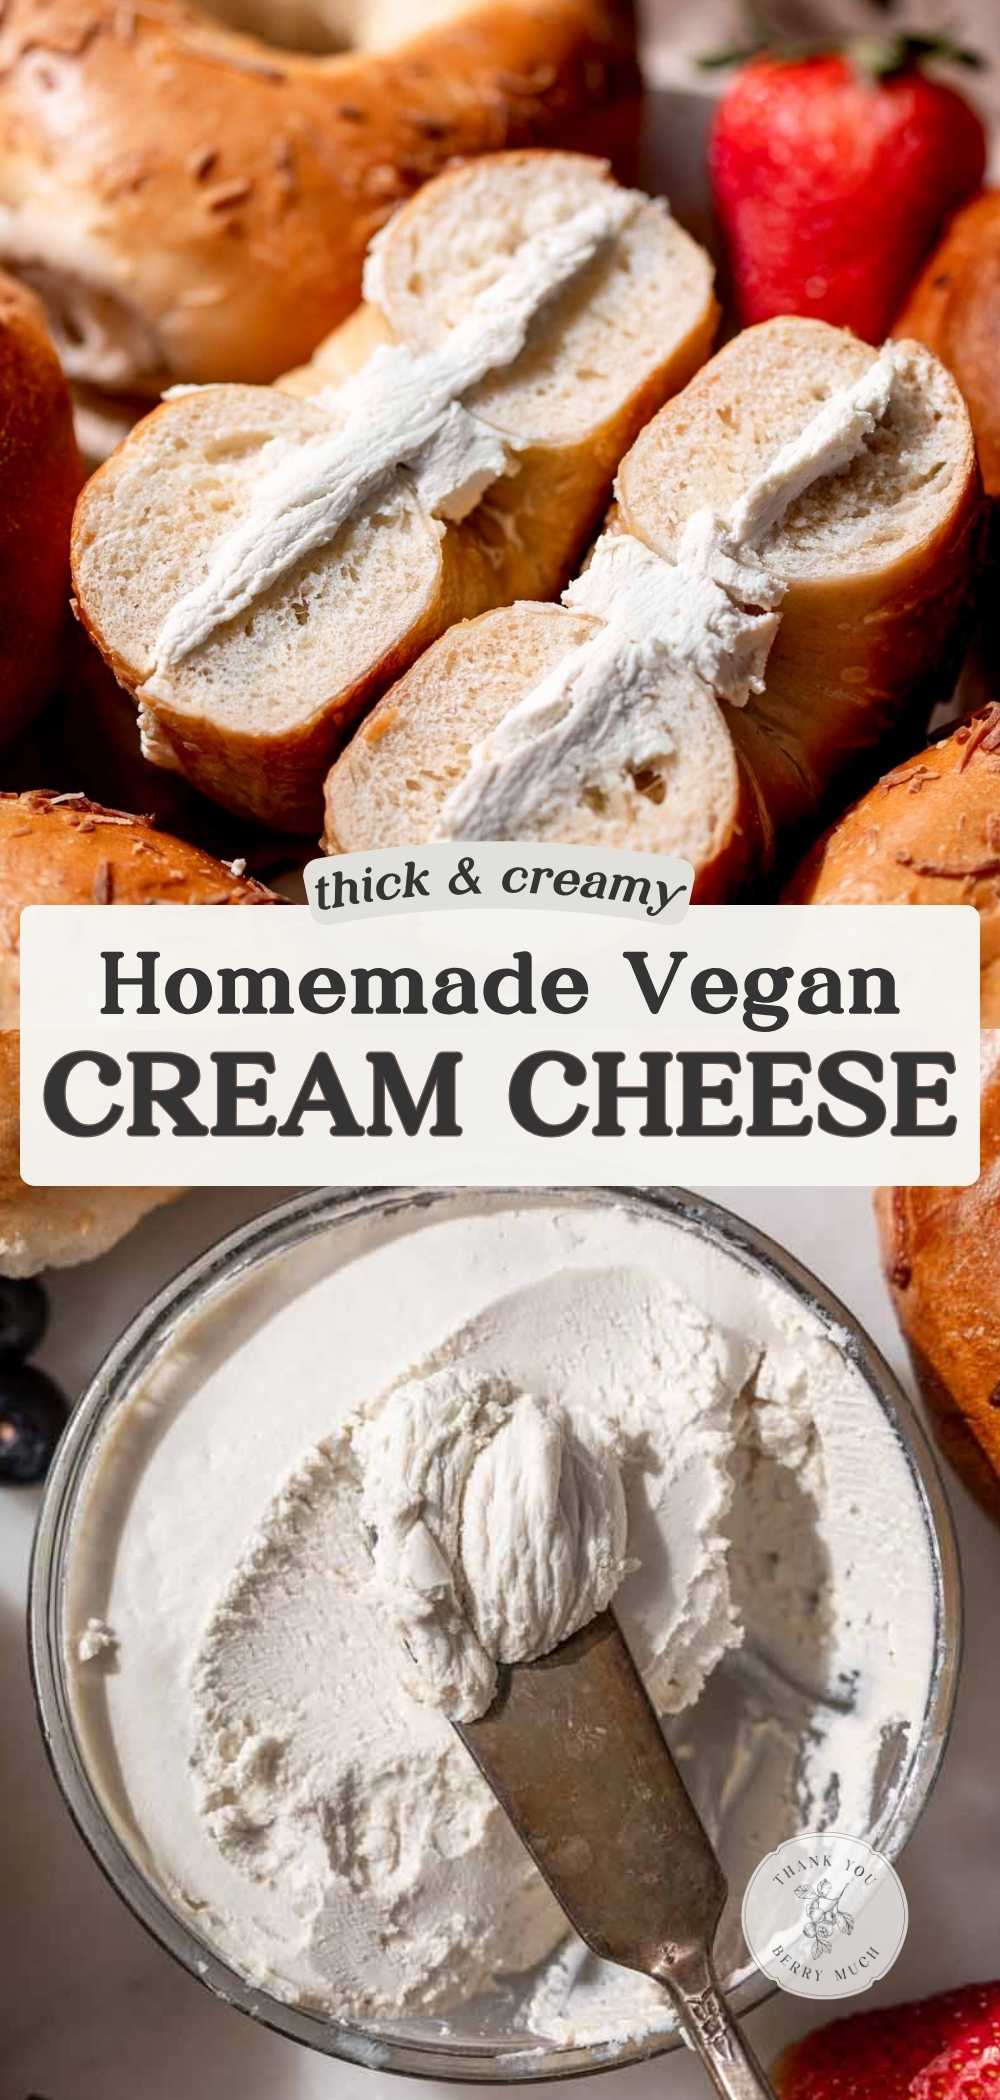
And gosh… this recipe turned out so good. This dairy-free cream cheese uses just 4 main ingredients (plus a pinch of salt), has just over 3g of protein per serving (similar to dairy versions), and is SO thick yet spreadable straight from the fridge.
Why You’ll Love This Vegan Cream Cheese
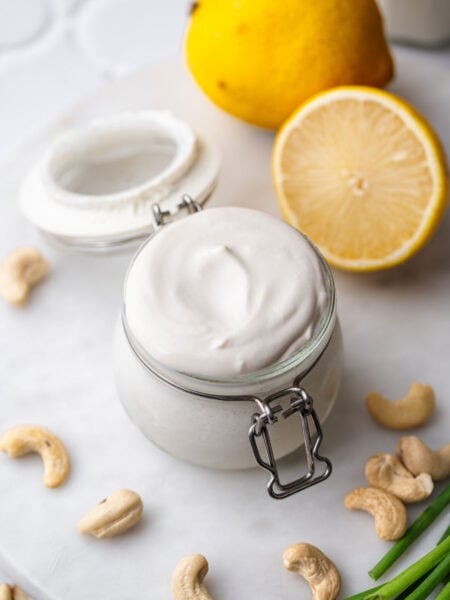
Most vegan cream cheese alternatives fall into two camps: they’re either made with blended nuts (like cashews), or they rely on oils + starches. This version takes a different approach using traditional cheesemaking methods. Below are a few reasons we love it plus why this recipe is different!
Emily’s Recipe Notes:
- Flavor: Tangy yet mild & perfectly rich
- Texture: Thick but smooth & spreadable
- Time: Only 15 minutes of prep time!
- Method: Made with a traditional cheesemaking method. No cashews or starches needed.
Why This Recipe Works
Most store-bought vegan cream cheese is often too hard straight from fridge and cashew cheese is often too soft. Plus, oil + starch based versions tend to melt when applied to hot bagels…not ideal.
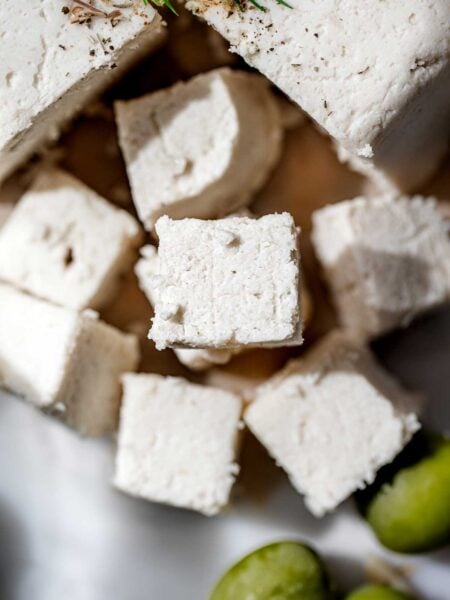
That curd is what gives the cheese its structure. Not starches or blended nuts.
Recipe Development
Getting from there to a true cream cheese texture took a bit of testing. I first tested blending in extra fat for a creamier mouthfeel after forming the curds. But that led to separation and a slightly grainy texture once chilled. I couldn’t get the coconut oil to fully emulsify into the cheese. So, I tried blending in sunflower seeds to help with emulsification, but they added a noticeable bitterness.
The breakthrough came when I treated the soy milk more like a “full fat” base from the start. Instead of adding fat at the end, I blended in coconut cream and refined coconut oil before heating and curdling. That way, the fat is already integrated as the curds form.
This version made a much smoother, fluffier curd that blends up into a thick, creamy spread. And it sets up nicely in the fridge, behaving more like dairy cream cheese. See more about what you need to make it below.
Ingredients
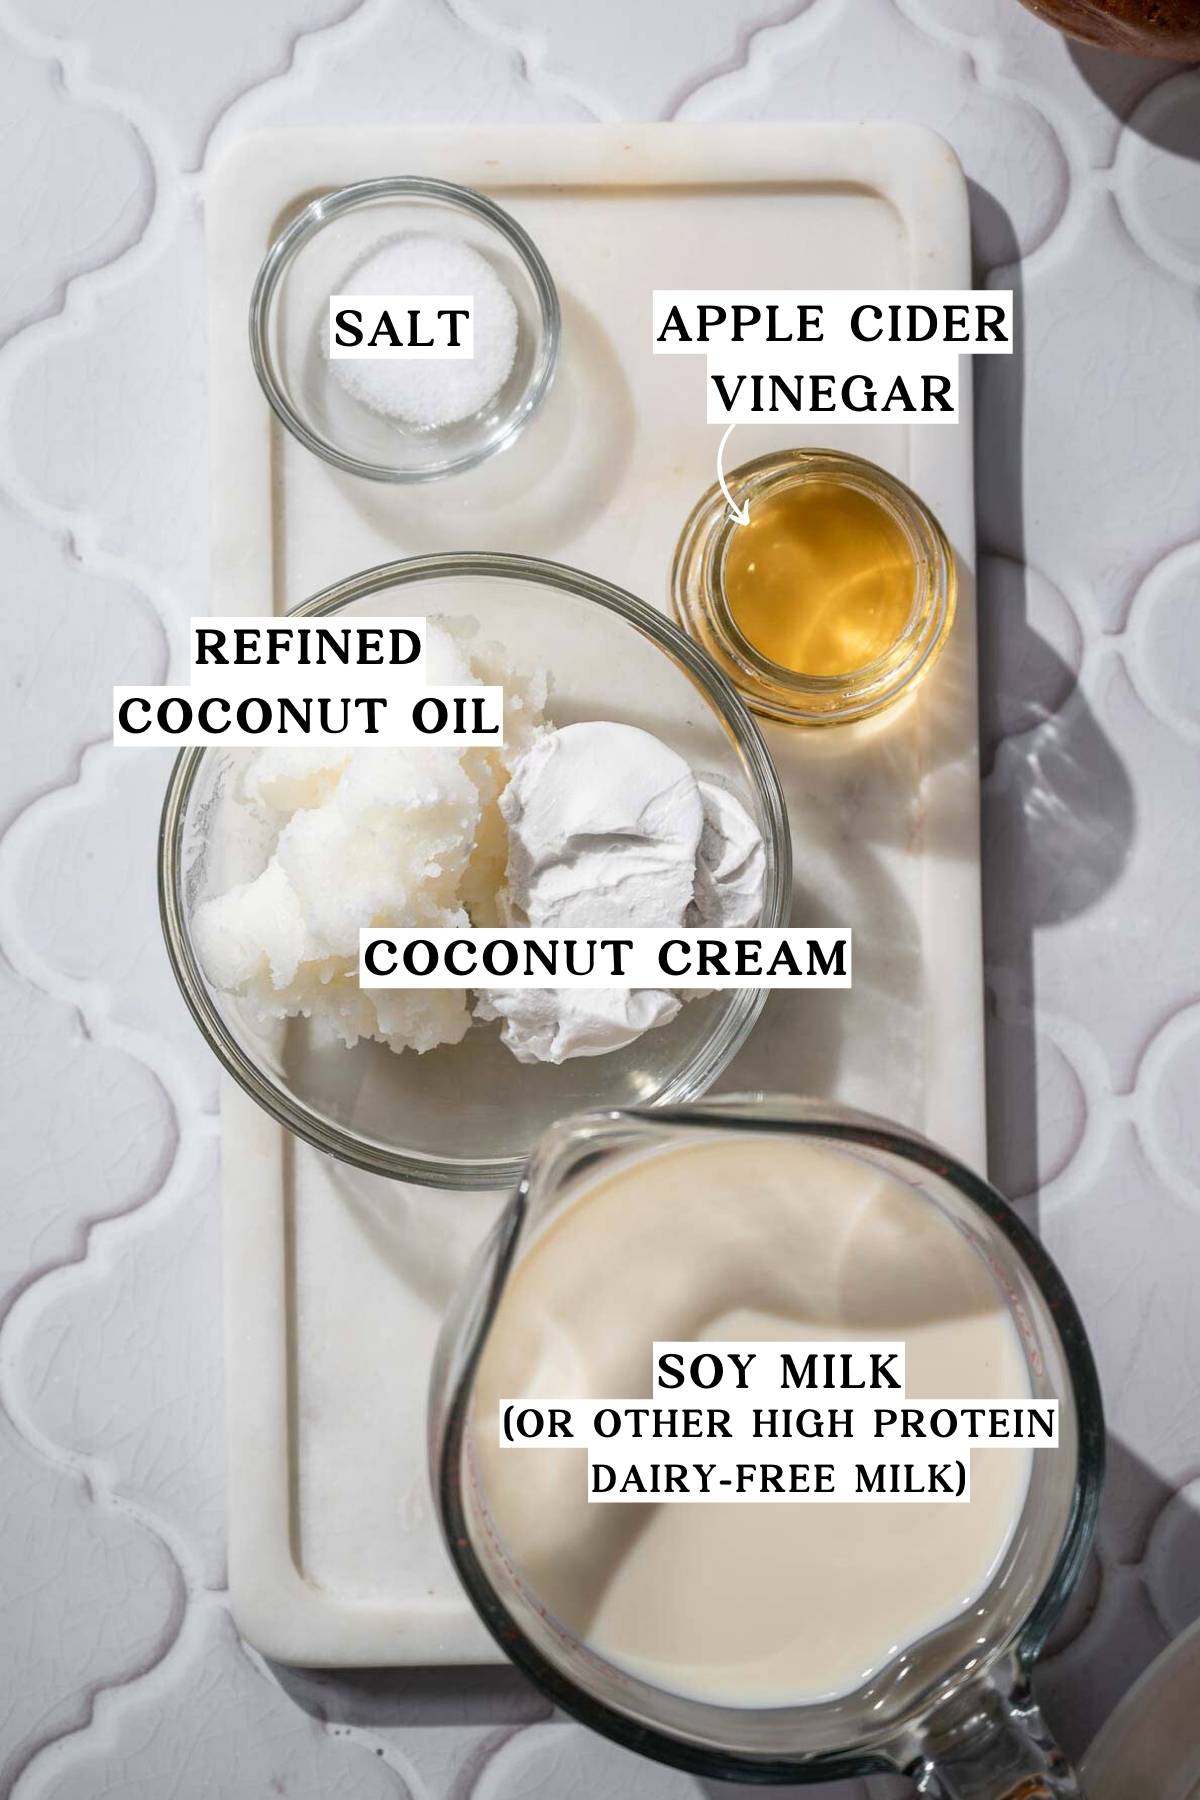
Ingredient Highlights & Some Swaps
Dairy-Free Milk
Like with my homemade vegan yogurt and my vegan mascarpone, this recipe works best with a high protein dairy-free milk like unsweetened soy milk or pea protein milk. The higher protein content helps the milk curdle when combined with an acid. Top options I tested are below:
- West Life Plain Soy Milk: Highest yield and pale curds
- Ripple Pea Protein Milk: Great soy-free option, mild flavor
❌ I don’t recommend using almond, oat, hemp, or rice milk for this recipe. See the full testing results in the drop down menu below.
How different plant-based milks performed in this recipe:
- Hemp milk had a strong, tangy flavor and loose texture – not recommended.
- Oat milk produced less cheese overall, and only some brands curdled at all. I tested Trader Joe’s Oat Beverage and it didn’t curdle – likely due to emulsifiers or stabilizers.
- Almond milk curdled slightly, but yielded only about half as much cheese as soy milk.
To find the best dairy-free milk options for this vegan cream cheese and my mascarpone cheese, I tested 1 cup of each milk with 1 tablespoon of lemon juice, gently heated over medium-low. Below are the notes from that test
|
Plant Milk |
Protein (per cup of Milk) |
Cheese Curd Yield |
Notes |
|---|---|---|---|
|
West Life Plain Soy Milk |
9g |
3 1/2 tbsp (58g) |
Highest yield, pale color, mild slightly tangy flavor |
|
Ripple Pea Protein Milk |
8g |
3 tbsp (52g) |
Mild taste, pale yellow color, great soy-free option |
|
Silk Soy |
7g |
2 tbsp (31g) |
Yellow color, looser texture, mild taste |
|
Good Karma Flax + Protein |
5g |
2 tbsp (34g) |
Looser texture, tangier but still mild |
|
Pacific Hemp Milk |
3g |
1 1/2 tbsp |
Loose, tangy, hemp forward flavor |
|
Oat Milk |
~2g |
~1 tbsp |
Inconsistent curdling |
|
Almond Milk |
~1g |
~1 tbsp |
Inconsistent curdling, nutty flavor |


Refined Coconut Oil
Refined coconut oil plays two key roles in this recipe. It adds richness and helps the cream cheese firm up as it chills. Be sure to use refined coconut oil – not unrefined or virgin, which can add a coconut flavor.
Other oils that are liquid at room temperature won’t work here. If needed, you can substitute another neutral oil that’s solid when chilled.
Coconut Cream
A small amount of coconut cream makes a big difference in the final texture. It helps smooth everything out and allows the oil to blend more evenly into the curds.
Use full-fat coconut cream from a can (just the thick, solid portion). I don’t recommend skipping it!
Apple Cider Vinegar
Apple cider vinegar is my acid of choice for this vegan cheese. I also tested lemon juice, vegan lactic acid, and distilled white vinegar. Lemon juice and white vinegar will form curds, but apple cider vinegar gave the most “cheesy” flavor and tasted closest to traditional cream cheese.
Fine Salt
Helps balance flavor and creates a cheesier flavor.
How to Make Vegan Cream Cheese
Exact ingredient quantities are in the recipe card below!
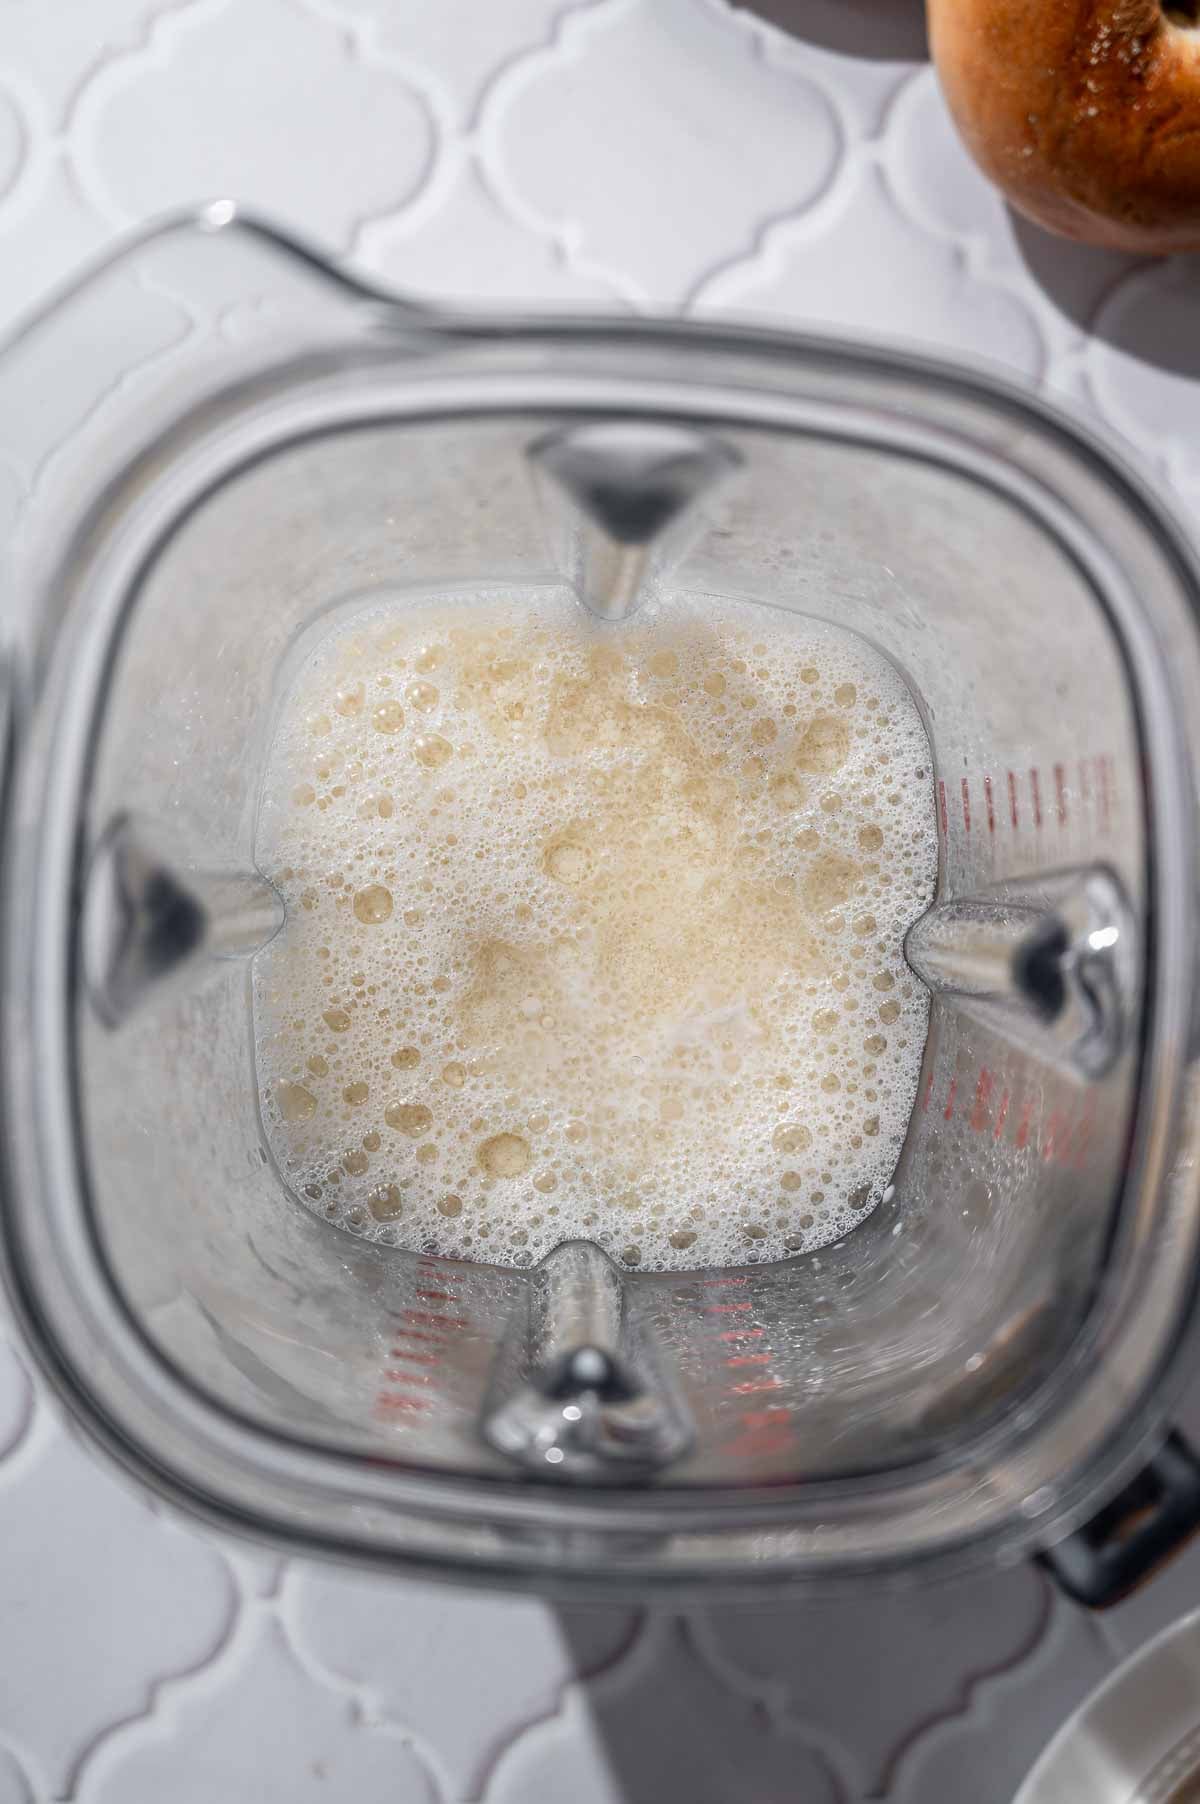
Blend the warm soy milk (or other high protein plant milk) with the melted refined coconut oil and coconut cream until smooth and emulsified.
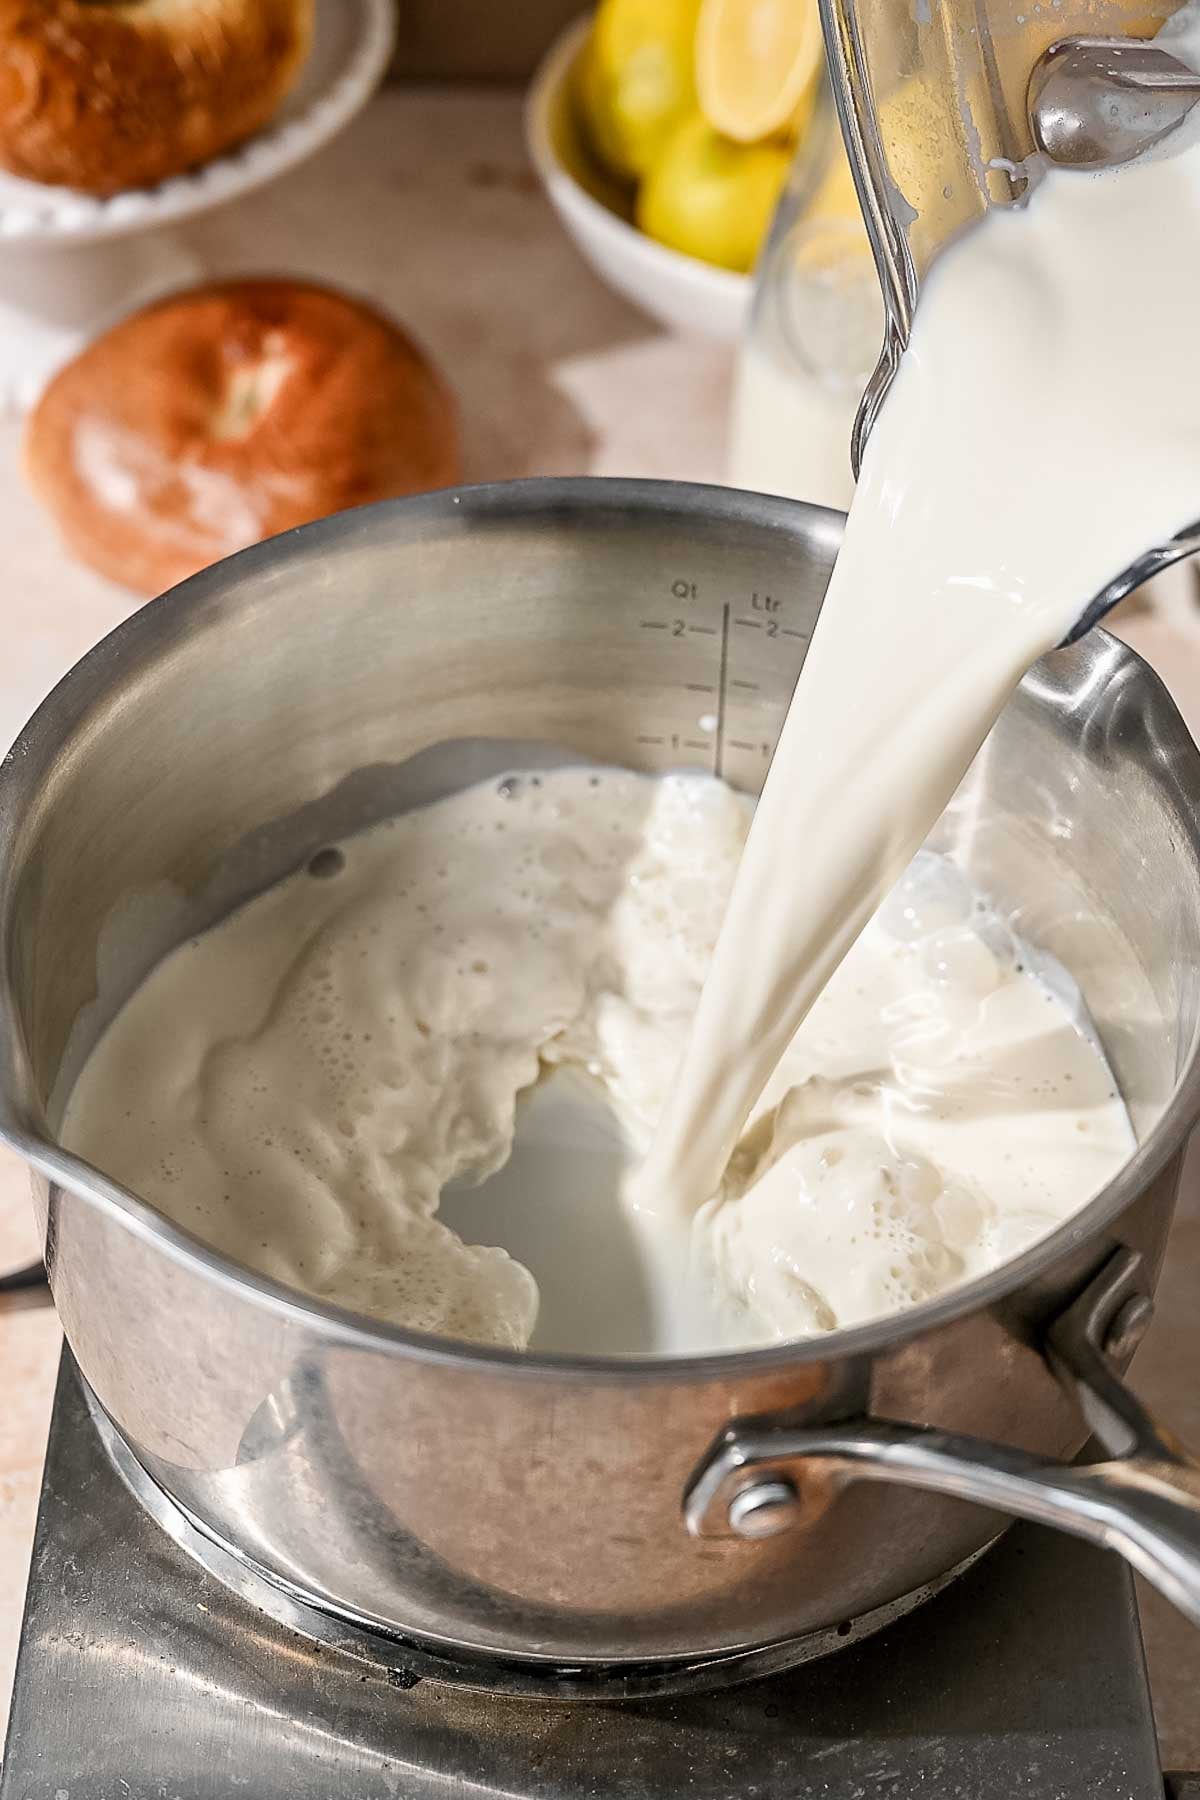
Pour the soy milk mixture into a medium saucepan and set it over medium-low heat.
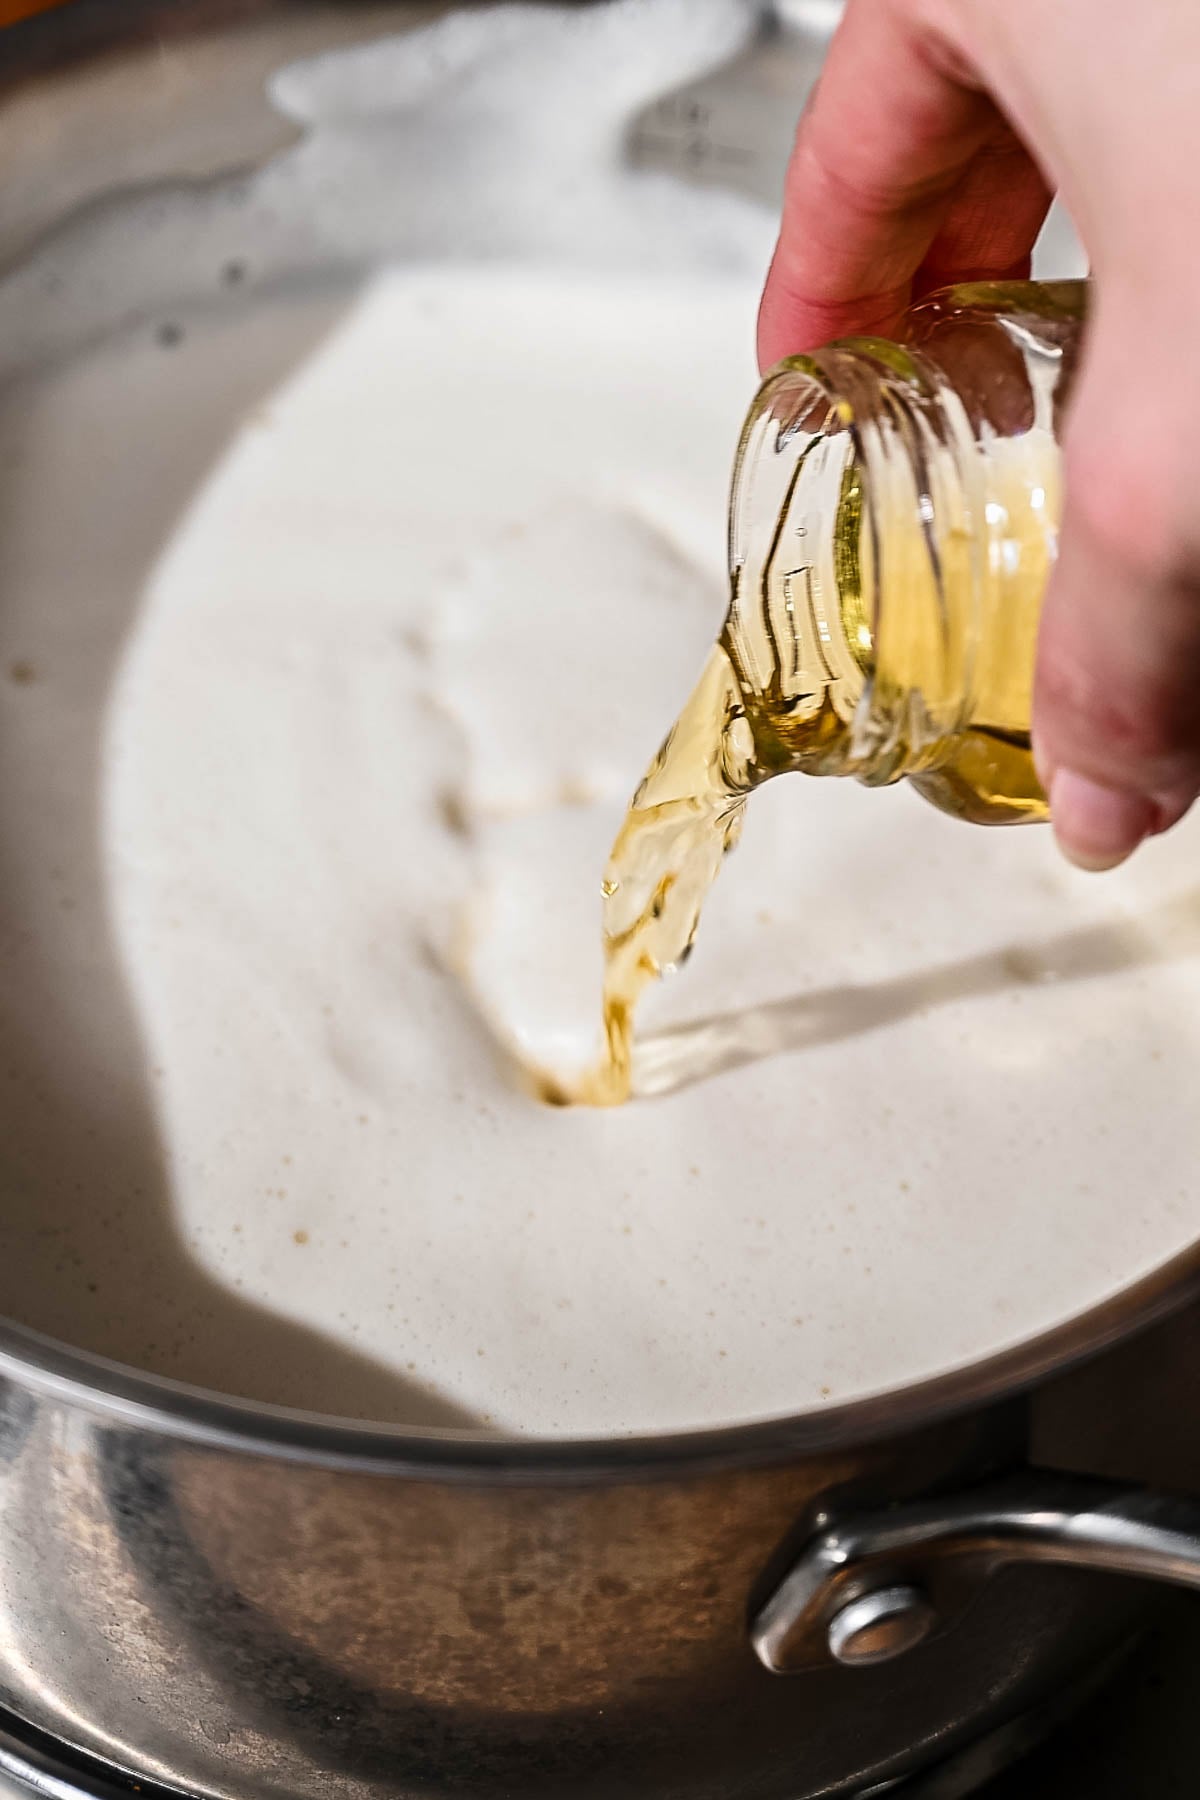
Add the apple cider vinegar and give the mixture a quick stir. Then, let it gently heat without stirring. This helps the curds form properly.
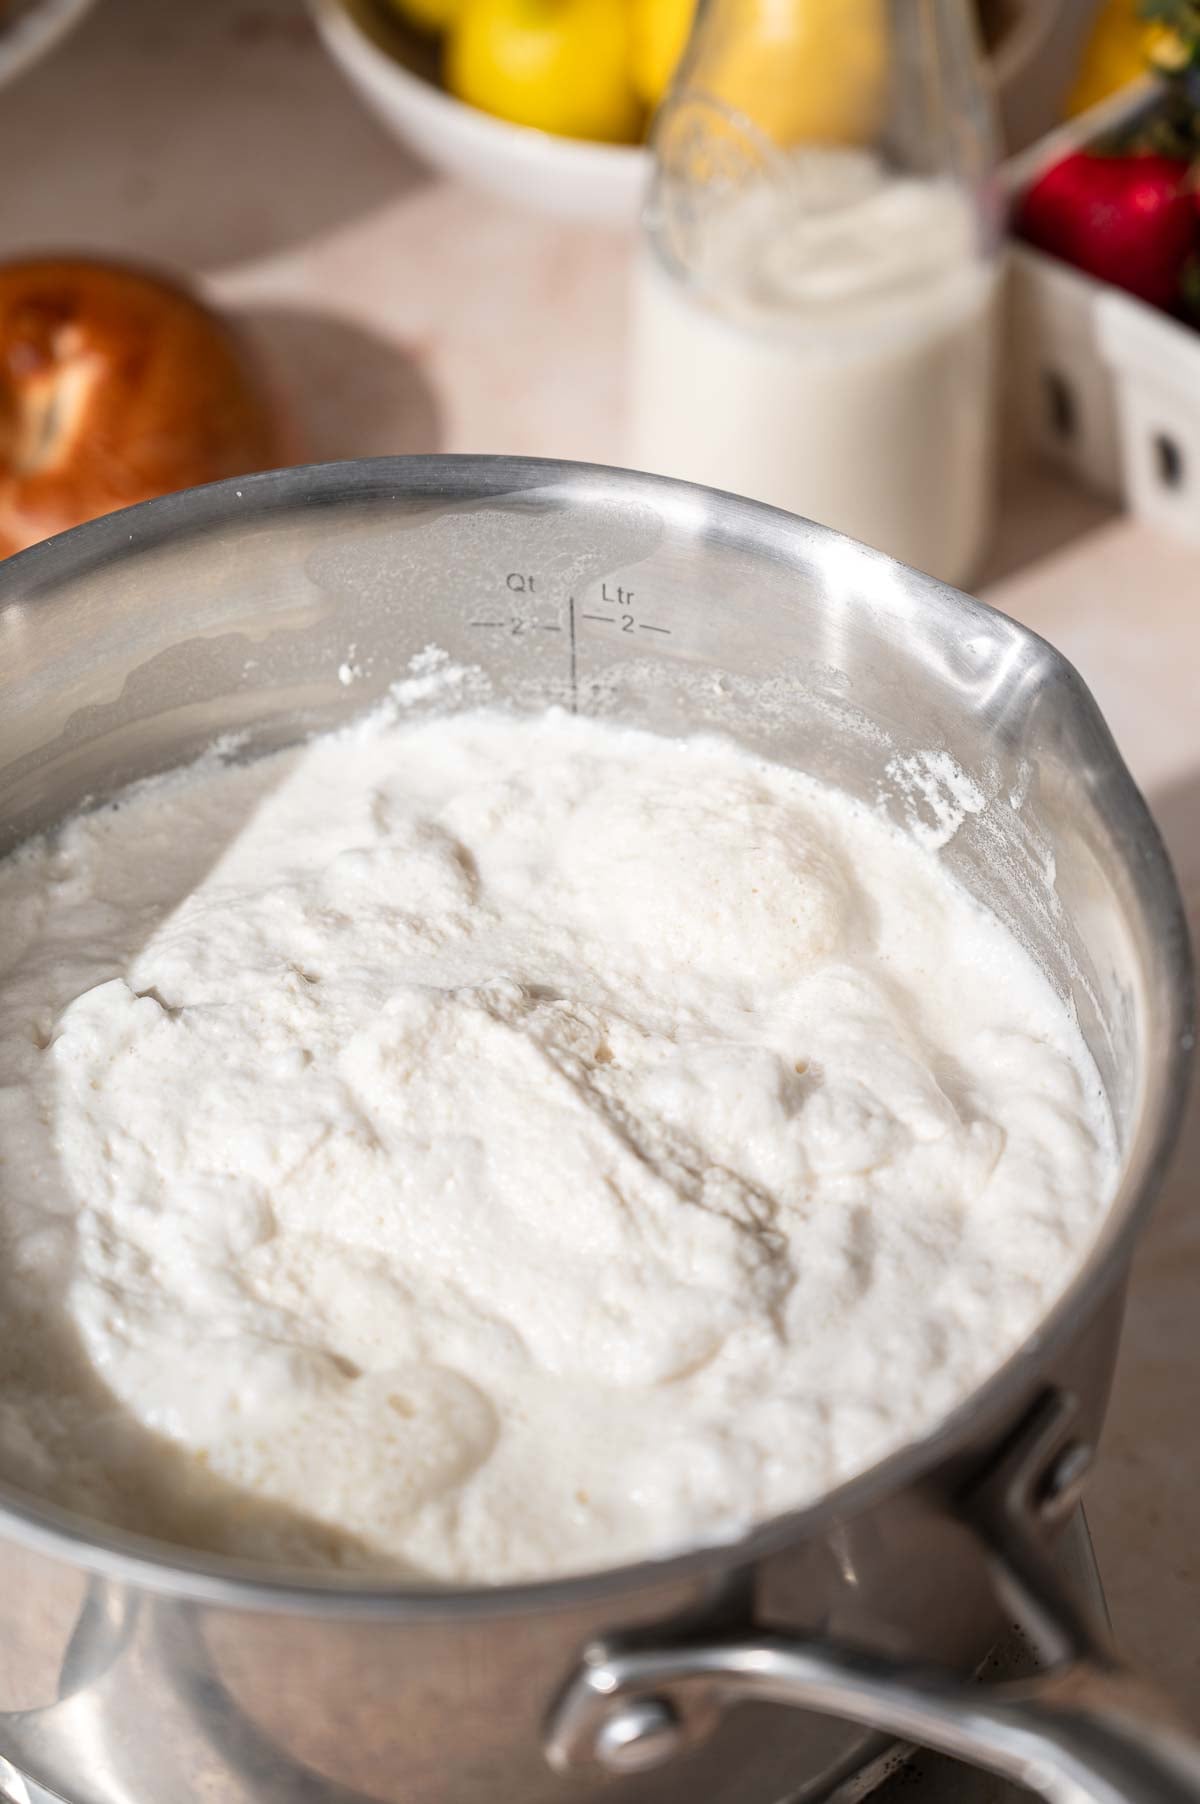
Slowly bring to a low simmer.
As the soy milk heats up, it will begin to separate and fluffy, solids will float to the top.
Strain the Vegan Cheese Curds
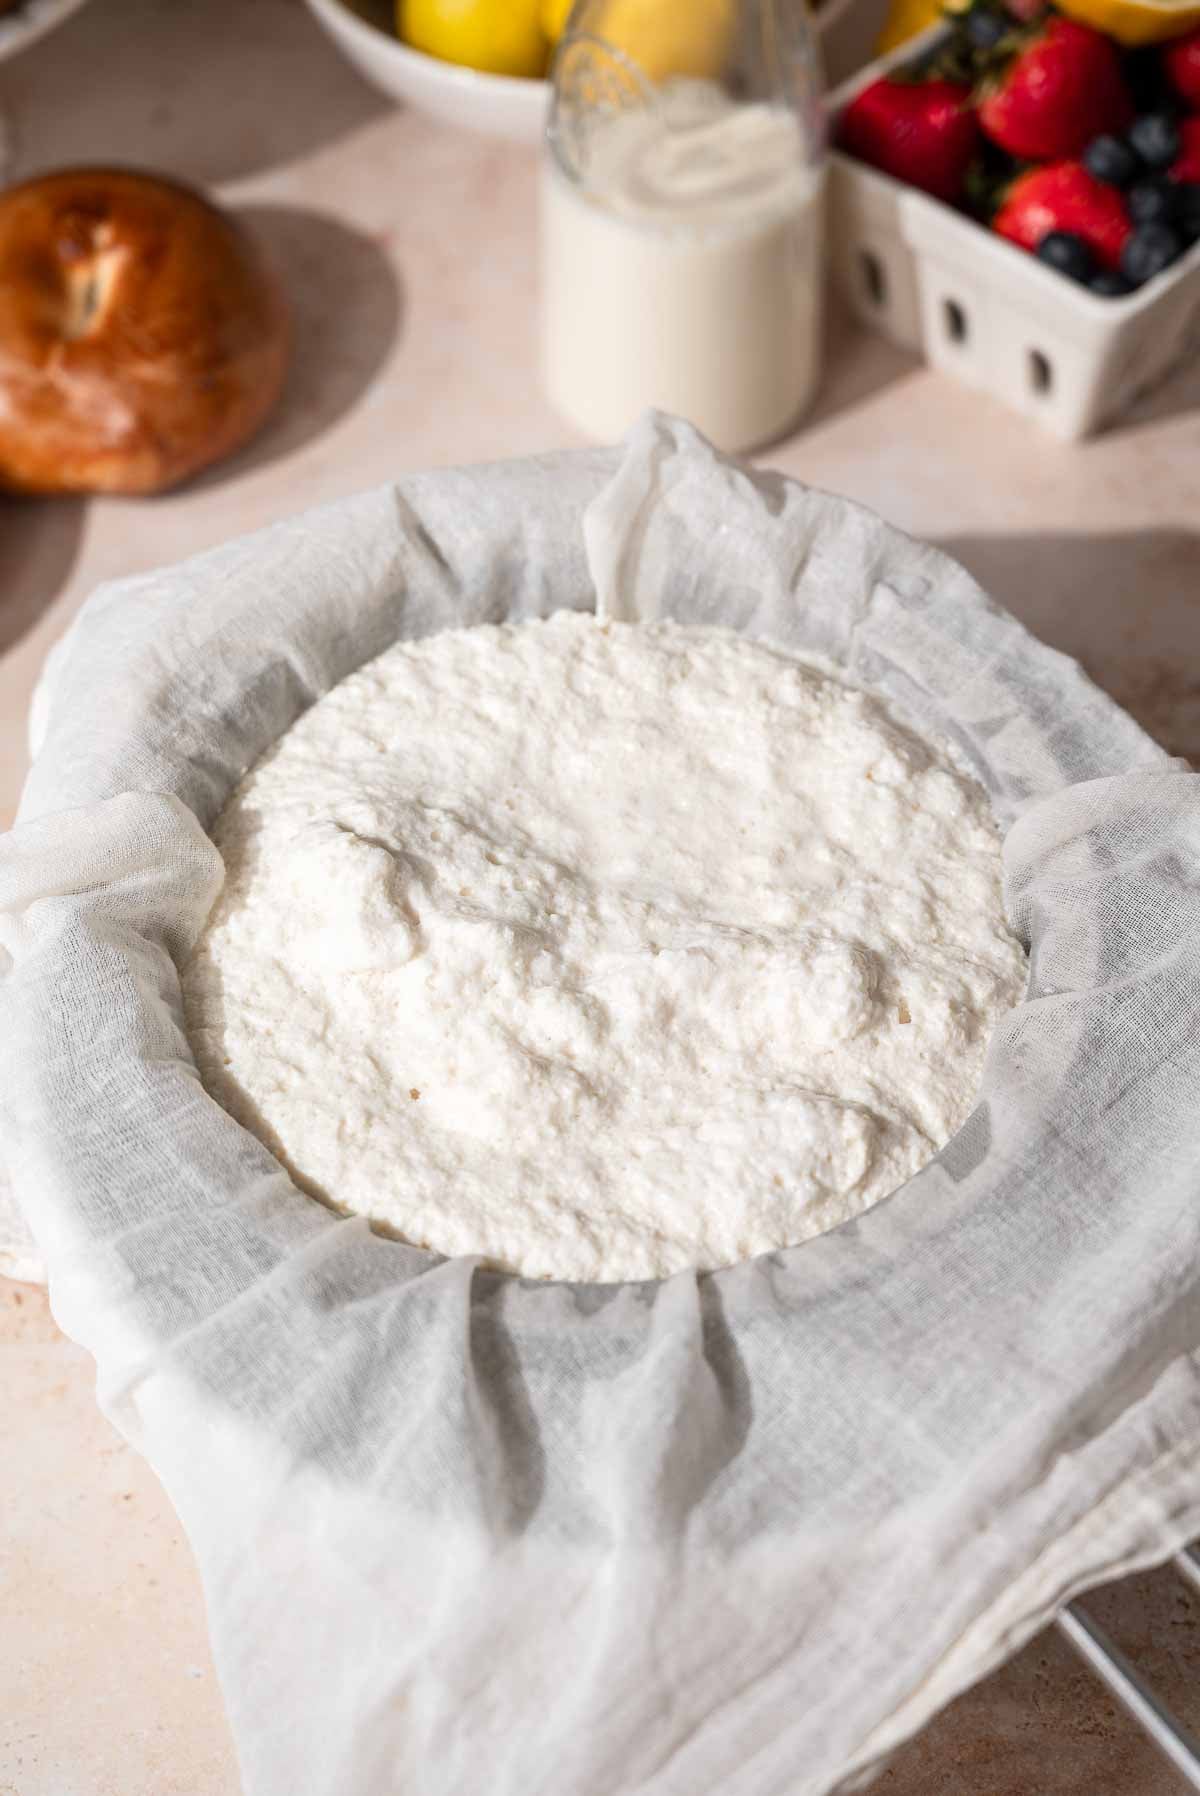
Once the curds have separated, remove the pot from the heat. Pour the mixture into the cheesecloth-lined sieve.
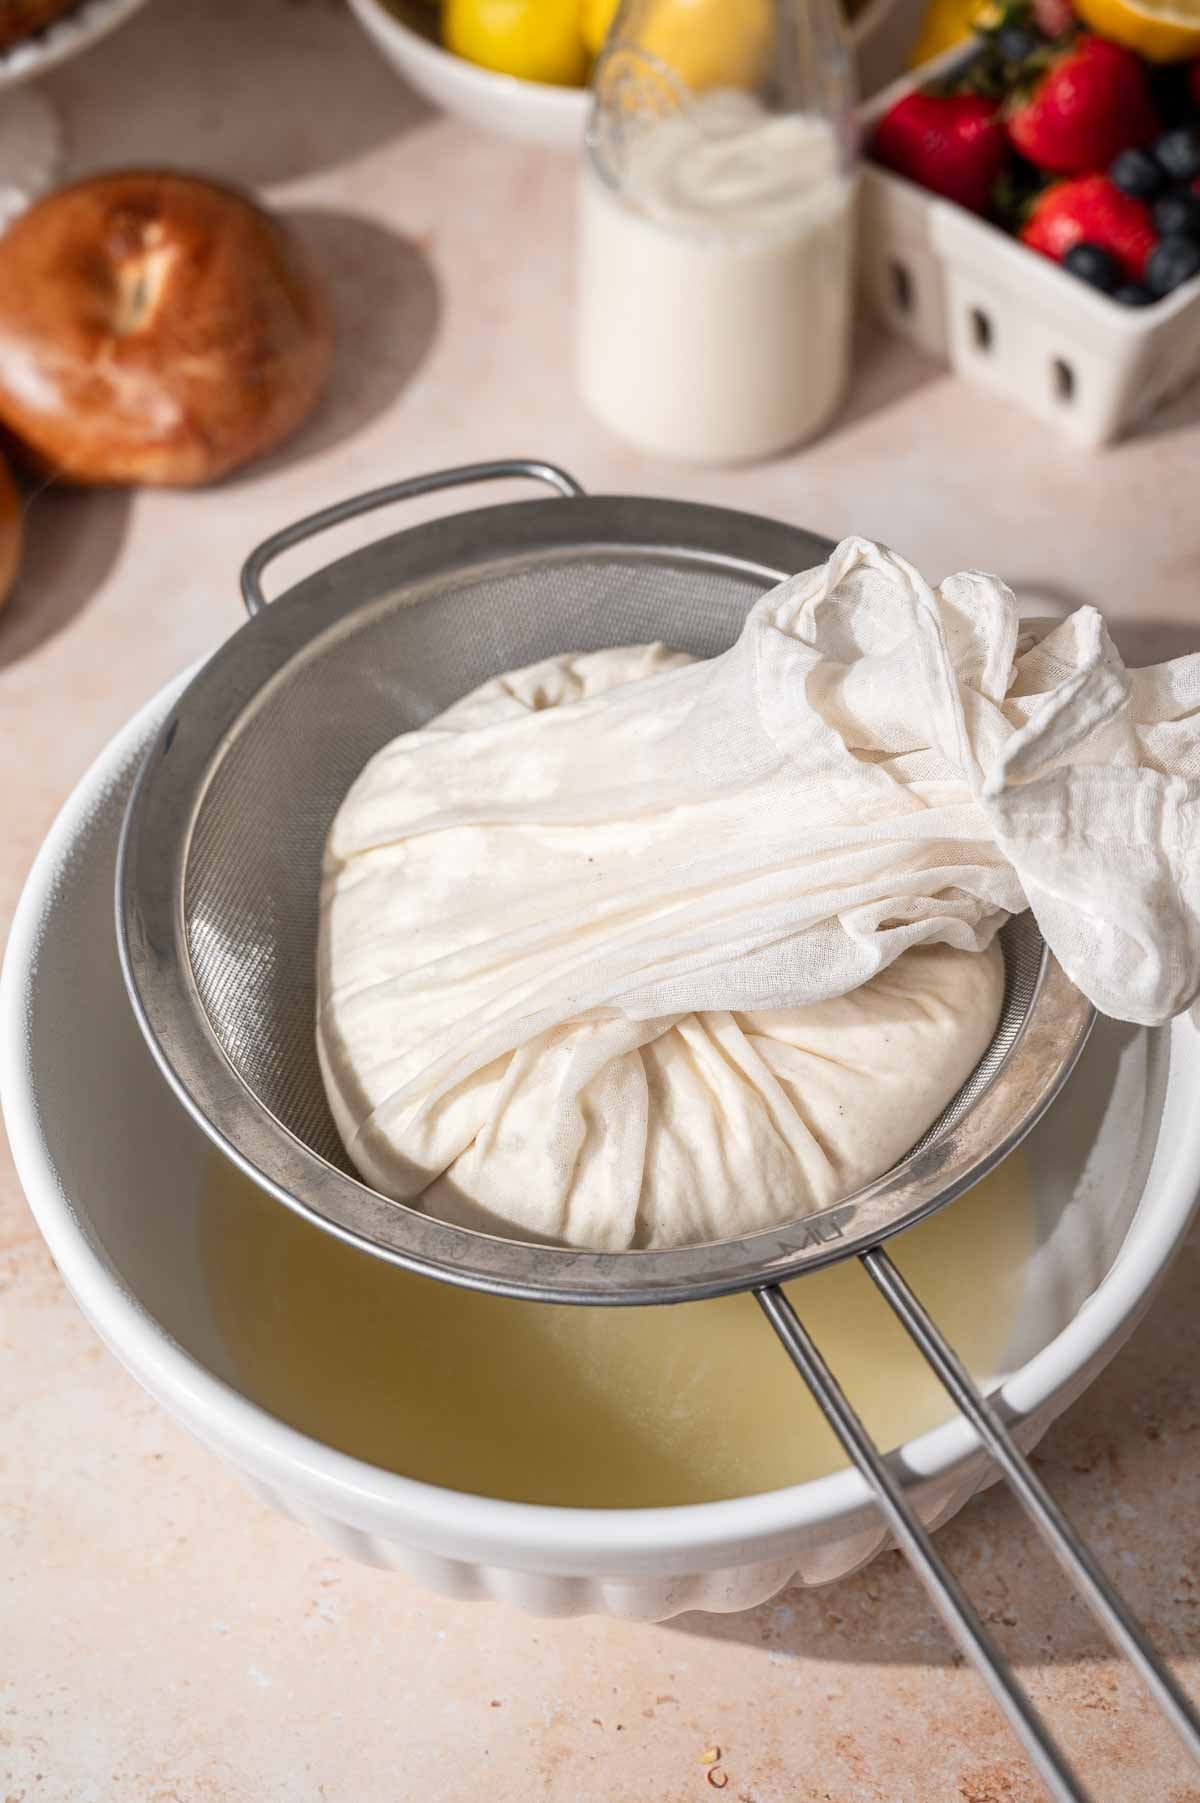
Let it sit for a minute to drain, then carefully gather the cheesecloth edges.
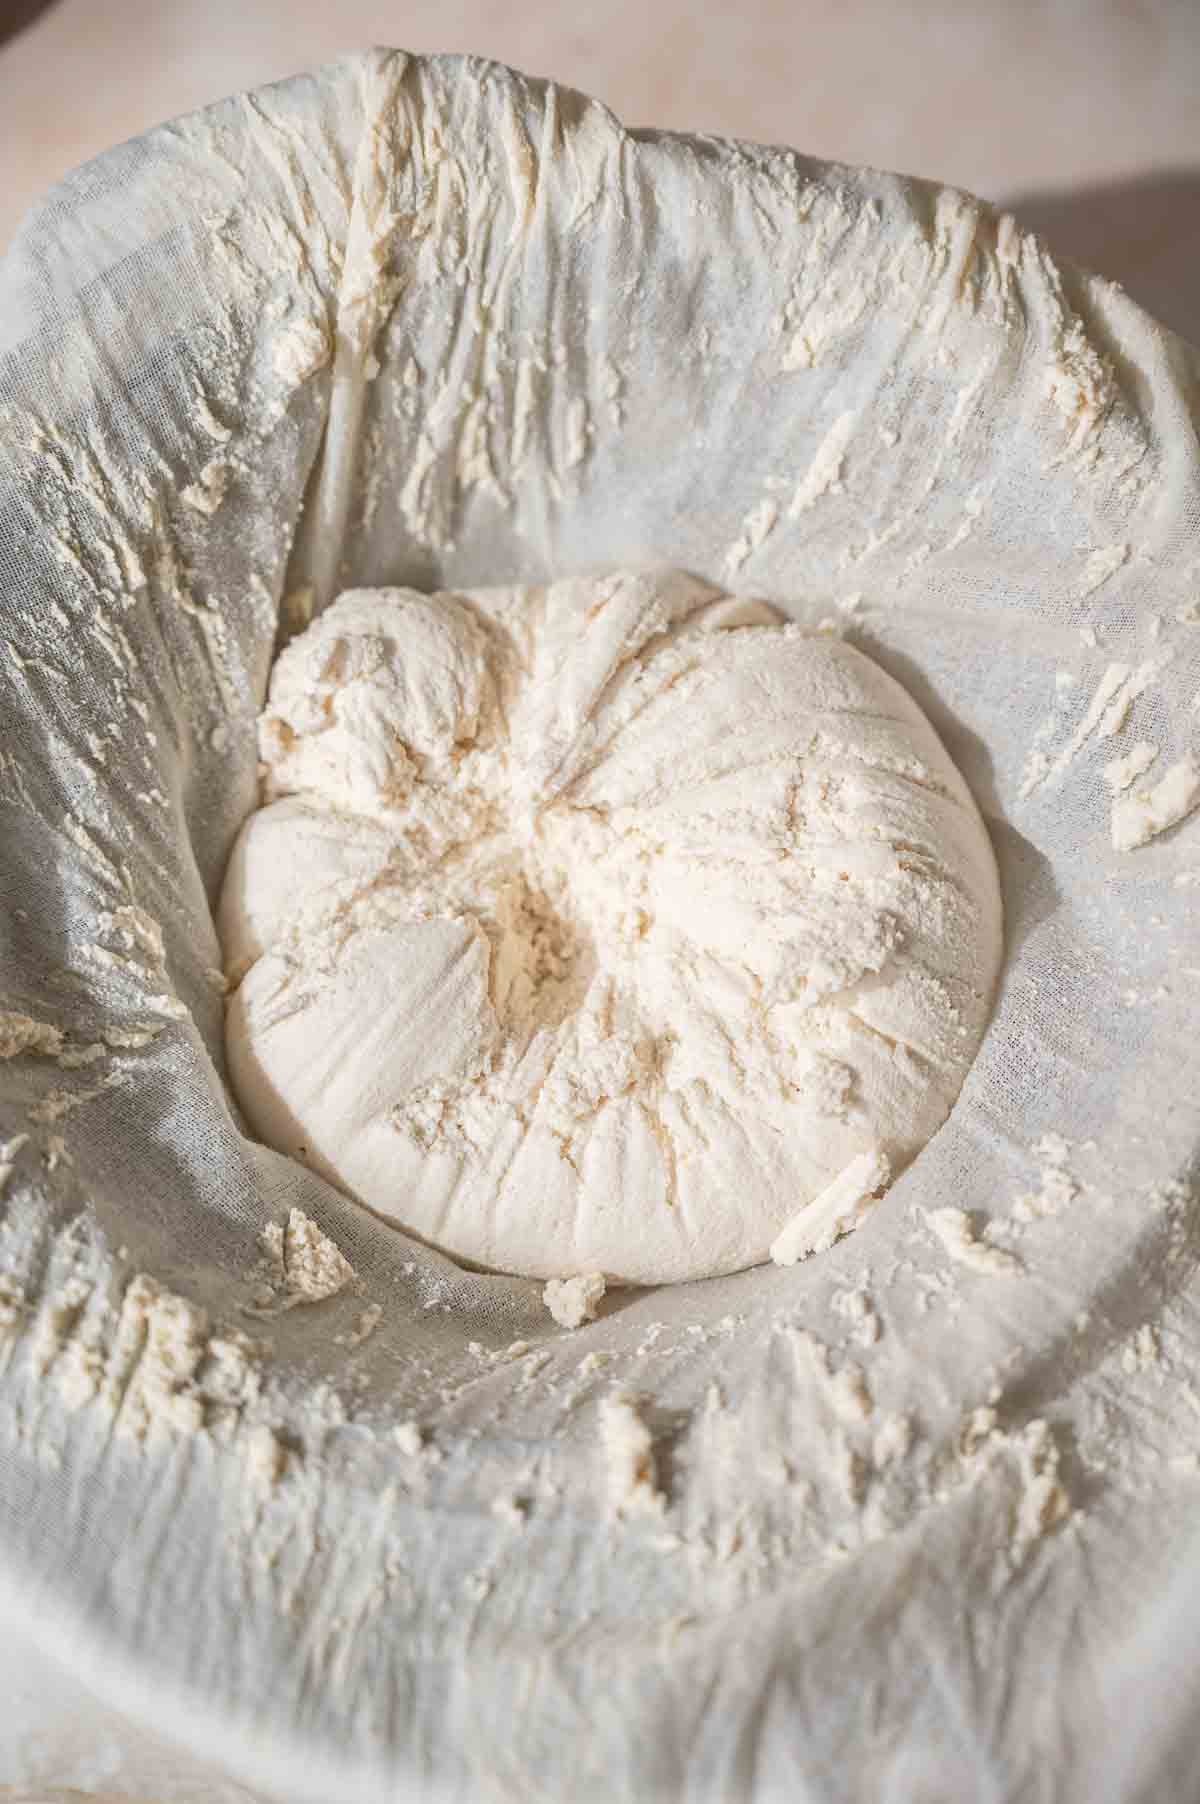
Gently squeeze out the excess liquid over the bowl. Be careful—it will still be hot! Keep squeezing until most of the liquid (soy whey) is removed and you’re left with about 330g of soft soy curds.
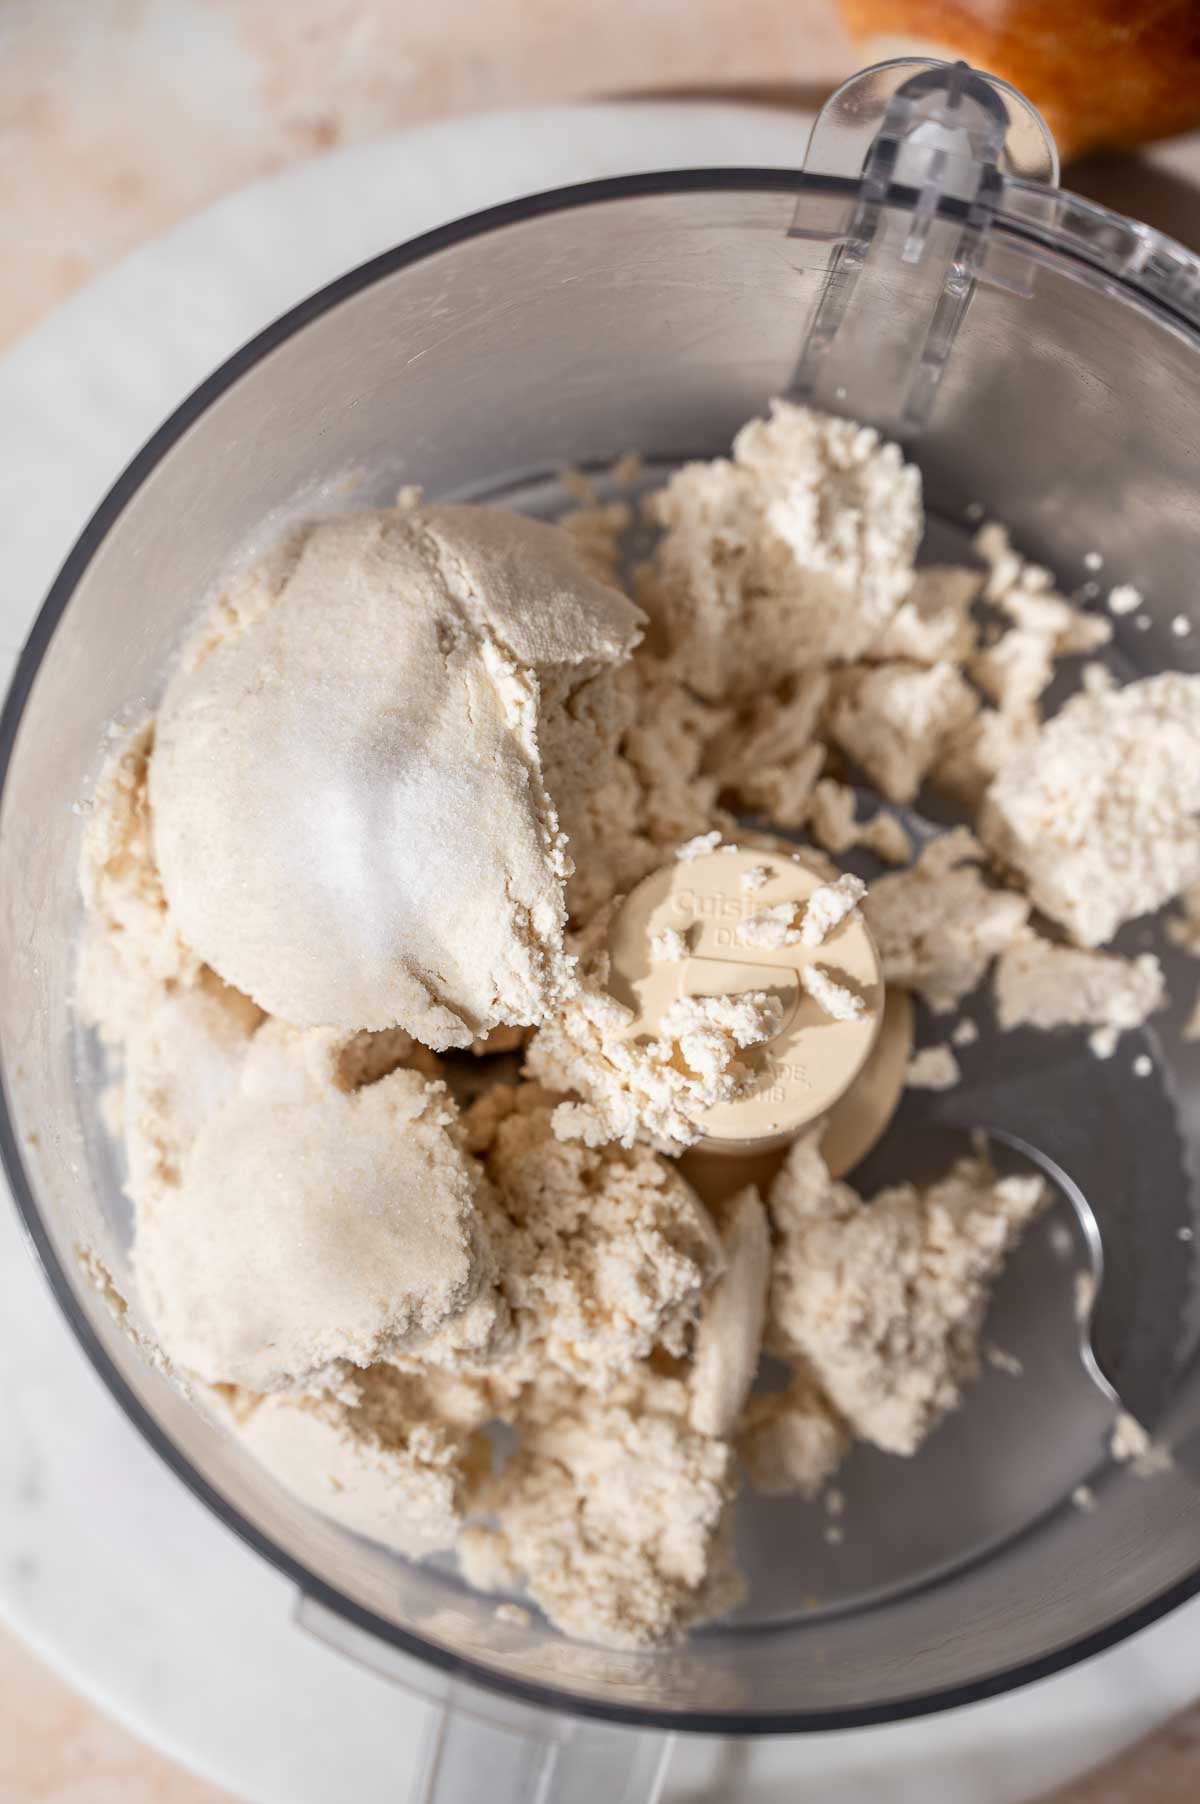
Transfer the soy curds to a food processor or blender. Add the salt.
Blend the Vegan Cream Cheese & Chill
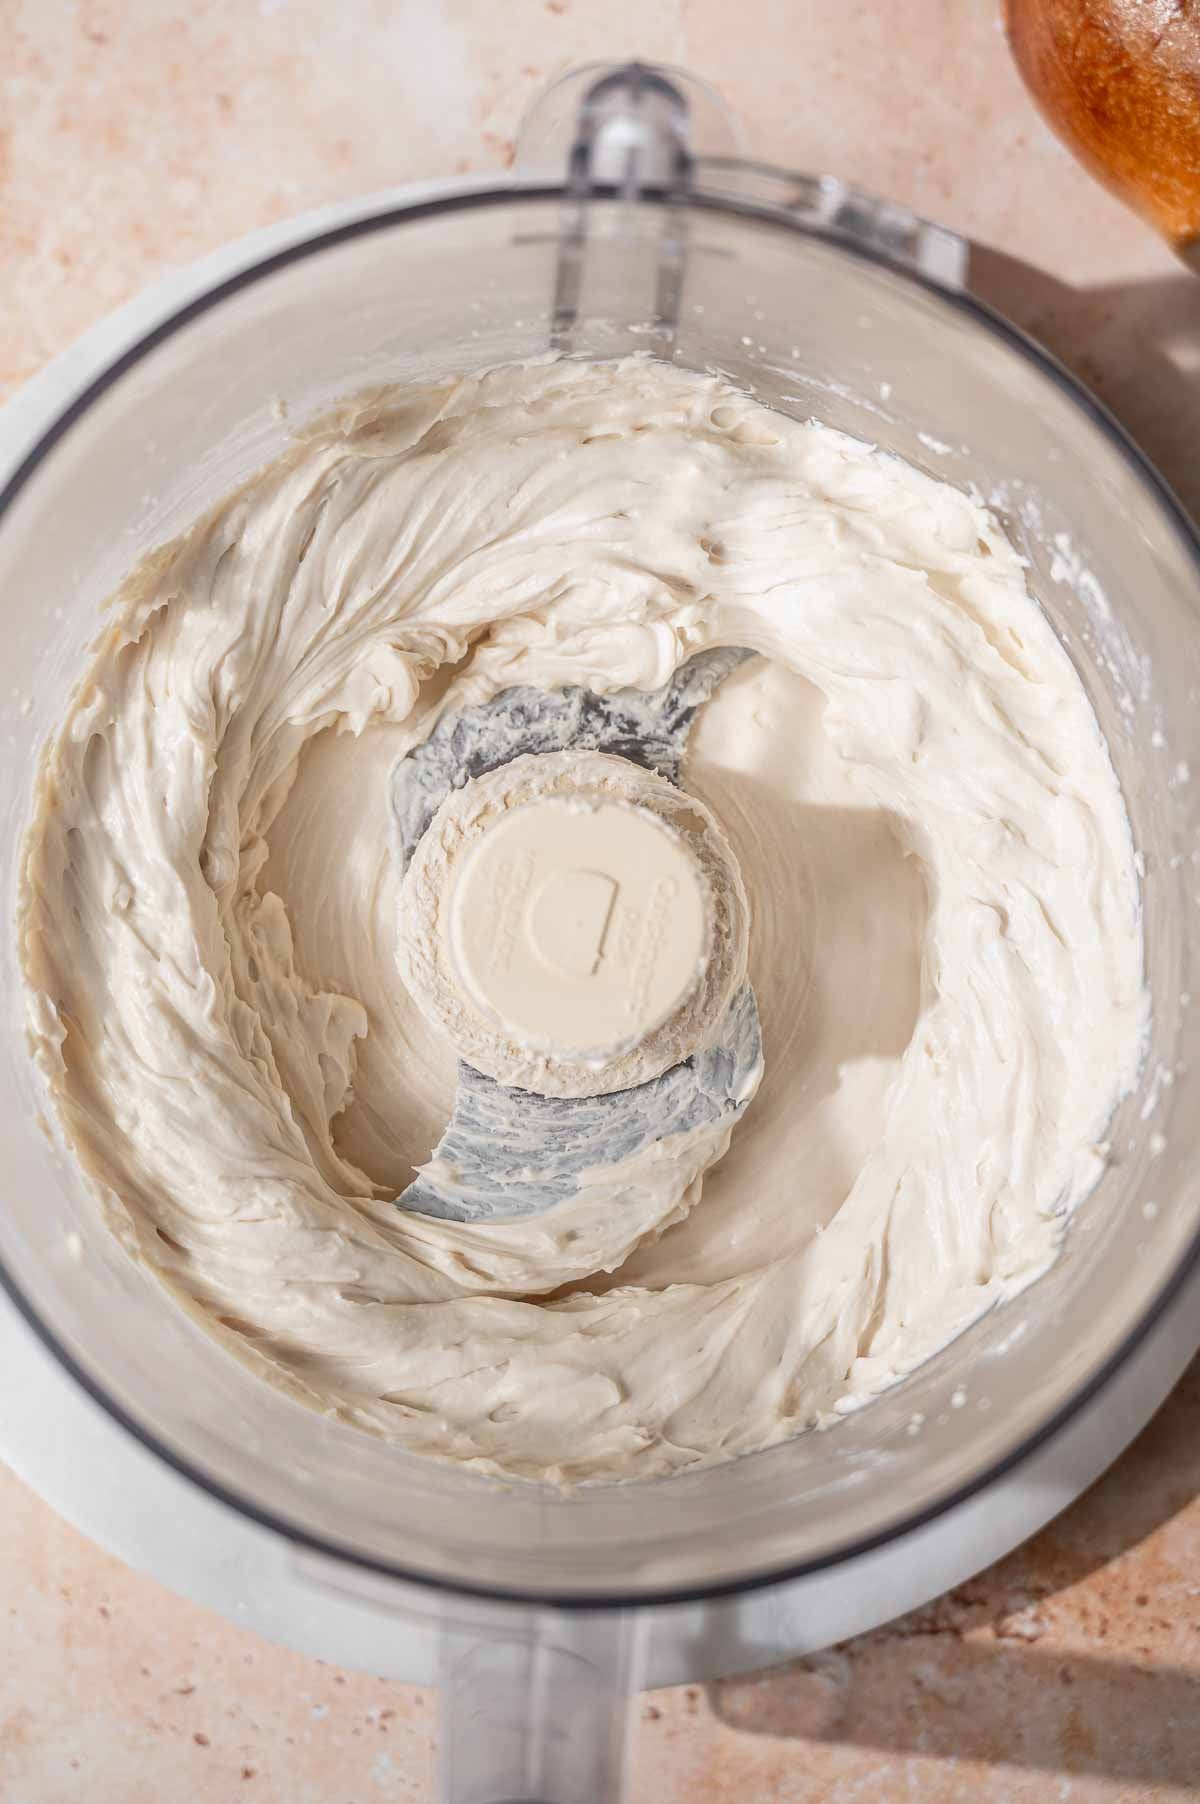
Blend until smooth and creamy. Taste and adjust salt as needed. The flavor will continue to develop as it cools and I’ve found it gets slightly tangier as it rests in the fridge.
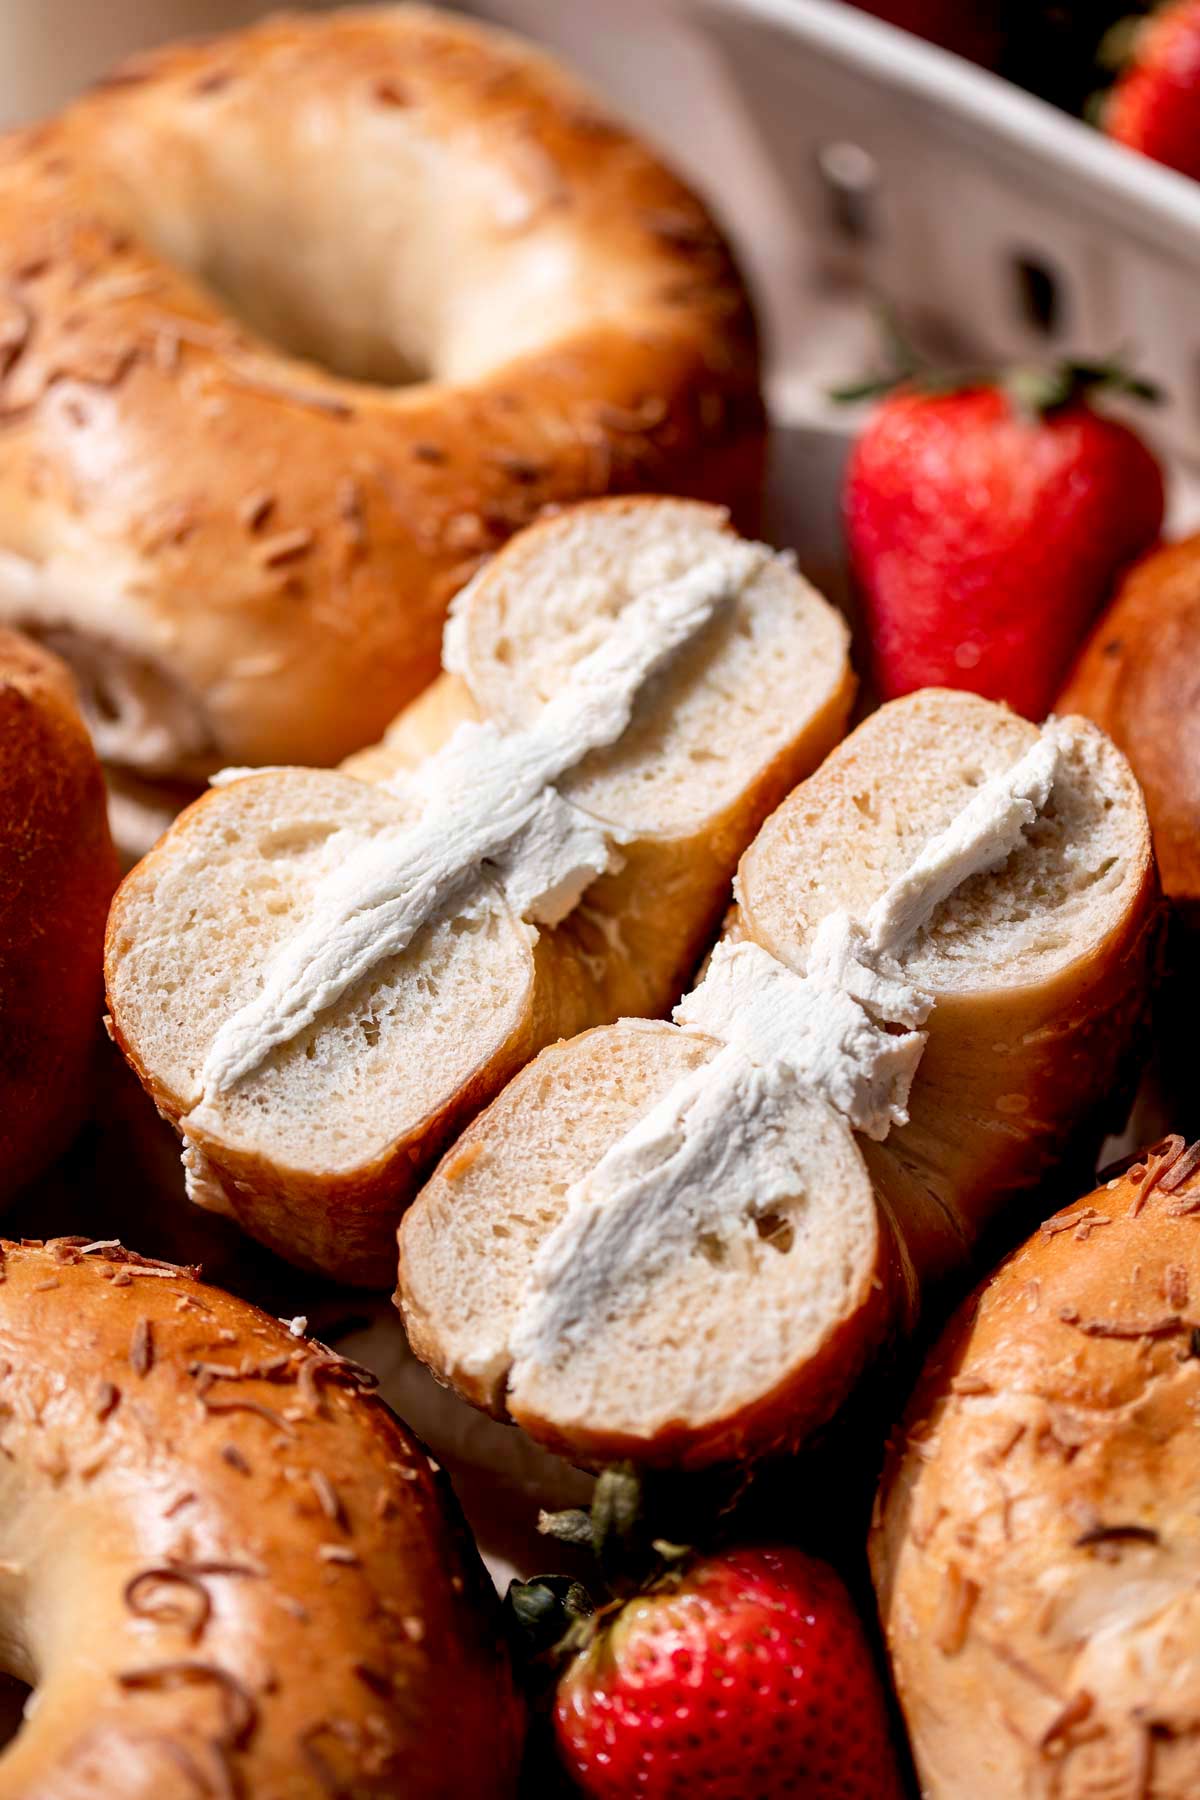
The warm blended curds are thick enough to use immediately for spreading on bagels but for a thicker, more realistic cream cheese, chill in the fridge for at least 6 hours (preferably overnight).
Ways to Use the Cream Cheese
This recipe is so versatile and can be used in pretty much any application you’d use regular cream cheese. You can:
- Add it to everything bagels (or these homemade apple bagels)
- Use it as a stuffed pepper filling
- Whip it into vegan cream cheese frosting
- Make a cream cheese icing for topping these cinnamon rolls
- Blend it up to make these no bake mini vegan cheesecakes
- Or use it make make this classic baked vegan cheesecake!


Storage & Variations
I recommend transferring the blended cream cheese to a clean glass container and keeping it in the fridge for up to a week. Once it’s blended, you can also mix in other ingredients to make fun variations!
I love using this recipe as a base to make vegan strawberry cream cheese or vegan ‘honey’ walnut cream cheese which are never available in store-bought versions.
Vegan Strawberry Cream Cheese
- 8 oz vegan cream cheese (see recipe below)
- 1/4 cup strawberry jam (or a strawberry reduction)
Vegan ‘Honey’ Walnut Cream Cheese
- 8 oz vegan cream cheese (see recipe below)
- 1/4 cup (~40g) minced toasted walnuts
- 1 1/2 tbsp (30g) agave nectar or vegan honey
Common Questions
Yes, but it’s a bit messier. Instead of cheesecloth, line a metal sieve with 3–4 layers of paper towels. Carefully pour the curds into the sieve and let them drain. You can gently press out excess liquid, but be careful not to tear the paper towels. You may need to do this in batches.
Soy milk or pea protein milk works best because they have enough protein to properly form curds. For best results, choose a plant milk with at least 7 grams of protein per cup:
Soy milk (7–9g protein): Best overall texture and yield
Pea protein milk (8g protein): Great soy-free option
Lower-protein milks like almond, oat, or hemp don’t curdle well and will result in a very low yield or poor texture.
If your milk isn’t curdling, it’s usually one of three things:
Not enough acid/wrong milk → try adding 1–2 more tablespoons of vinegar or use a different plant milk
Not enough heat → let it simmer gently for 7–10 minutes
Too much heat → a rapid boil will cause the curds to mix back into the whey
Graininess usually comes from the fat not fully incorporating into the curds.
For the smoothest texture:
1. Blend the fat into the milk before curdling
2. Make sure everything is fully combined while warm
Expert Tips for Success!
These are my top 3 tips to help your vegan cream cheese turn out smooth, thick, creamy, and flavorful:
- Use the right kind of dairy-free milk. Not all plant milks curdle well. Make sure you’re using an unsweetened, high protein variety with minimal additives. West Life Plain Soy Milk works great.
- Let it gently simmer, not boil. High heat can prevent curds from forming properly. A gentle simmer for about 5-7 minutes gives the best texture.
- Chill in the fridge. For a thicker, more realistic texture, chill in the fridge overnight.
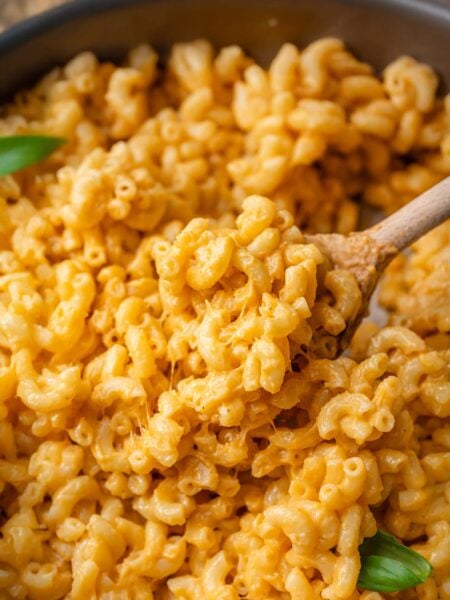
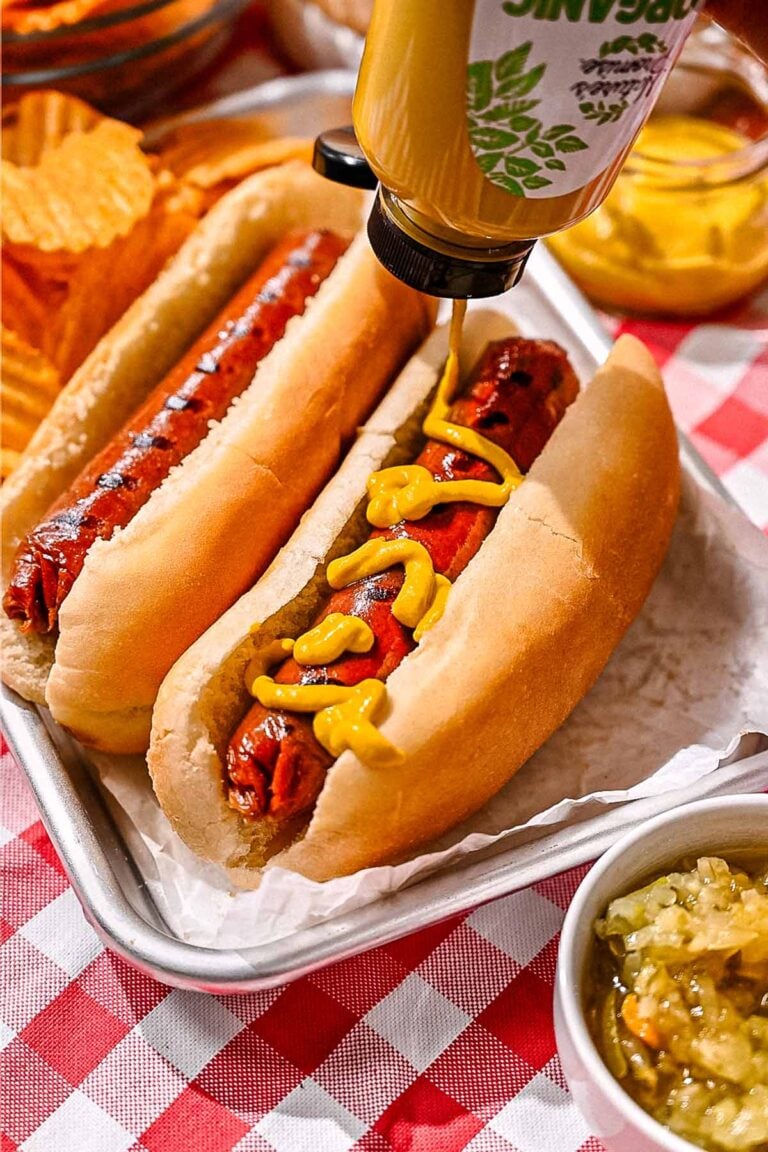
More Vegan ‘Dairy’ Recipes


Best Vegan Cream Cheese – No Cashews, Dairy-free!
Rate this RecipeIngredients
- 4 cups unsweetened soy milk, or another dairy-free milk with at least 8g protein per cup – see note 1
- ¼ cup coconut cream, 60g – from the can
- 6 tbsp refined coconut oil, 90g – see note 2
- ¼ cup apple cider vinegar, see note 3
- ½ tsp fine salt
Instructions
- Prep: Place a fine metal sieve lined with a cheesecloth over a large bowl. *If you don't have a cheesecloth, see the notes below.
- Blend Milk: Warm the soy milk in the microwave. Melt the coconut oil and coconut cream in a microwave safe bowl. Add the warm soy milk, melted coconut oil, and melted coconut cream to a blender. Blend for 30–60 seconds, until completely smooth and emulsified.4 cups unsweetened soy milk, ¼ cup coconut cream, 6 tbsp refined coconut oil
- Add Vinegar: Pour the mixture into a medium pot and place over medium-low heat. If it looks slightly frothy, that’s okay. Add the apple cider vinegar and give it one quick stir to combine, then let it heat without stirring.¼ cup apple cider vinegar
- Simmer to Form Curds: Bring the mixture to a gentle simmer. You should see light bubbling around the edges, but it should not come to a full boil. After a few minutes, the mixture will begin to separate and form soft, fluffy curds that rise to the surface, with a more translucent liquid (whey) underneath. Avoid stirring or boiling, as this can break up the curds and reduce the yield.
- Strain Cheese: Carefully pour the mixture into the prepared cheesecloth set over a sieve and bowl. Let it drain for a minute or two, then once cool enough to handle, gently gather the cheesecloth and squeeze out the excess liquid. You should be left with soft curds that hold together but aren’t wet (aim for about 325g-330g for the best texture).
- Blend & Chill: Transfer the curds to a food processor, add the salt, and blend until smooth and creamy. It can be used right away but for a firmer texture, transfer to an airtight container and chill for at least 6 hours, or overnight. The flavor will improve and develop as it cools.Makes just under 1 1/2 cups of cream cheese.½ tsp fine salt
Recipe notes
Flavor Variations:
Vegan Strawberry Cream Cheese- 8 oz vegan cream cheese (see recipe above)
- 1/4 cup strawberry jam (or a strawberry reduction)
- 8 oz vegan cream cheese (see recipe above)
- 1/4 cup (~40g) minced toasted walnuts
- 1 1/2 tbsp (30g) agave nectar or vegan honey
Did You Make This?
Leave a star rating and a comment below to let others know how it turned out for you!


This was amazing! Followed the recipe exactly, and it was perfect! Looking forward to making the strawberry version very soon.
Actually I just remembered that I used lime juice instead of vinegar, and an immersion blender rather than a food processor. It was smooth, creamy, and absolutely delicious! Thank you for a really great recipe! This is the best tasting non-dairy cream cheese I have had so far.
I’m glad you enjoyed it, Ingrid!